The Basics of Smelting Iron at The Crucible
By Kristin Arzt
Smelting is the process of extracting base metals from ore by heating it to produce the chemical reactions needed to remove the other elements present. This article will walk through how The Crucible produced their own iron through the smelting of iron ore. First, let’s start with understanding the basics.
What is iron ore?
Iron ores are rocks and minerals rich in iron oxide that can produce metallic iron when smelted. Due to the nature of the iron oxide present in iron ore, they can range in color from dark grey to a deep red. The iron in such ores is commonly found in the form of magnetite, hematite, goethite, limonite, and siderite.
What tools and materials are needed for smelting iron?
Iron smelting should always be done in a safe, supervised setting by professionals. Here are the primary tools and materials needed for smelting iron:
- Iron ore
- Furnace
- Charcoal (as a reducing agent)
- Hammer
- Anvil stone
- Scoops and ladles
- Bloom tongs
- Pokers
- Leather welders gloves
- Water bucket
- Bellows
How The Crucible smelted iron in 6 steps:
The following example shows the primary steps in smelting iron from scratch. We started by collecting the ore and building the furnace ourselves to demonstrate how easy of a process iron smelting is.
This is how iron has been smelted by blacksmiths for hundreds of years:
1. Gather iron ore
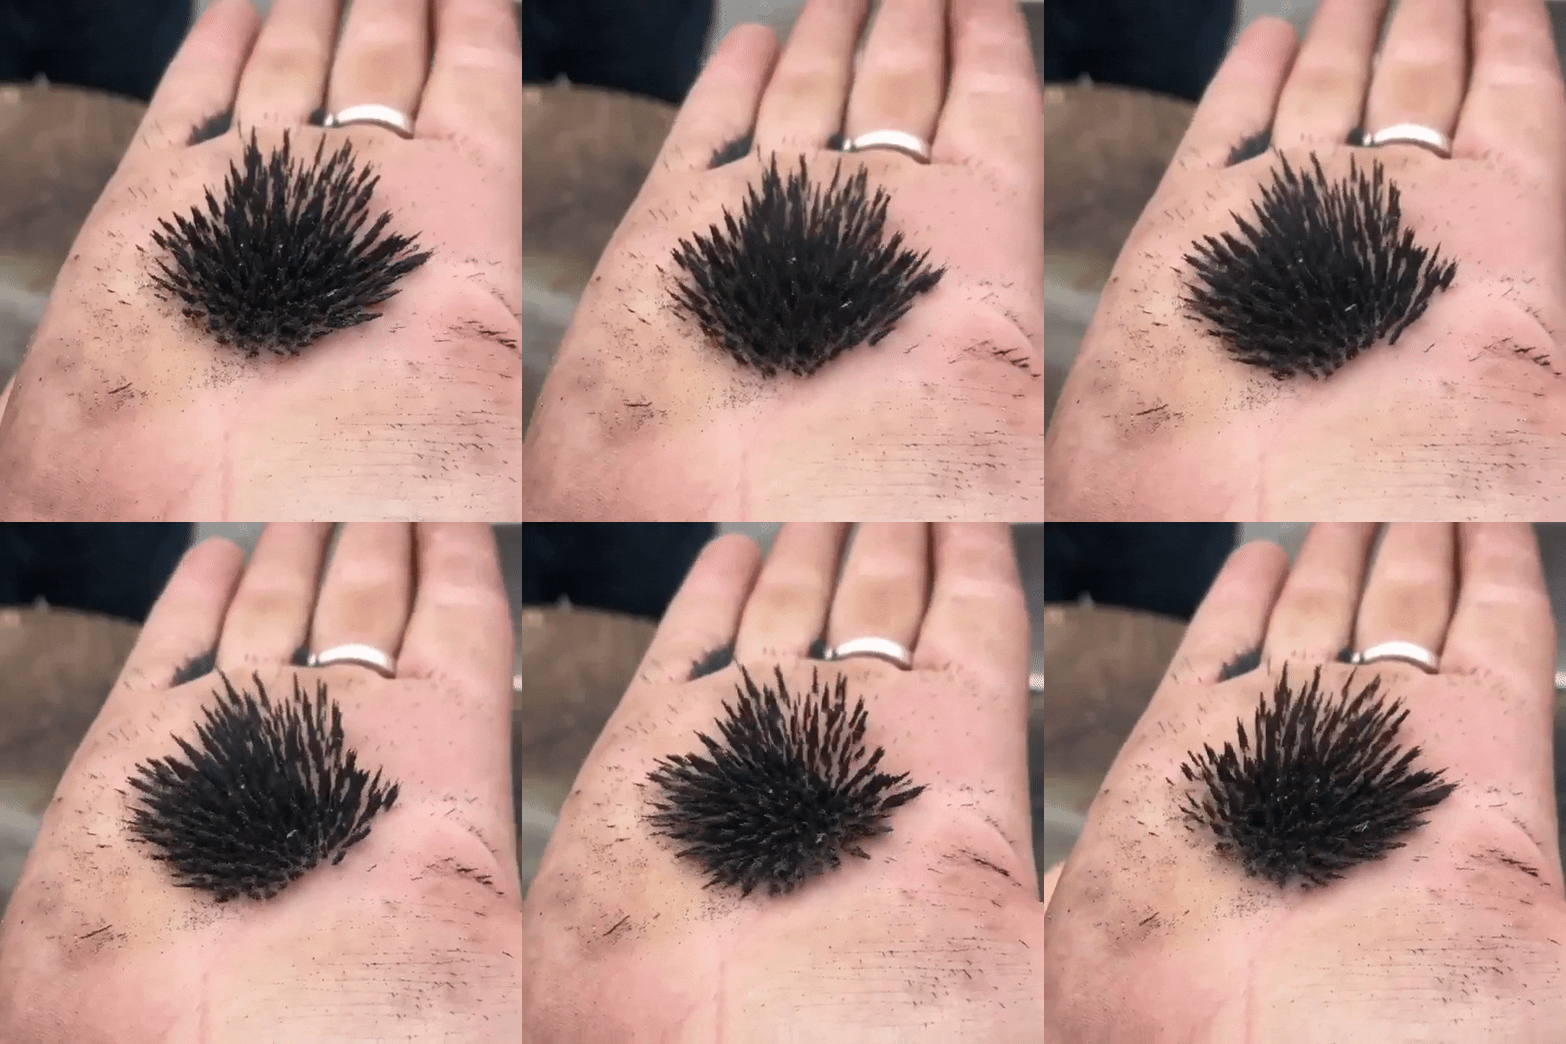
Iron ore can be bought or gathered, but for the sake of demonstration, we gathered the ore ourselves. The best time to collect iron ore is in the winter because the ocean is more active. Active waves separate the black, magnetic sand from lighter silica sand. This magnetic sand is an iron ore called magnetite, which when combined with carbon, creates iron. As you might imagine, iron ore is heavy, so collecting it locally and with a group of people makes it easier.
2. Build the furnace
The furnace, also called a bloomery, is used to heat up the iron ore along with a chemical reducing agent (charcoal). A traditional bloomery doesn’t generate enough heat to fully melt the ore. Instead, the ore melts to a spongy mass that will need to be further refined through hammering in step 6.
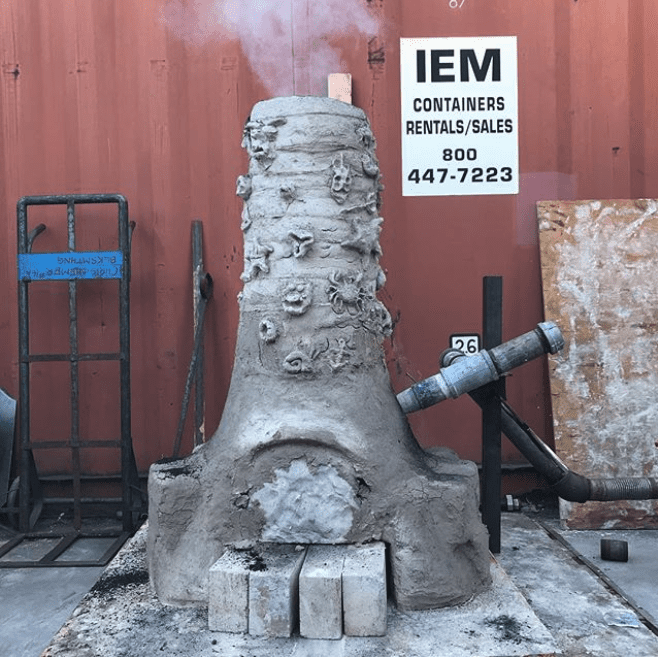
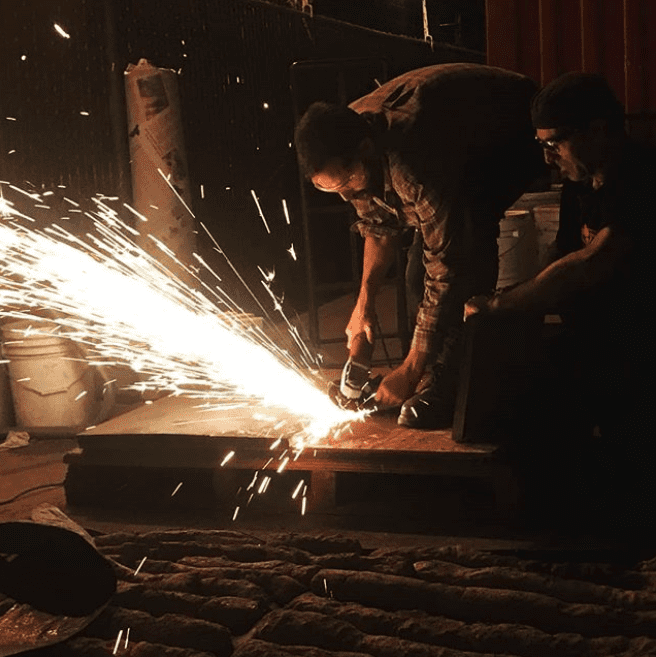
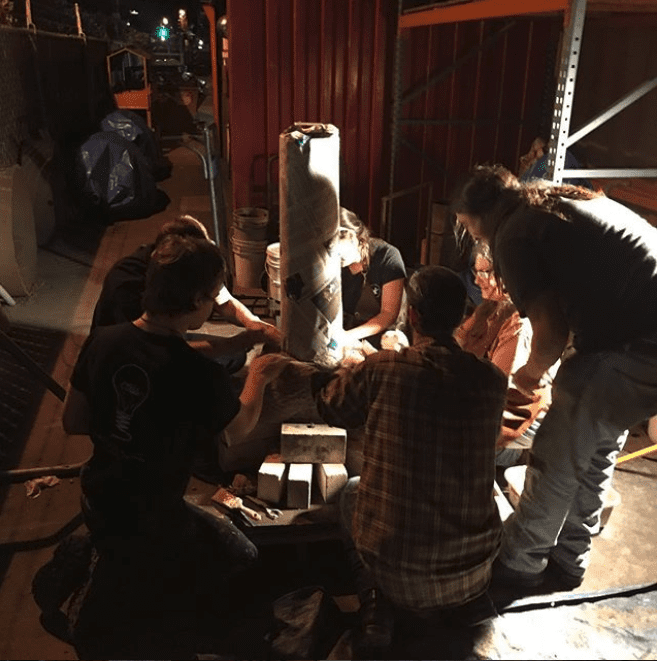
Our Blacksmithing Department built our own bloomery furnace using 350 pounds of clay, decorating it with an oceanic inspiration to reflect the source of the iron ore. “Most people who build the smelters put a little magic into them by doing sculptural work. The decorations are traditionally believed to add good luck or a spiritual component to the iron smelt,” Jeff told us. Celeste, who is also a ceramicist, explained that they used a method similar to building a coil pot to build the furnace, first forming large coils, and slipping and scoring each coil to bring it all together.
3. Prep the reducing agent
In order to extract iron out of iron ore, a reducing agent is needed along with heat. Charcoal happens to be a great and cheap reducing agent, so we used it for this demonstration.
Before the charcoal can be used, it must be broken down into smaller, more manageable pieces. This ends up being one of the more labor-intensive jobs in the smelting process.
“The smelt itself draws people in, even if they are stuck with the job of bashing several hundred pounds of charcoal and get filthy at the end of the day,” Jeff Pringle told us. Our team used mesquite and oak charcoals, the most commonly available type of charcoal in the United States.
Once broken into smaller pieces, the charcoal and iron ore (sand) are mixed together in a 1:1 ratio.
4. Charge the furnace
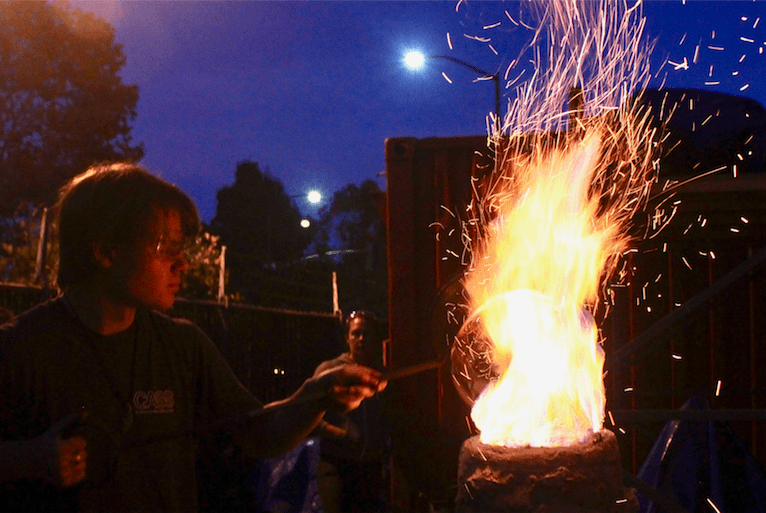
Before adding the iron ore and charcoal mixture, the furnace must be charged. Charging a furnace simply means heating it up to temperatures high enough for smelting to occur.
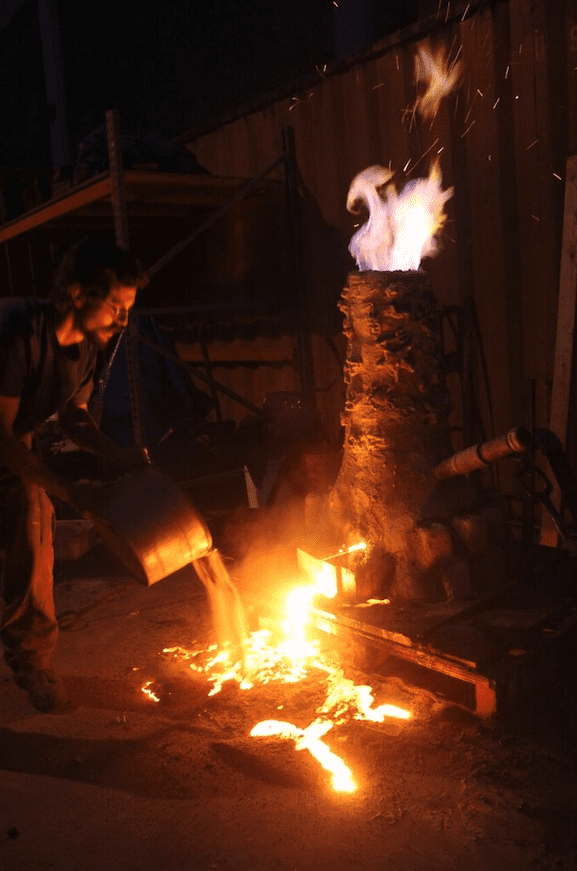
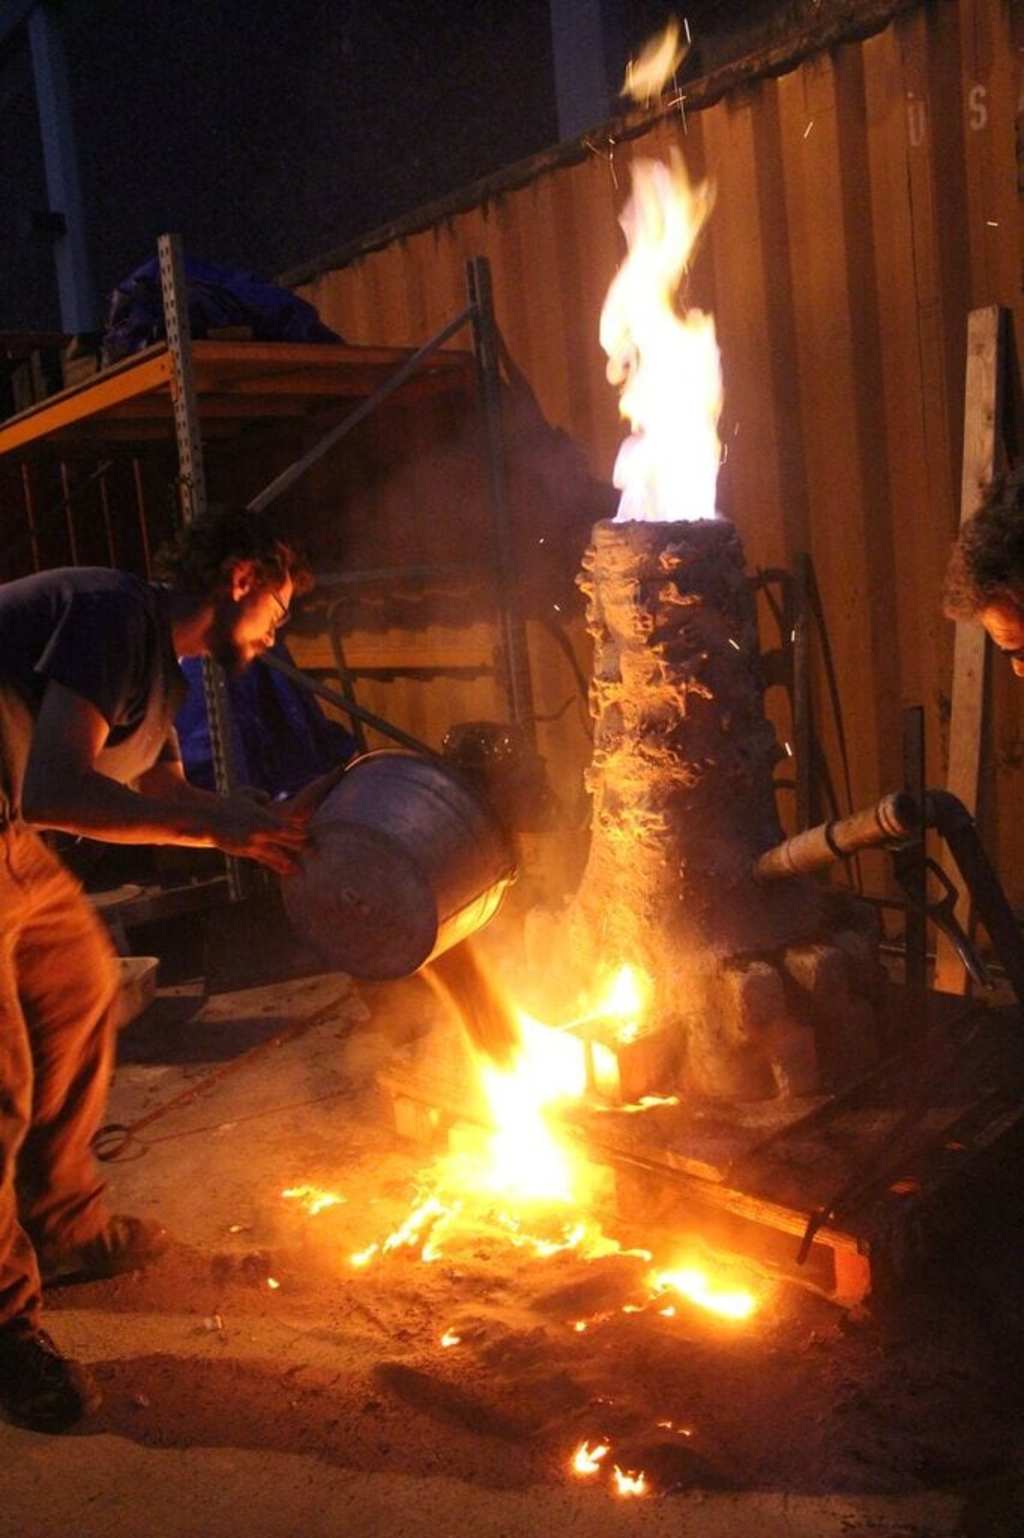
Once the furnace is up to temperature, Crucible blacksmiths added the sand and charcoal mixture. Ben Lockwood-Johnston, one of our first-year Fuego Youth Leaders in the Blacksmithing Department, was there to help charge the furnace. “I have always been interested in using fire,” Ben, age fifteen, explained of his interest in Blacksmithing. “The Crucible has helped me hone my skills and apply them to make more complicated things.”
5. Heating the iron ore and charcoal
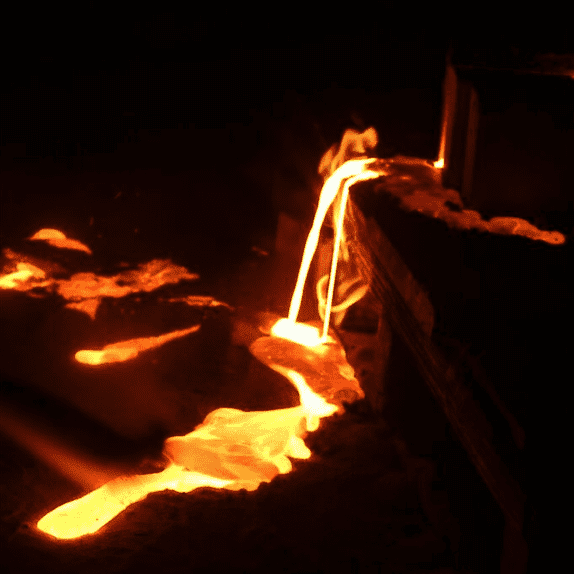
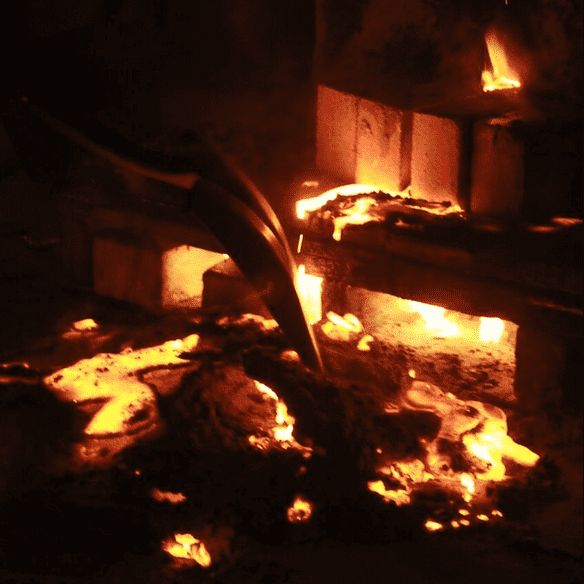
Inside of the furnace, carbon from incomplete combustion of charcoal reduces the iron oxides into metallic iron. The temperature and ratio of charcoal must be carefully controlled to keep the iron from absorbing too much carbon. At the bottom of the furnace, the charcoal, which is mostly carbon, sucks oxygen from the air to create a hot furnace. The base of the furnace becomes fuel-rich and the carbon, hungry for oxygen, begins to pull oxygen from the iron ore. Particles of iron fall to the bottom of the furnace and combine with molten slag, also called a “bloom.”
Once the bloom is extracted, it is set aside for further refinement to remove impurities.
6. Finishing touches
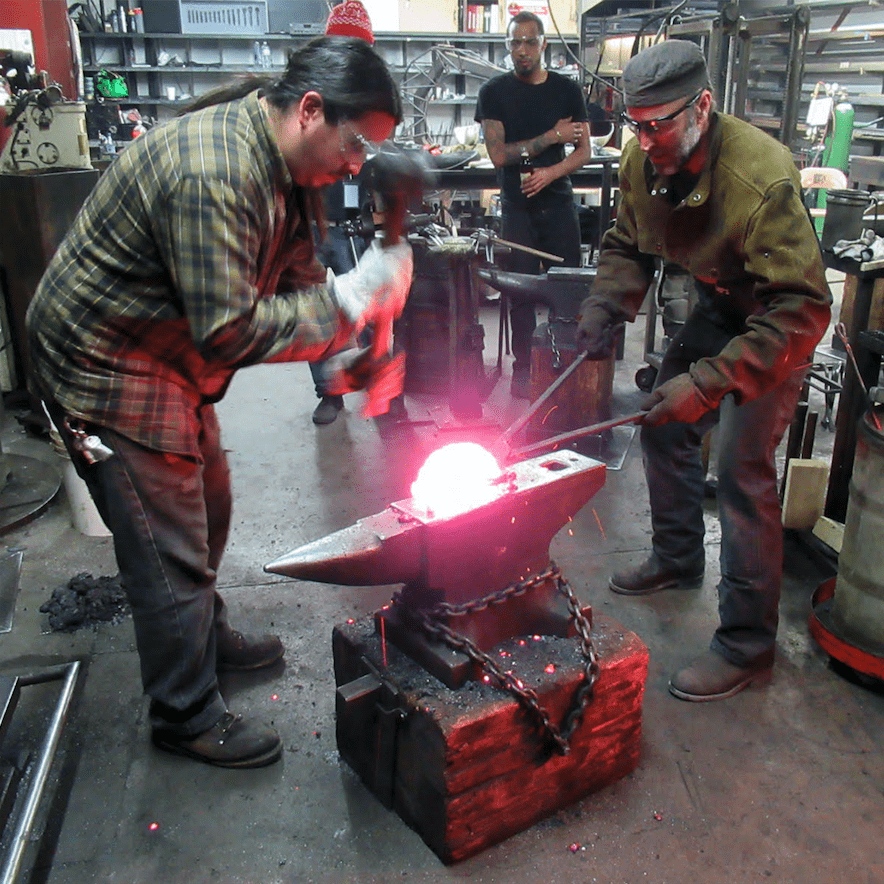
Crucible blacksmiths Adrian and Chris reheated the bloom in the forge and beat it with a hammer to drive out molten slag and purify the iron. Our team was left with twenty-five pounds of low carbon iron. A low carbon content makes the iron easier to work with, and will make for a beautiful material to forge a collaborative community sculpture!
