WoodworkingEarth
Woodworking Finishing Techniques
By Kristin Arzt
Most types of wood will easily pick up scratches, dings, and dirt, and oil and liquids will always leave marks. Wood can also shrink or expand in response to the moisture in the air. Finishes, to varying degrees, protect the wood from all of the above, either with a protective layer over the top or by penetrating the surface and hardening there. Additionally, most finishes will accentuate the grain, and when a number of coats are built up make it really shine.
Penetrating finishes are oil-based and absorbed by the wood. They are easier to apply than surface finishes and give the wood a more natural look.
Surface finishes dry on top of the wood to create a protective coating. Paint, polyurethane, and shellac are all examples of surface finishes. They offer durable protection and are a good choice for wood pieces that receive a lot of wear, like exterior furniture or a frequently used countertop.
Pro tip: Because finishes seal the wood, be sure to always apply the finish to the hidden parts also, to ensure that the wood reacts to changes in humidity uniformly. A coat or two is enough in the hidden areas.

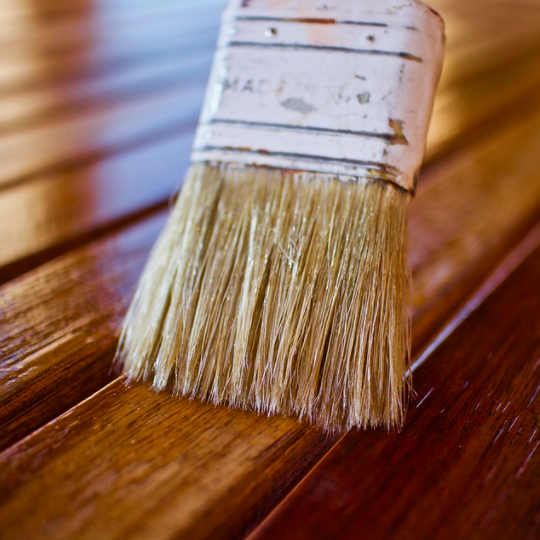
Application Methods: Brushed, Sprayed, Wiped
The majority of finishes are designed to be applied by brush, which requires care to get even results and avoid sagging or drip marks. Brushed finishes tend to go on thicker than wiped or sprayed, usually requiring fewer coats. When brushing, try to keep the parts being worked on horizontally and take care at the edges to keep drips from running down.
Sprayed-on finishes allow fast, thin coats that can be built up, but good results require a proper spray gun setup, along with a spray booth of some kind, and hence are generally only used commercially. Many finishes can be thinned for spraying in such systems, but some finishes are available in aerosol cans, and while they have some of the advantages of spraying, they’re hard to achieve the same results with and have their own learning curve.
Wipe-on oil finishes provide an easy method to get a good result. The finish is worked into the wood using a soft cloth, allowed to sit a little while, then wiped off. These coats go on thinner than with a brush, requiring more of them, but dry a bit faster. They are mostly free of drips and sags and tend not to capture as much dust while drying. Some brushed finishes can be adapted for wiping.
Stains & Dyes vs. Finishes
Stains & dyes color the wood by adding ground pigment or dye to the surface, generally to mimic various wood species. Dyes are a bit less common but offer a wider palette of colors. The pigments in stains are generally light-fast, but most dyes will fade over time if exposed to sunlight. Stains tend to obscure the character of attractive wood, but can be a useful way to tint inexpensive varieties. Neither does much to protect and should have coats of finish applied over them.
Gloss/Semi-Gloss/Satin/Flat
Most finishes are Glossy by default. Non-Glossy finishes contain particles to break up the light. Glossy finishes can be more difficult to apply without streaks. Be sure and continue to stir non-glossy finishes while using them to keep the particles uniformly mixed in. One can also “rub out” a dried Gloss finish with super-fine steel wool to achieve many variations between glossy and flat.

Types of Finishes
Food-Safe Finishes
While many finishes are functionally non-toxic once they’ve completely dried (Shellac is still used on candy!), the majority include various solvents to aid in applying them. For explicitly safe finishing one can turn to mineral oil or beeswax.
Bowls, cutting boards, etc. are usually finished with mineral oil, and a number of commercial finishes for the purpose exist, but they’re generally the same as mineral oil available at the drugstore. Use a rag to put on as much as the wood will absorb, and keep adding more when it looks dry. Beeswax can be buffed to a nice shine and is sometimes applied over oil. Neither adds any hardness, but they do seal the wood, and it’s easy to apply more at any time.
Wax
Furniture wax, or “paste wax”, was traditionally from beeswax, though most products currently use the more durable plant-based carnauba wax. Paste wax doesn’t provide much protection but is often used as a polishing layer over many other types of finish. The wax comes mixed with thinners of various kinds to form a paste that can be easily smeared onto the surface, allowed to dry, then buffed to a shine with a soft cloth. Using it with super-fine steel wool is a way to polish an uneven finish, but should be done after the underlying product has fully cured.

Paint
Milk paint, enamels, oil-based, artist acrylics: just about any paint is acceptable. Dry wood generally takes paint quite well. In most cases, paint-grade projects are done with cheaper species. Priming is sometimes useful, depending on the quality of the finish desired. Water-based paints will raise the grain some, so for very smooth results, sand the first coat before adding another. Many paints are thick enough to require only one coat.
Varnish
“Varnish” is an old, somewhat generic term for tough clear topcoat products. Traditionally they were made by dissolving natural resins (sap, amber, cellulose, etc.) in heated oils. Today they’re made in all sorts of ways, both for interior and exterior. Most are brushed on and take some care to get good results, though they can often be adapted for wiping. Products sold as “varnish” tend to produce a rather heavy result for fine furniture, though some woodworkers make mixtures involving things like “spar varnish” as a component in order to add toughness.
Continue Exploring Guides In Earth

Guide to Ceramic Wheel Throwing
Learn exactly what tools and supplies you need to start wheel throwing pottery. Get the inside scoop from our Ceramics Department....

How To Make Pottery At Home: Materials, Equipment, & Steps
There are many different types of pottery and ways to learn ceramics. Here, we outline different types of clay and how to learn ceramics....

How To Glaze Pottery: Guide To Ceramics Glazing | The Crucible
This step-by-step guide covers how to glaze ceramics in a traditional and DIY kiln, along with different types of glazes and their uses....

Guide to Ceramics: Types, Materials, & How-To Learn
There are many different types of pottery and ways to learn ceramics. Here, we outline different types of clay and how to learn ceramics....

Guide to Handbuilding Pottery
Learn exactly what tools and supplies you need to start handbuilding pottery. Get the inside scoop from our Ceramics Department....
You Can Learn To Work with Wood
The Crucible has new woodworking classes offered weekly.

Wooden Box
After a basic introduction to woodworking handtools, create a small, functional wooden box to take home. This is a great project-based class, where students walk away with a great...

Wooden Toy
Build a unique, customizable wooden toy! Learn to safely use woodworking tools and machines, then complete your project with colorful, foodsafe finishes. Class projects include...

Fundamentals of Woodworking
Begin your woodworking experience in this introduction to tools and techniques. We will cover the basics of wood technology, what hand tools and power tools to use, how to use...

Woodworking I
Learn how to use power tools and hand tools safely and effectively to build a piece of fine furniture. Class assignments introduce the core concepts and techniques required for...

Woodturning I
Use a lathe to turn a rough piece of wood into a beautifully shaped spindle-turned mallet and face-plate mounted bowl. You will learn the basics of the turning process and cover...

Pen In One Day
Students will make two pens at the lathe, one of solid wood and one of your own design built up from several pieces of wood. Since turning pens is a quick process, we will have...

Woodworking CREATE Lab
The Woodworking CREATE Lab is here to facilitate access for Crucible members to use our 1500+ sq ft woodworking studio to work on their own projects. Whether you have a specific...

Spoon Carving By Hand
Learn basic principles of working with wood while making your own carved wooden spoon. Topics covered include different types of wood, grain direction, carving, shaping, and food...
Youth Woodcarving and Sculpting
Learn the history, cultural significance, and process of woodcarving and sculpting, including design and carving approaches. Through hands-on demonstration and approach, students...
A Finer Table
Come with ideas to design, plan, and build a table with a drawer. Students who enjoyed making the mortise and tenon table in Woodworking I can go deeper into the process. The first...

Wood Tool Sharpening
Whether one works by hand or mainly with machines, keeping a keen edge on your hand tools is vital. Sharpening can seem like a deep skill to master, but getting going with it isn?t...

Hand Tools
This introduction to hand planes, chisels, saws, and proper workbenches is meant for people who would like to work with wood without using machines. Sharpening, traditional jigs,...

Essential Woodworking Jigs
Craftspeople have traditionally used jigs to improve the speed and accuracy of their hand tool work, but making them well by hand is challenging. Learn about how to properly use...

Youth Skateboard Building
Design and build your very own custom skateboard from seven layers of hard maple veneer. Learn woodworking techniques and the concepts of vacuum press veneering and bending wood....
Youth Woodworking I
Learn to use hand and power tools to transform raw lumber into heirloom-quality objects. Explore the properties of wood, safe tool use, accurate measurement and layout, and...

Build A Skateboard
Build your very own custom skateboard from seven layers of hard maple veneer. Learn to shape a foam mold, the woodworking techniques, and the concepts of vacuum press veneering for...

Traditional Dovetails
Dovetails have long been seen as a mark of craftsmanship as they?re famously tricky to do well. This class will go over the complete construction of a drawer or box made from solid...

Frames and Panels
From picture frames to doors, we?ll look at ways to join wood into frames. We will start with building a mitered-corner picture frame and then proceed to make a traditional mortise...

The Bandsaw Box
You don?t need a fully equipped shop to enjoy woodworking! In this class, you will learn to design, make, and finish a unique wood box. With an emphasis on tool safety and material...

Woodturning II
Explore more advanced projects such as goblets, close-fitting lidded boxes, and special projects while honing your turning skills. This class gives students more time on the...

Woodworking II
Build on the skills you developed in Woodworking I through the construction of a small nightstand. Woodworking II introduces the basics of cabinet design and construction, working...

Carving the Tudor Rose
Carve the traditional and historical Tudor Rose design, while learning to work with chisels, gouges, and techniques for creating detail and three-dimensional visualization. By...

Marquetry
Learn the basics of handling veneer and the decorative technique of marquetry, where you use small, variously colored veneer to create an image. You will make at least two...
Wood + Metal
Learn the fundamental properties of wood and metal, two titans of arts materials. Students create a custom piece of furniture incorporating a wooden top with a metal base,...

Wood + Leather
Students will spend the beginning part of the class making and elegant wooden box with reinforced, mitered spline corners. They will then use the remaining sessions of the course...

Turning for the Kitchen
Students will learn spindle turning via two projects for the kitchen: a bottle stopper & a peppermill. Students will learn about the different foundational tools used for...
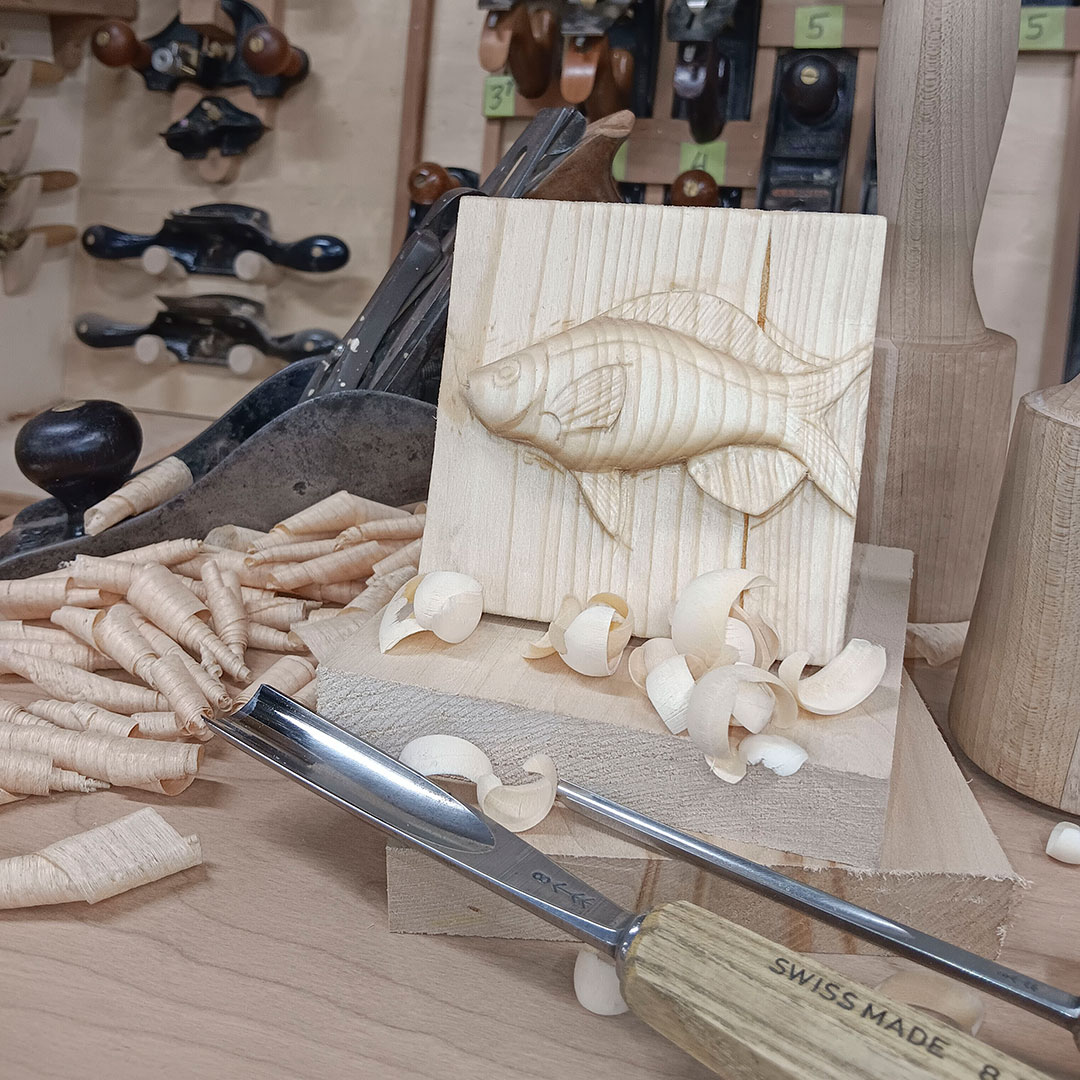
Introduction to Carving
Wood carving is a fantastic, quick and low tech way to step into the world of woodworking! This beginner’s course will introduce you to the foundational tools and techniques...
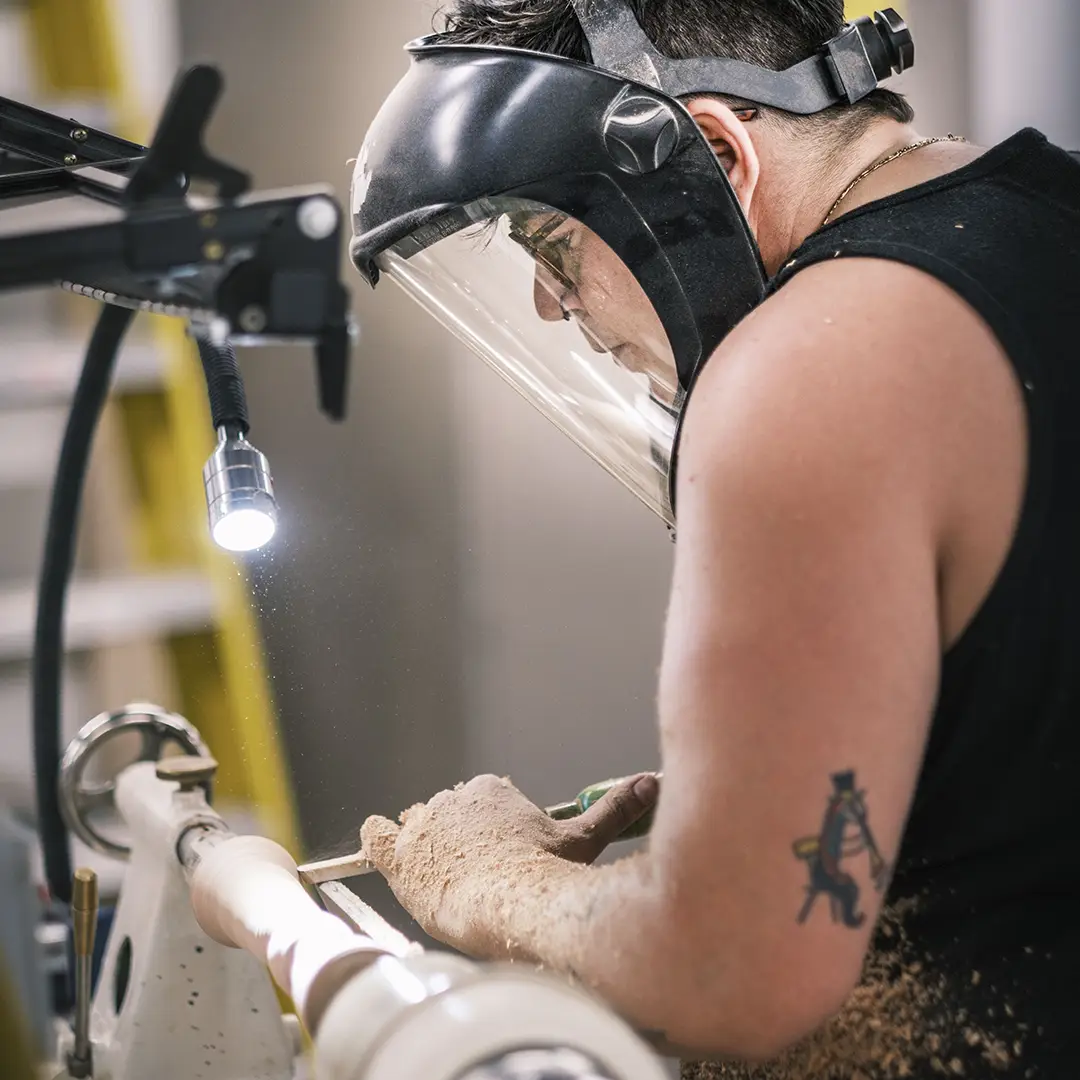
Woodturning Lab
The Woodturning Lab is here to facilitate access for Crucible members to use our woodturning studio lathes and chisels to practice their skills and work on their own projects. A...