CeramicsEarth
How to Glaze Pottery & Ceramics
How to Glaze Pottery & Ceramics
How to Glaze Pottery & Ceramics
Ceramic glazes are an impenetrable layer or coating applied to bisque-ware that is used to decorate pottery and can also be used to waterproof an item. There are many possibilities when glazing pottery and ceramics, from colorful patterns to mineral reactions.
The general process of glazing ceramics is by mixing your glazes, applying the glaze to bisque-ware, letting it dry, then finally loading it into the kiln for the glaze firing. The kiln is slowly brought up to the appropriate temperature for the silica in the glaze to melt, then slowly cooled again. This makes your pottery strong and solid, and impervious to water and the elements.
The most practical purpose of glazing ceramics is to make them food-safe and waterproof. Clay bisque-ware that has been fired once is not yet waterproof or food-safe until the glaze is applied and subsequently fired again.

What is glazing in pottery?
Glazes are a liquid suspension of finely ground minerals that are applied onto the surface of bisque-fired ceramic ware by brushing, pouring, or dipping. After the glaze dries, the ware is loaded into a kiln and fired to the temperature at which the glaze ingredients will melt together to form a glassy surface.
Glazing can enhance the fired clay piece both on an aesthetic and a functional level. Visually, ceramic glazes can be decorative and a great source of color and texture. Practically, glazes can seal your clay bodies once fired, making them waterproof and food-safe. Many clay bodies are not vitreous without being glazed, meaning if you added liquid to an unglazed ceramic, it would leak through the pores. Glazes are made up of three ingredients: glass-formers, fluxes, and stabilizers. Depending on the type of glaze you are working with, there will be different proportions of these three ingredients.
Glossy vs. matte glazes
Glazes have different effects on clay surfaces. In ceramics, we refer to them as gloss or matte glazes. Gloss glazes create a shiny, reflective surface. Matte glazes make a dull surface and satin matte glazes create a semi-shiny surface that is smooth to the touch.
How to make a glaze
In order to make your own ceramic glaze, simply mix a glaze powder with water. It is a relatively simple process. The overall process involves measuring out water, mixing the glaze powder into the water, sieving, adjusting viscosity or density, and letting the glaze sit before it is applied to your bisque-ware.
Before you mix your glaze, ensure that you have all of the proper safety equipment. Glazes can create dust that can be inhaled and harm your lungs. Make sure you have a respirator or mask and mix the glaze powder in a well-ventilated area. If you have sensitive skin, you may want to wear gloves while working with a glaze. You can also wear safety goggles to make sure glaze doesn’t get in your eyes.
Keep in mind that you can always add more water if the glaze isn’t thick enough. Start with a smaller amount of water than if recommended and add more slowly until you reach your desired consistency. Let your glaze stand for at least 24 hours, and mix well before applying it to your bisque-ware.

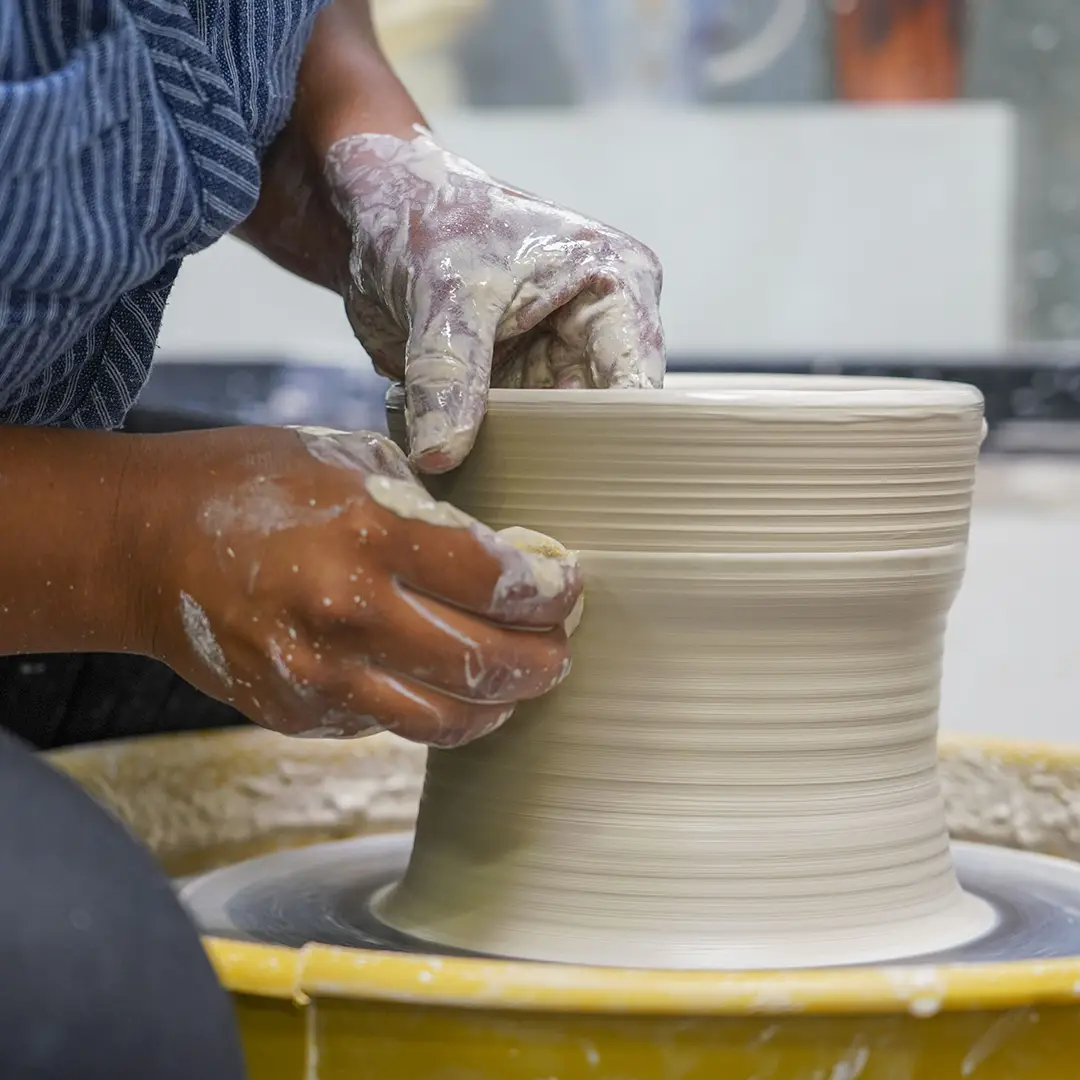
How to glaze pottery with a kiln
Step 1
Ensure your bisque-fired work is as clean as possible. Remove all dust before you start with a clean sponge or lightly damp cloth. If you use water when cleaning off your bisque ware, make sure your piece is completely dry before glazing.
Step 2
Mix your glazes well. Make sure that the heavier sediment, which has likely settled to the bottom of your mixing vessel, is fully mixed to ensure a smooth consistency. You can do this by hand, by mixing vigorously with a whisk for at least 1-2 minutes. Many ceramic studios attach a whisk to a drill to mix their glazes quickly and thoroughly.
Step 3
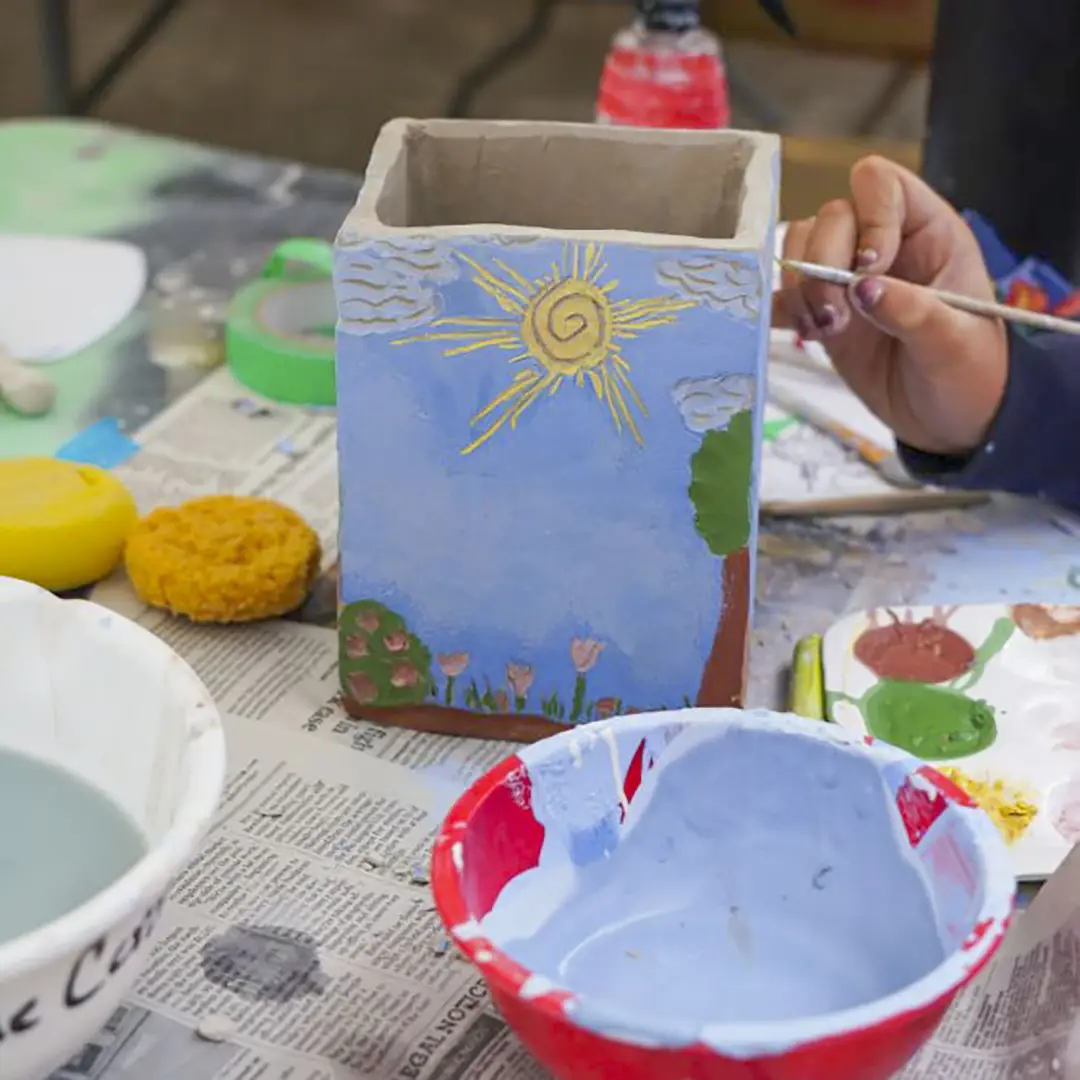
Choose how you will apply your glaze. You can either dip your bisque-fired ceramics into the glaze, pour the glaze on, or brush the glaze on.
In ceramics classes at The Crucible, we use underglazes to add color and pattern before applying a coat of glaze, which seals and waterproofs the ceramics. Underglazes contain a small amount of gum, which makes it easier to control when painting them onto your ceramics. Apply two to three coats. Make sure you wipe off any glaze from the base of your piece before setting it aside to dry.
Step 4
Fire the glaze according to instructions. Glazes are classified as either low-fire or mid-fire, and firing them at the wrong setting may cause your piece to break.
Low-fire glazes are fired at 1845 degrees Fahrenheit. Low-fire glazes are great for when you have a very specific, controlled design in mind. The resulting colors can be bright and predictable and do not melt together much.
Mid-fire glazes are fired at 2192 degrees Fahrenheit. The colors tend to have more variation and melt together to create more romantic visual effects.
High-fire glazes are fired at 2305 degrees Fahrenheit, creating a strong and vitreous ceramic. The color range tends to be more limited.

How to glaze pottery at home in a DIY kiln
Glazed ceramics need to be fired in a kiln in order for the silica to melt and the glaze to flow and fuse to the ceramics. There are a few ways you can build your own kilns for firing pottery at home. Remember to always practice safety and consult a professional if you need help.
Pit Firing
Dig a hole in your yard at least one foot deep and build a fire within the hole using kindling and wood. Pits can reach temperatures of up to 2,000 degrees Fahrenheit. Be prepared to fire your ceramics for at least six hours. You have the opportunity to add patterns and color by adding different metal oxides, salt, or even reducing the amount of oxygen in the pit.
Brick Kilns
Brick kilns can be used similarly to pit firing. You may choose to dig a pit fire hole and line it with bricks, building your fire inside of the bricks. Alternatively, you can build a brick kiln above the ground to fire your ceramics in. When choosing the material for your brick kiln, It is recommended to use fire bricks rather than building bricks, so that it does not crack during firing. As you build your kiln, you can add shelves to the inside to store your pottery as it fires. Build a fire inside as you would for a pit firing. Once the kiln has cooled, usually after about twelve hours, you can unload it.

Barrel Kilns
Barrel kilns are another method similar to pit firing, using a barrel as a housing for your fire and pottery. Begin by drilling a few holes in the base of a steel trash can to allow for airflow, then lay down a base of gravel. Then, layer a combustible material on top of the gravel, and a layer of pottery on top of that, and continue to build in this manner. You are also free to sprinkle on metal oxides and salts to shift colors and add surface design to your pottery.
Raku Kilns
The simplest way to build a raku kiln is to use a small steel trash can with a sealable lid. Line the can on the inside with ceramic fiber and secure it with nickel-chromium wire. Cut a small hole in the base of your can to filter your heat source through. A push-button ignitor propane torch connected to a propane tank works well and can reach levels of 3000 degrees Fahrenheit. Attach a thermocouple so that you know when your kiln reaches 1800 degrees Fahrenheit. Load your pottery in the kiln, turn on the gas, and once it reaches 1800 degrees, hold it at that temperature for five minutes. Carefully remove the lid with tongs, and move your red-hot pottery out of the kiln and into another small trash can filled with combustible materials. Seal this small can with a lid to create a reduction atmosphere, and cool your piece in the open air. Keep in mind that raku pottery is not waterproof or food-safe.

Using alternatives to traditional glazes
Alternative methods to glaze firing are called cold finishing techniques, which are neither glazed nor fired in a kiln. These methods will not be waterproof or food-safe. They are great techniques for adding a decorative element to sculptures or ceramic jewelry. It is a good idea to seal your ceramics with a masonry sealer or modge podge after applying these alternatives to make your piece last longer.
Here are a few different materials you can use to decorate the surface of your unglazed pottery:
- Spray paint
- Acrylic paint
- Metal leaf powders
- Car repair paint
- Colored pencils
- Paint pens
- Tempera paint
- Watercolors
- Varnish
- Wax
- Crayons
- Oil pastels

Glazing pottery without a kiln
Ceramics glazes contain silica, which requires high temperatures to melt at 1800 degrees Fahrenheit and above. While home ovens cannot reach the temperatures for a silica glaze to melt, you can use alternative methods to decorate the surface of your pottery. There are paint-on enamels that fire at 300 degrees Fahrenheit. Glazed pottery will not be waterproof or food-safe unless it is fired at a high temperature in a kiln.
If you are interested in making functional, food-safe ceramics, you can test the durability of your product at home. One method to test its durability and safety is by simply using lemon juice. Squeeze a lemon onto your ceramic piece after it has cooled. Wait to see if the acid has shifted the color or texture of your piece. You can easily test if a piece is waterproof by filling it with water and checking to see if the liquid leeches out through the ceramic pores.
Learn to glaze pottery & ceramics
The Crucible offers a unique place to learn the different ceramic and pottery glazing techniques in low fire, high fire, and other firing alternatives, such as raku firing. Functional tableware, vessels, sculpture, installations, and mixed media—the possibilities in ceramics are endless for youth and adults of all levels.

Pottery and ceramic glaze FAQs
Do you need a kiln to glaze pottery?
Yes, you need a kiln to properly glaze pottery and to make your pieces both food-safe and waterproof. If your project does not need to be waterproof or food safe, you can leave it unglazed or use a more decorative glaze, like raku.
Can you glaze pottery at home?
You can glaze pottery at home if you have access to a kiln that reaches a temperature of at least 1800 degrees Fahrenheit.
What are the different types of glazes?
Low-fire glazes are fired at 1845 degrees Fahrenheit. Low-fire glazes are great for when you have a very specific, controlled design in mind. The resulting colors can be bright and predictable and do not melt together much.
Mid-fire glazes are fired at 2192 degrees Fahrenheit. The colors tend to have more variation and melt together to create more romantic visual effects.
High-fire glazes produce the most vitreous and durable ceramics. High-fire ceramics are fired at 2305 degrees Fahrenheit and include stonewares and porcelains. The color range of high-fire glazes is more limited.
Continue Exploring Guides In Earth

Guide to Ceramic Wheel Throwing
Learn exactly what tools and supplies you need to start wheel throwing pottery. Get the inside scoop from our Ceramics Department....

How To Make Pottery At Home: Materials, Equipment, & Steps
There are many different types of pottery and ways to learn ceramics. Here, we outline different types of clay and how to learn ceramics....

How To Glaze Pottery: Guide To Ceramics Glazing | The Crucible
This step-by-step guide covers how to glaze ceramics in a traditional and DIY kiln, along with different types of glazes and their uses....

Guide to Ceramics: Types, Materials, & How-To Learn
There are many different types of pottery and ways to learn ceramics. Here, we outline different types of clay and how to learn ceramics....

Guide to Handbuilding Pottery
Learn exactly what tools and supplies you need to start handbuilding pottery. Get the inside scoop from our Ceramics Department....
You Can Learn To Make Ceramics
The Crucible has new ceramics classes offered weekly.

Ceramic Ornaments
Glaze your own ornaments to give to your loved ones! You will select three pre-fired ornaments to paint and glaze, learning about glazing techniques and color application. After...

3-Hour Taster: Ceramic Mug
3-Hour Tasters are a great way to explore a new art form without the deeper commitment of a full course. Make a one-of-a-kind ceramic mug to enjoy your favorite warm beverage....

3-Hour Taster: Ceramic Planter
3-Hour Tasters are a great way to explore a new art form without the deeper commitment of a full course. Adding some greenery to your decor? Create your own ceramic planter and...

Hand Build and Raku Fire
Learn basic handbuilding techniques and play with a variety of raku decorating techniques. Raku firings, where ceramic pieces are taken out of the kiln glowing hot and placed in an...

Slip Casting with Plaster Molds
Learn the process of slip casting ceramics utilizing plaster molds. Cast multiple objects using clay slip, then kiln-fire and glaze your creations. Develop your slip casting skills...

Ceramics Lab
Lab sessions are a great benefit, exclusively for Crucible members! Practice the skills you learn in class and explore new possibilities with your craft. No instruction is provided...

Ceramics I
Try your hands at making sculptural and functional forms in clay. This introductory class covers traditional hand-building and surface treatment techniques while pushing the...

Ceramics II
Ceramics II is designed for students who have successfully completed Ceramics I and are looking to further advance their knowledge and creativity in working with clay. Students...

Youth Ceramics I
Try your hand at making sculptural and functional forms in clay and create a one-of-a-kind ceramic sculpture or functional vessel. Youth will practice traditional hand-building and...
Youth Ceramics II
Youth Ceramics II is designed for students who have successfully completed Youth Ceramics I and are looking to further advance their knowledge and creativity in working with clay....

Youth Clay Critters
Explore clay as a sculptural material to create critters from your own imagination! Learn hand-building techniques, such as slabs, coils, and pinching. We will cover several...

Youth Clay Critters Weekend
Explore clay as a sculptural material to create critters of your own imagination! Learn hand-building techniques, such as slabs, coils, and pinching. We will cover several...

Ceramic Bowls
Make your own soup-er bowls using clay! In this class we explore three different ways of handbuilding your own beautiful bowls. Students will make vessels using hand building...

Large Ceramic Forms
Explore techniques for making larger ceramic forms that can survive the kiln! Make a ceramic sculpture or planter, while practicing handbuilding techniques like coiling and...
Making Plaster Molds for Slip Casting
Create ceramic multiples! Whether you are interested in making multiple vessels or sculptures, this class covers the basic moldmaking techniques. We will make molds from existing...

Teapot and Cups
Create your very own teapot and set of tea cups! During this two-session class, learn the techniques for making a slab built teapot and a pair of hand built tea cups perfect for a...


Raku Fire Bisque Pots
Have an unglazed fired pot leftover from a pottery class? Transform it into a beautiful completed piece through the magical process of raku! In this class students will bring an...
Throwing in Sections
In this intermediate to advanced class we will explore throwing large forms in parts on the wheel using measurements and heat to assemble a large pot! Students will then return the...

Horsehair and Sugar Raku
In this class, students will hand-build forms to be fired for horsehair and/or sugar raku! During the second week, you’ll refine, smooth, and dry your pots before applying...

3-Hour Taster: Ceramic Ashtray Forms
Looking for that perfect ART FUNctional piece. Come create that unique ashtray using handbuilding techniques. Decorate your small to medium sized creation with underglaze decals...
3-Hour Taster: Wheel Throwing
3-Hour Tasters are a great way to explore a new art form without the deeper commitment of a full course. Want to give it a go on the wheel? Come put your hands to spinning clay and...
Wheel Centering Focus
Want to achieve consistent results centering on the potter’s wheel or try to center larger amounts of clay? This class is for you! Students will learn techniques that will...
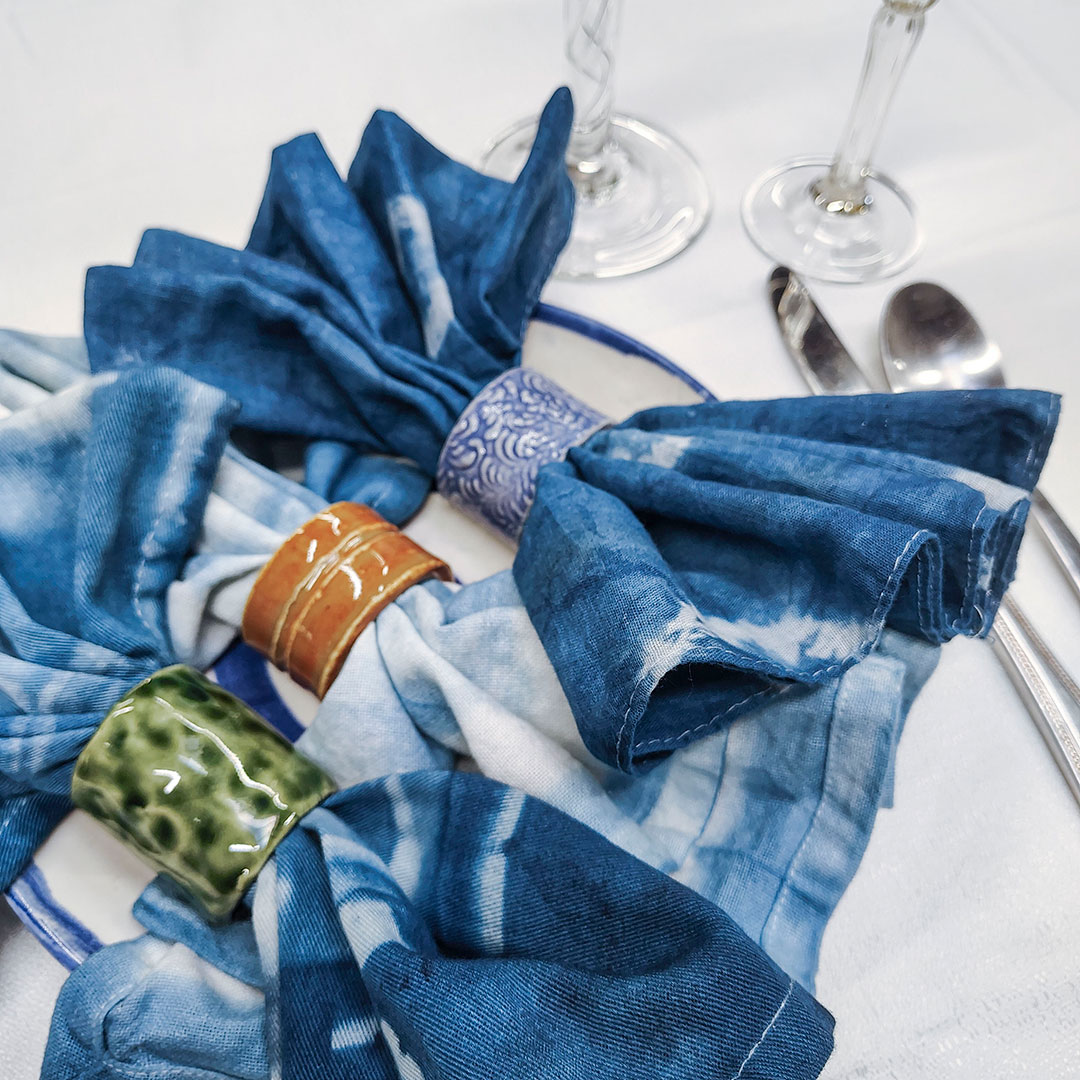
3-Hour Taster: Napkin Rings
3-Hour Tasters are a great way to explore a new art form without the deeper commitment of a full course. Make a one-of-a-kind ceramic napkin ring set to adorn your finest dinner...
Fundamentals of Hand Building
In this course students will learn basic ceramic hand building techniques to create functional and sculptural pottery. Using our hands as our primary tools we will learn pinching,...
Fundamentals of Wheel Throwing
In this class students will learn foundational basic throwing techniques needed to throw on the potter?s wheel. They will learn how to center and cone, pull a cylinder, and finish...