WoodworkingEarth
Woodworking Techniques & Tips for Beginners
By Kristin Arzt
Before you start woodworking, read this guide full of woodworking techniques and tips. Here, we cover the fundamentals of woodworking, essential tools, and how to get started safely.
11 woodworking techniques explained
The following woodworking techniques are essential to almost any woodworking project that you will complete. From cutting to finishing, these techniques are fundamental to every woodworking project and carry over from small projects like carving a spoon to larger projects like building cabinets.
Milling
Milling is the process of taking rough lumber and making it into geometrically precise blocks. Milling starts at the jointer, where you first flatten one face of the board. Then, move to a planer to make the opposite face of the board smooth. Finally, use the table saw to cut (or “rip”) the remaining edge to be parallel to the other. Milling prepares the wood for joinery.
Jointing & Planing
Jointing is the process of flattening one face and one edge as part of the milling process. In special circumstances, the jointer may also be used for rabbeting, beveling, and tapering.
Planing is a technique used to smooth and remove excess material from wooden surfaces. The planer is used to smooth lumber to an even thickness after one face has been flattened with the Jointer. Depending on the project, you may choose to plane by hand or using an electric planer. Hand planes are quieter and easier to direct for fine details and create less dust in the woodshop. Electric planers work well for removing large amounts of material from the surface of your wood quickly.

Sawing
Almost every woodworking project starts with cutting down wood using a saw. There are many different types of saws used for different types of projects. Always wear safety glasses and a respirator when you are working with a saw or fine particles. Earplugs or hearing protection are necessary when working with saws and loud equipment. Stay focused when using equipment and tools and clear any distractions out of your way.
Chop saw (Sliding Compound Miter Saw)
The sliding compound miter saw, also known as a chop saw, is generally used for rough cutting lumber to useful dimensions for further milling. It can be useful for angled cuts as well, though it does not have the precision available via a jig on the table saw.
Hand saw
Hand saws are lightweight, portable, and do not require a power source. They come in many shapes and sizes with a variety of blades. Western saws are heavy and designed to push through wood with great strength. Japanese hand saws are designed to be pulled through the wood gently and have a thinner blade. They are generally easier to use compared to Western hand saws.
Portable circular saw
Portable circular saws are efficient, easy to use, and portable. The main advantage of these saws is that they work well for fast cuts.
Table saw
The table saw is a stationary circular saw and is the core machine of most woodshops. They are powerful and precise and one of the most versatile machines in the shop, used to crosscut and rip wood with great accuracy, as well as perform many other operations via the additions of various jigs and alternate blades. While the table saw’s exposed blade is a clear danger, one of the primary things to watch out for is kickback, when the operator loses control of the work and it gets forcefully thrown in the direction of the blade rotation.
Chainsaw
A chainsaw is a portable saw that cuts wood using a chain and is powered by gasoline, electricity, or a battery. It is best for initial rough cuts to shape a project, or for sourcing wood when felling or pruning trees for material.
Bandsaw
The bandsaw is generally used for rough ripping and curved cuts, and are also useful for “stopped” cuts, as well as resawing. Bandsaws make relatively rough cuts, especially compared to a table saw. They come in many sizes and are very versatile saws, depending on the size of the stock you plan to cut and the intricacy of your project.
Scroll saw
The scroll saw is a shop tool that enables you to cut fine, delicate curves and cut work. They use a fine blade that moves up and down to make intricate cuts.

Drilling & Boring
The drilling process creates a hole in the wood, while the boring process removes material to enlarge a pre-existing hole. Attach the correct bit to your drill, depending on the desired size and material. Drilling is done on either a stationary drill press or using a handheld drill driver. Handheld drills are convenient while stationary drill presses provide more precision and power.
Drill Bits
The type of drill bits you use will depend on the size of the hole you need to create, the material you are working with, or the speed of the bit. The range of sizes of drill bits varies vastly.
There are three main types of bits:
- Twist bits are the most widely used of all drill bit types.
- Forstner bits create large, clean holes.
- Spade bits are a less expensive alternative for large holes, however, they can cause splintering and tear-out.
Drill Press
The drill press is used to make accurate holes and can accommodate a wide variety of bits. Make sure that you run the drill at the correct speed. Smaller bits work best when going fast, and larger bits need the press to go slower. Forcing or feeding too fast can break drill bits. Frequently back the drill out of deep cuts to clean and cool the bit.
Routing
The router is a very versatile power tool used both handheld and mounted on a table. Depending on the bit mounted in the router, it can be used to add edge treatments, create grooves, follow patterns, and much more. It is an expensive machine and is great for a smaller space or just beginning to build out a woodshop.
Gluing & Clamping
Glue types
When you glue together two pieces of properly prepared wood, the glued joint is stronger than the wood itself. There are three main types of glue for joining wood together.
- White and yellow interior glue is the most commonly used type of wood glue. It is not water-resistant, and therefore should not be used outside.
- Exterior glue is used for outdoor projects because it is water-resistant.
- Epoxy is used to fill gaps and increase the strength of a piece.
Clamp types
- Bar clamps are used for joining larger projects, similar to pipe clamps. They are made up of a long flat bar with a jaw attached to them. The widths are adjustable but are limited to how long the bar is. They come in a wide range of sizes and weights.
- Pipe clamps are similar to bar clamps and work well for large projects like doors and tabletops. A pipe clamp can be converted to any size by simply changing the length of pipe between the fittings.
- F-clamps work especially well on narrow projects and for clamping edges quickly. You can even use them as a vise to clamp your project down to a workbench.
- Spring-loaded clamps work well to clamp small projects, generally up to three inches wide. They are lightweight and easy to use.

Shaping & Molding
Shaping is the technique of carving wood into non-rectangular shapes.
Molding is a strip of solid wood with various decorative profiles used to cover transitions between surfaces. You have likely seen molding on the walls in older homes or on antique wardrobes. Woodworkers also work with steam to artfully create bends and curves in thin pieces of wood.
Scrollwork
Scrollwork is a process that uses a scroll saw to create ornamental designs in wood. You can cut intricate shapes such as letters, decorate ornamental sculptures, or create embellished legs for furniture projects.
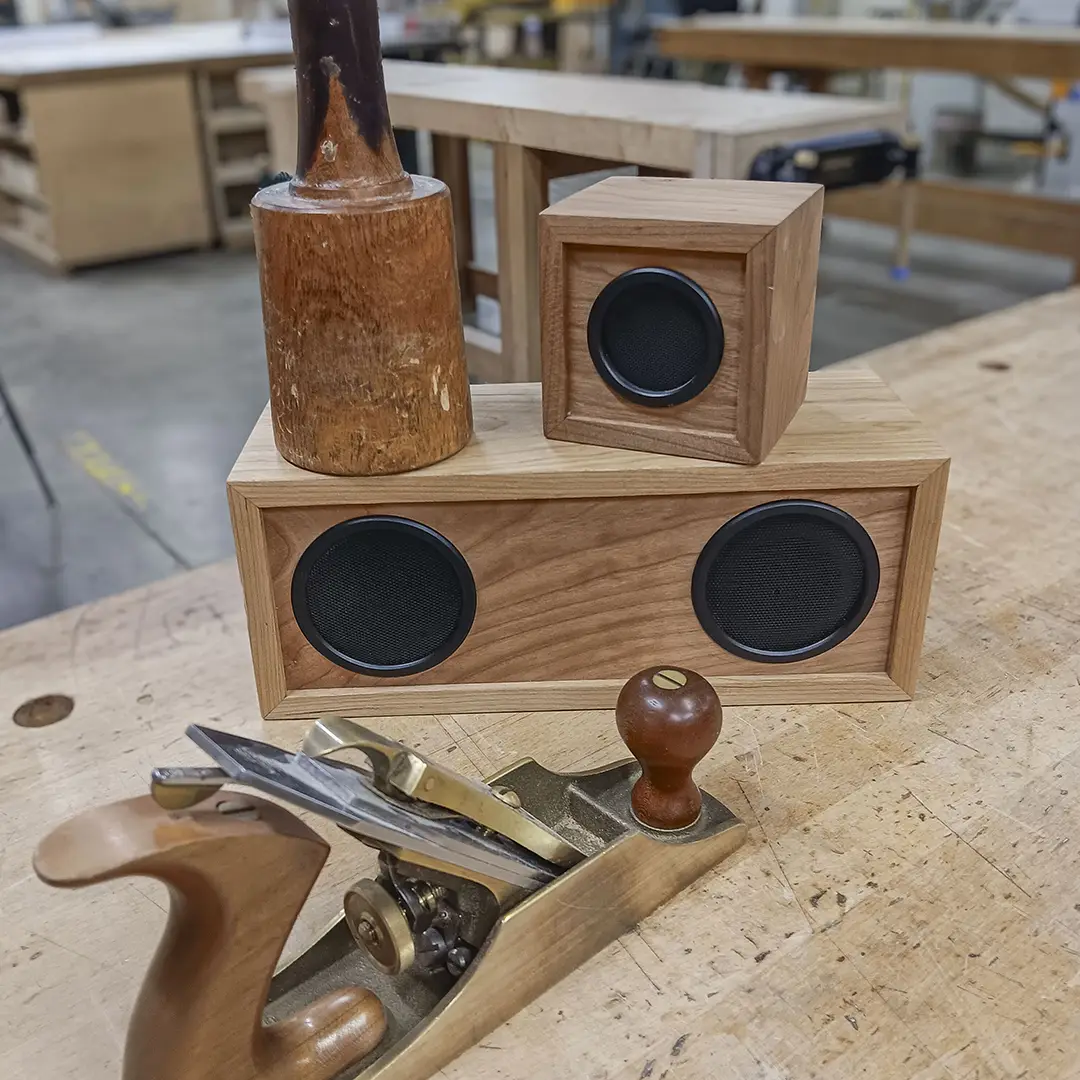
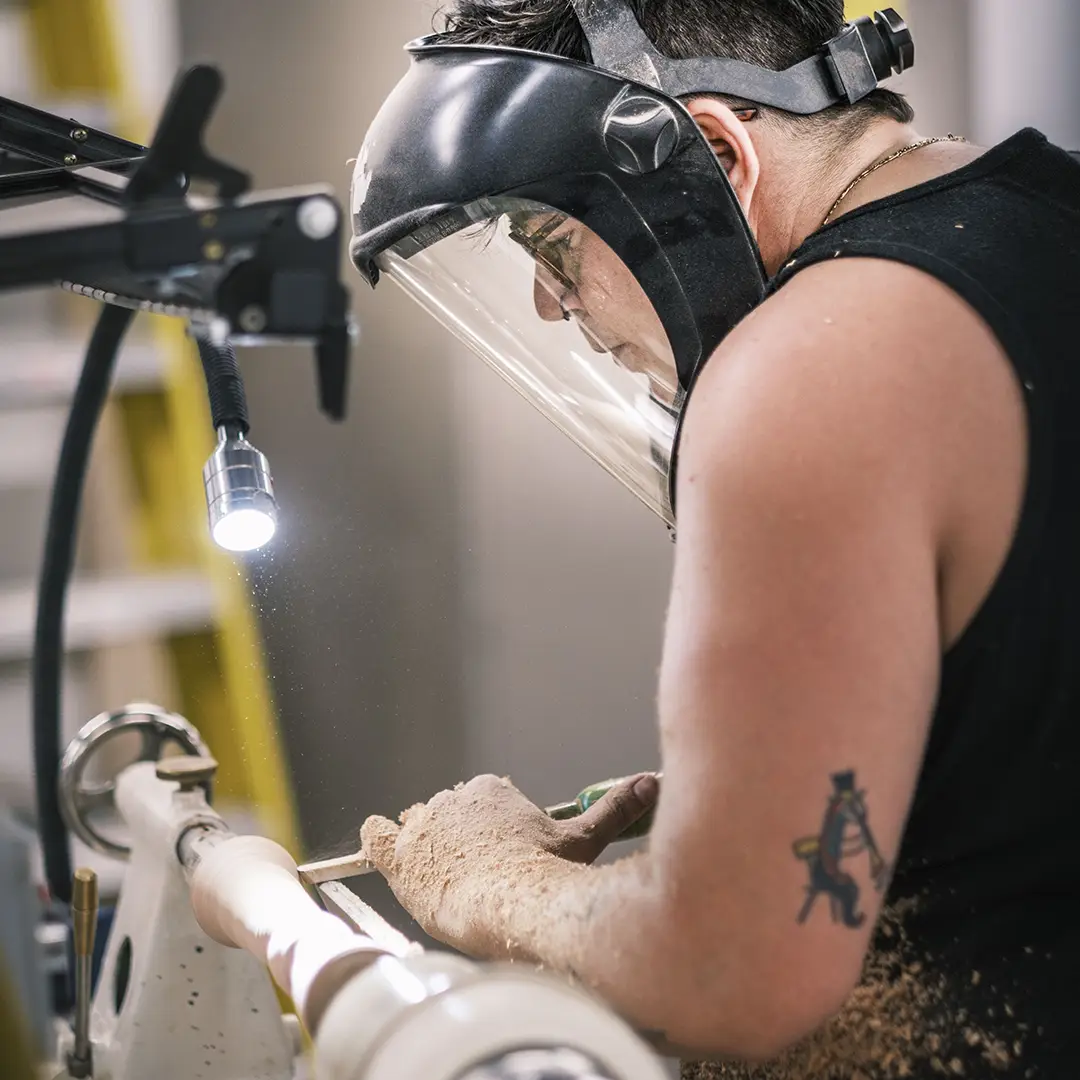
Lathe Turning
Woodturning is the art of shaping wood into cylindrical shapes on the lathe. The Crucible’s Woodturning classes teach you how to use a lathe to turn a rough piece of wood into a mallet and bowl. In this class, you learn the basics of turning, sharpening, wood selection, preparation, and finishing techniques.
Veneering & Lamination
Veneering is the art of decorating a solid piece of wood by gluing thin slices of wood to the surface. This technique is also used in marquetry. Lamination is the process of binding together layers of wood using glue and pressure. These techniques are used to create skateboards. In The Crucible’s Youth Skateboard Building, students can design and build their very own custom skateboard from seven layers of hard maple veneer.

Sanding & Filing
Sanding and filing are two methods of shaping wood.
Sanding is the finishing technique to smooth the surface of the wood using sandpaper, often applied in a sequence of grits. It is the process of scratching up the surface with finer and finer grits until the marks they leave are too fine to detect. Grit is graded indicating the number of particles per inch, so higher numbers are finer.
Filing is the process of shaping wood to remove rough spots and shave wood in hard-to-reach angels. Files are hand tools made of hardened steel with a wooden handle. Rasps are similar tools which remove material faster, but leave a coarser finish.
Hand Sanding
Most hand sanding should be done with a block, unless you’re working on curved parts, or rounding edges. Take care to keep flat on the piece, and work in the direction of the grain to camouflage the inevitable scratches. When sanding curved surfaces, it is often best to work with the sandpaper just folded in your hand.
Powered Sanding
Powered sanders can speed up the work quite a bit, but are aggressive and can quickly create uneven surfaces. The disc dander and spindle sander are powerful tools that utilize coarse abrasives, and are appropriate for shaping rather than finishing. The disc sander is useful for flat surfaces and outside curves, while the spindle sander is used for inside curves. The spindle sander has different radius drums to accommodate curves of different radii.
Handheld random orbit sanders are a useful finishing tool. However, they are far more aggressive than hand sanding and can quickly taper edges or dig grooves. Oscillating drum sanders can be used to smooth a panel to finish-ready, but they are best used for a final pass with a fine grit of sandpaper.
Finishing
Most types of wood will easily pick up scratches, dings, and dirt, and oil and liquids will always leave marks. Wood can also shrink or expand in response to the moisture in the air. Finishes, to varying degrees, protect the wood from all of the above, either with a protective layer over the top, or by penetrating the surface and hardening there. Additionally, most finishes will accentuate the grain, and when a number of coats are built up make it really shine.
Penetrating finishes are oil-based and absorbed by the wood. They are easier to apply than surface finishes and give the wood a more natural look.
Surface finishes dry on top of the wood to create a protective coating. Paint, polyurethane, and shellac are all examples of surface finishes. They offer durable protection and are a good choice for wood pieces that receive a lot of wear, like exterior furniture or a frequently used countertop.
Pro tip: Because finishes seal the wood, be sure to always apply the finish to the hidden parts also, to ensure that the wood reacts to changes in humidity uniformly. A coat or two is enough in the hidden areas.
Finishing is a large topic, with strong opinions in every direction. This guide provides an overview of the basic finishes and techniques and then gives some basic recommendations and instructions as a good starting point.

7 woodworking tips for beginners
1. Measure twice, cut once
You have heard it before! But we will say it again. Always double-check your measurements for accuracy before cutting a piece of wood.
2. Use the right type of wood for your job
Educate yourself on different types of wood before you purchase the material for your project. Ask yourself, how was it dried and for how long? As the wood dries, it loses moisture and ultimately will shrink and change shape. Kiln-dried lumber is ideal to work with as it has been meticulously dried to prevent warping. If you work with wet wood, it will likely warp and will not work well on mechanical equipment.
While timber is a renewable resource, it is not always sustainably harvested. The Crucible’s Woodworking Department works with materials that have been sustainably sourced from North American hardwoods.
3. Check your wood for imperfections
Defects in wood can result in a weaker final project or simply aesthetic issues. Make sure you also check for any nails, staples, and metal materials because these can damage your tools.
4. Clean your workspace regularly
Have a shop broom close to your saws to sweep out any excess dust, and occasionally use a shop vac to keep the area clean and safe.
5. Practice fundamentals with fun projects at home
Practice projects are a great way to get to know different types of wood, tools, equipment, workspaces, and more. In The Crucible’s Fundamentals of Woodworking class, students practice a number of beginner techniques by building their own bench hook—handy helping to steady your hands and tools when working on smaller projects. Other great beginner projects include a small table, shelf, or bookends.
6. Take local classes
It is a great idea to learn foundational skills and how to safely use woodworking equipment from a professional. Taking classes in a public woodshop means you won’t have to build out your own shop at home, which can be costly. The Crucible has a newly-expanded Woodshop in the Bay Area and offers new classes weekly.
7. Be safe
Always wear safety glasses or goggles and a respirator when you are working with a saw or fine particles. Earplugs or hearing protection are necessary when working with saws and loud equipment. Stay focused when using equipment and tools and clear any distractions out of your way. Maintain your tools and make sure they stay sharp to make work easy and prevent injury.
Continue Exploring Guides In Earth

Guide to Ceramic Wheel Throwing
Learn exactly what tools and supplies you need to start wheel throwing pottery. Get the inside scoop from our Ceramics Department....

How To Make Pottery At Home: Materials, Equipment, & Steps
There are many different types of pottery and ways to learn ceramics. Here, we outline different types of clay and how to learn ceramics....

How To Glaze Pottery: Guide To Ceramics Glazing | The Crucible
This step-by-step guide covers how to glaze ceramics in a traditional and DIY kiln, along with different types of glazes and their uses....

Guide to Ceramics: Types, Materials, & How-To Learn
There are many different types of pottery and ways to learn ceramics. Here, we outline different types of clay and how to learn ceramics....

Guide to Handbuilding Pottery
Learn exactly what tools and supplies you need to start handbuilding pottery. Get the inside scoop from our Ceramics Department....
You Can Learn To Work with Wood
The Crucible has new woodworking classes offered weekly.

Wooden Box
After a basic introduction to woodworking handtools, create a small, functional wooden box to take home. This is a great project-based class, where students walk away with a great...

Wooden Toy
Build a unique, customizable wooden toy! Learn to safely use woodworking tools and machines, then complete your project with colorful, foodsafe finishes. Class projects include...

Fundamentals of Woodworking
Begin your woodworking experience in this introduction to tools and techniques. We will cover the basics of wood technology, what hand tools and power tools to use, how to use...

Woodworking I
Learn how to use power tools and hand tools safely and effectively to build a piece of fine furniture. Class assignments introduce the core concepts and techniques required for...

Woodturning I
Use a lathe to turn a rough piece of wood into a beautifully shaped spindle-turned mallet and face-plate mounted bowl. You will learn the basics of the turning process and cover...

Pen In One Day
Students will make two pens at the lathe, one of solid wood and one of your own design built up from several pieces of wood. Since turning pens is a quick process, we will have...

Woodworking CREATE Lab
The Woodworking CREATE Lab is here to facilitate access for Crucible members to use our 1500+ sq ft woodworking studio to work on their own projects. Whether you have a specific...

Spoon Carving By Hand
Learn basic principles of working with wood while making your own carved wooden spoon. Topics covered include different types of wood, grain direction, carving, shaping, and food...
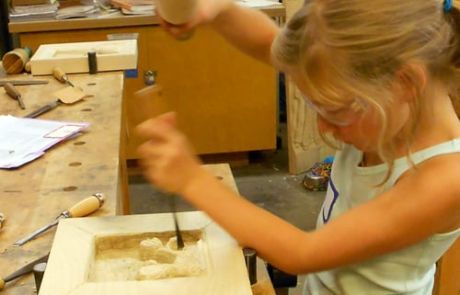
Youth Woodcarving and Sculpting
Learn the history, cultural significance, and process of woodcarving and sculpting, including design and carving approaches. Through hands-on demonstration and approach, students...
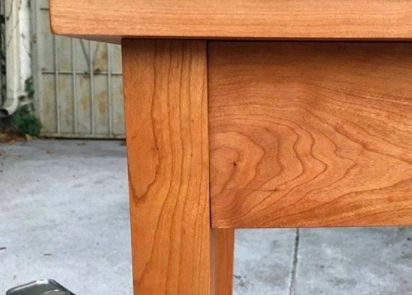
A Finer Table
Come with ideas to design, plan, and build a table with a drawer. Students who enjoyed making the mortise and tenon table in Woodworking I can go deeper into the process. The first...

Wood Tool Sharpening
Whether one works by hand or mainly with machines, keeping a keen edge on your hand tools is vital. Sharpening can seem like a deep skill to master, but getting going with it isn?t...

Hand Tools
This introduction to hand planes, chisels, saws, and proper workbenches is meant for people who would like to work with wood without using machines. Sharpening, traditional jigs,...

Essential Woodworking Jigs
Craftspeople have traditionally used jigs to improve the speed and accuracy of their hand tool work, but making them well by hand is challenging. Learn about how to properly use...

Youth Skateboard Building
Design and build your very own custom skateboard from seven layers of hard maple veneer. Learn woodworking techniques and the concepts of vacuum press veneering and bending wood....
Youth Woodworking I
Learn to use hand and power tools to transform raw lumber into heirloom-quality objects. Explore the properties of wood, safe tool use, accurate measurement and layout, and...

Build A Skateboard
Build your very own custom skateboard from seven layers of hard maple veneer. Learn to shape a foam mold, the woodworking techniques, and the concepts of vacuum press veneering for...

Traditional Dovetails
Dovetails have long been seen as a mark of craftsmanship as they?re famously tricky to do well. This class will go over the complete construction of a drawer or box made from solid...

Frames and Panels
From picture frames to doors, we?ll look at ways to join wood into frames. We will start with building a mitered-corner picture frame and then proceed to make a traditional mortise...

The Bandsaw Box
You don?t need a fully equipped shop to enjoy woodworking! In this class, you will learn to design, make, and finish a unique wood box. With an emphasis on tool safety and material...

Woodturning II
Explore more advanced projects such as goblets, close-fitting lidded boxes, and special projects while honing your turning skills. This class gives students more time on the...

Woodworking II
Build on the skills you developed in Woodworking I through the construction of a small nightstand. Woodworking II introduces the basics of cabinet design and construction, working...

Carving the Tudor Rose
Carve the traditional and historical Tudor Rose design, while learning to work with chisels, gouges, and techniques for creating detail and three-dimensional visualization. By...

Marquetry
Learn the basics of handling veneer and the decorative technique of marquetry, where you use small, variously colored veneer to create an image. You will make at least two...
Wood + Metal
Learn the fundamental properties of wood and metal, two titans of arts materials. Students create a custom piece of furniture incorporating a wooden top with a metal base,...

Wood + Leather
Students will spend the beginning part of the class making and elegant wooden box with reinforced, mitered spline corners. They will then use the remaining sessions of the course...

Turning for the Kitchen
Students will learn spindle turning via two projects for the kitchen: a bottle stopper & a peppermill. Students will learn about the different foundational tools used for...
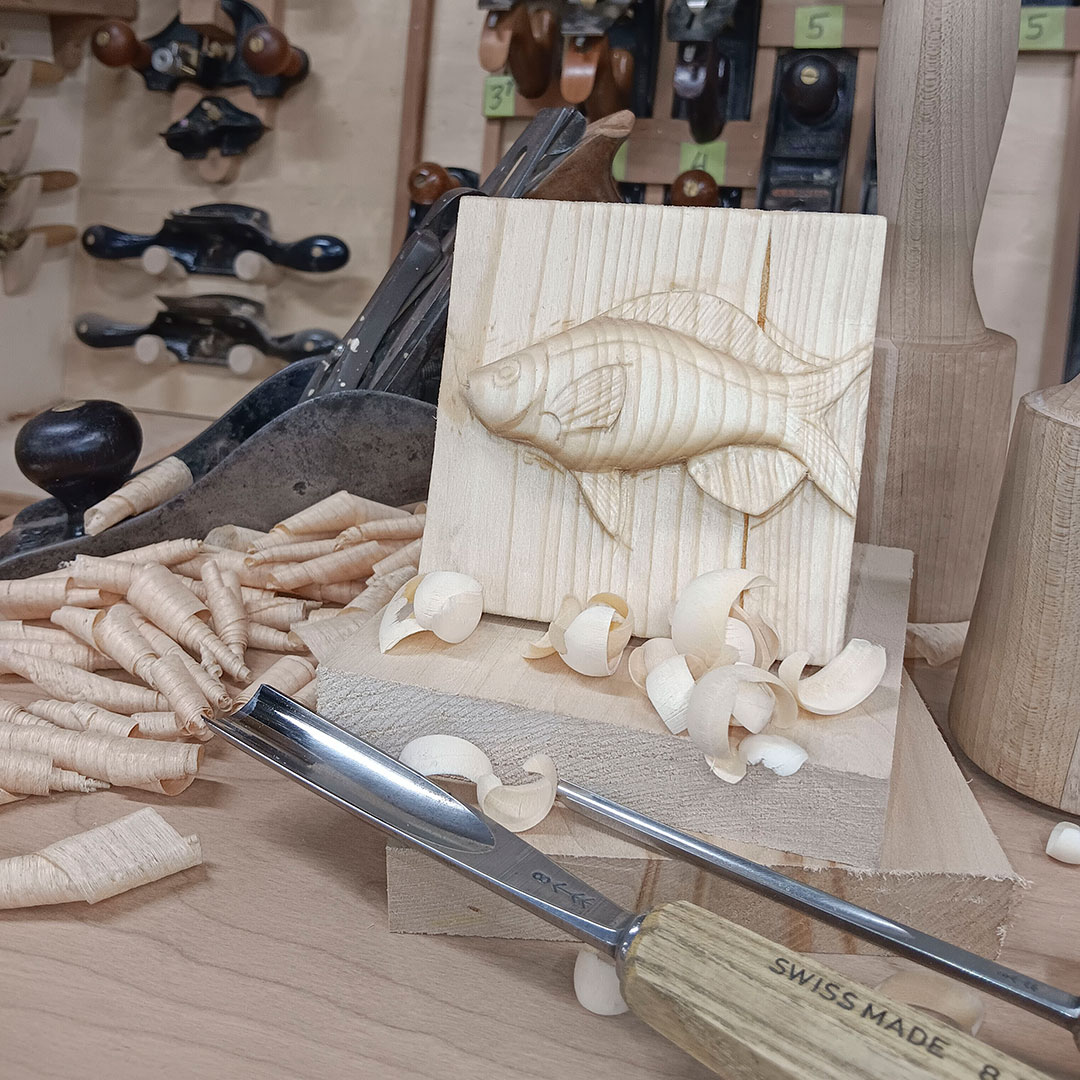
Introduction to Carving
Wood carving is a fantastic, quick and low tech way to step into the world of woodworking! This beginner’s course will introduce you to the foundational tools and techniques...
Woodturning Lab
The Woodturning Lab is here to facilitate access for Crucible members to use our woodturning studio lathes and chisels to practice their skills and work on their own projects. A...