CeramicsEarth
Guide to Ceramic Wheel Throwing
By Kristin Arzt
Guide to Ceramic Wheel Throwing
What is wheel throwing?
Wheel throwing is the process of forming clay into shapes on a potter’s wheel. It is a common technique for making ceramic mugs, bowls, and plates. The potter shapes and forms wet clay on the wheel, then lets the clay harden and dry a bit to a leather-hard stage before finishing and returning the piece to the wheel for trimming. You can also use the potter’s wheel to add decorative surface design elements like lines, textures, and color by carving or adding slip and underglaze to the clay surface before firing. There are many possibilities when wheel throwing, from creating replicable, functional forms to creating tall, symmetrical shapes and beyond, the possibilities when it comes to wheel throwing are endless. In this guide, we will cover the essential steps to wheel throwing and how to learn to throw clay on the wheel.
How does wheel throwing work?
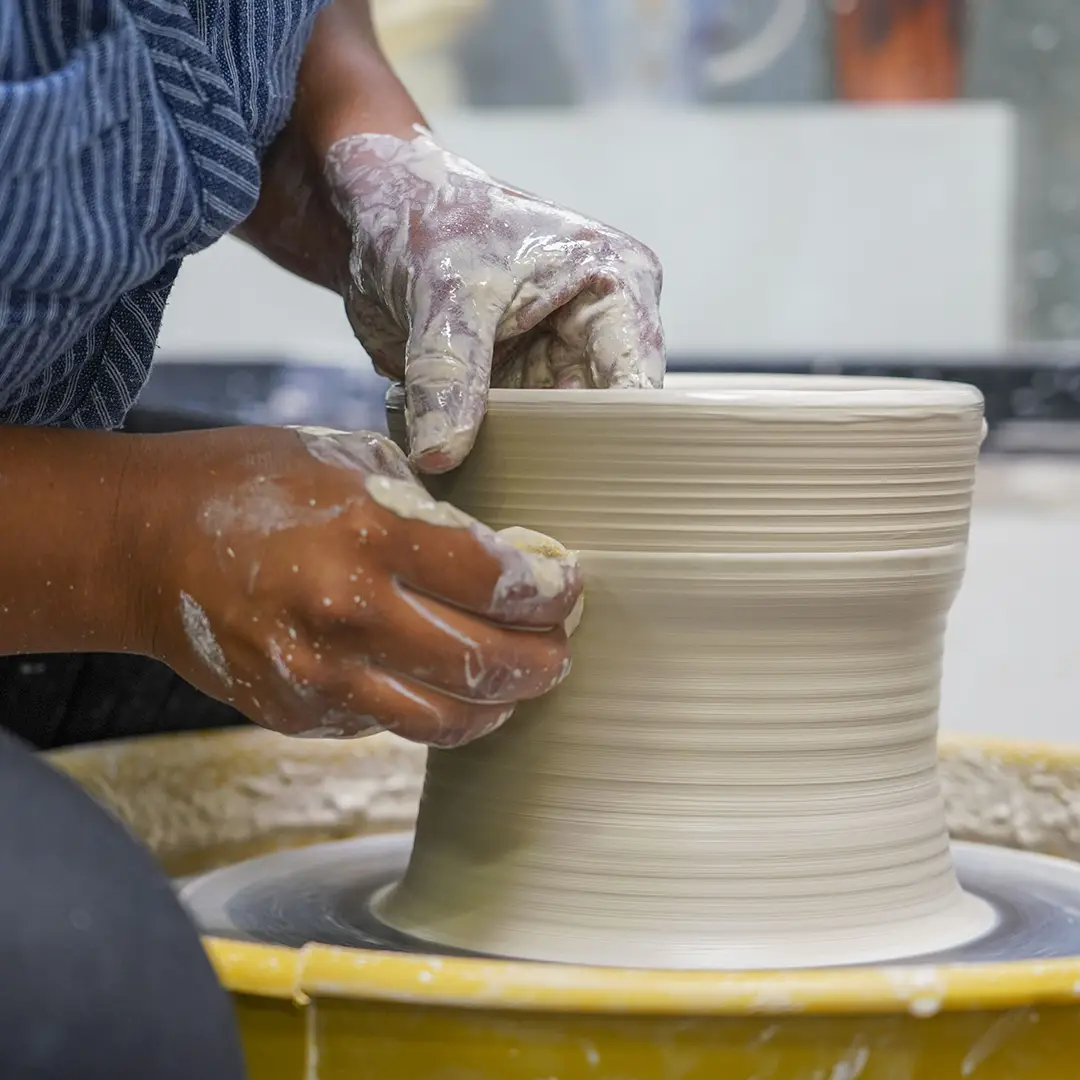
Wheel throwing works through the combination of centrifugal force and relative control by the potter. As the wheel spins, the clay is inclined to stretch and move outward. The potter controls the clay with their hands to push it towards the center and shape it in an even manner. The potter clay is at the center of the wheel, adding water to assist in the smooth, slow movement of the clay upwards. As the potter’s wheel spins, the clay is sculpted into shapes, most popularly for functional pottery.

5 Steps to Throw Pottery on a Wheel
Tools for Throwing Pottery
Step 1: Seal your clay to the bat
Depending on your hand placement you will want to change the direction of your wheel.
Secure your bat onto the wheel, and use force to slam a clay ball into the center of the bat. As the wheel spins, use your index finger to seal the bottom of the clay to the bat until the clay is attached.
Step 2: Center your clay
In order to center your clay on the wheel, you will need to cone up and cone down. Set your wheel speed to about 80% (full speed is too fast!). First, ensure that your elbows are stabilized and locked to your legs. Then, use your hands to push the clay up into a cone shape, and press down on the clay with a flat palm to cone down while holding your other hand against the side of the clay to prevent it from protruding too much. Keep repeating this process until your clay is centered, and add more water to your clay as needed. You will know when it is centered when it is no longer wobbly. To check if your clay is centered, hold your pointer finger in place close to the side of your cone. As your clay spins take note of whether the clay hits your finger throughout the rotation or just a certain point. If the contact is not consistent you will want to continue the coning process until it passes the test.
Step 3: Make an opening
Once your clay is centered you are ready to open your piece. While bracing your elbows on your thighs, make a divot in the center of the clay using your two thumbs, pushing down slightly in the middle. Once you’ve created a divot this will act as your center guide. With one hand, you will begin to push down in the middle of your piece driving toward the bottom nice and slow. This can be accomplished using your middle and index finger. Make sure you continue to add water throughout the process. Do not open all the way to the wheel head. Once you’ve gotten closer to the bottom, you can stop your wheel and measure the bottom by poking your pin tool through the floor of your piece. Leave between a ½ inch and a ¼ inch for your floor. If you still have a considerable amount of clay, continue driving downward and checking with your pin tool.

Step 4: Shape your pottery
Slow your wheel down another 15% or so. Place your middle and pointer fingers into the opening and hold your other hand on the outside of the clay. Using the straight flat side of your fingers, push the clay outward making sure not to create any ridges along the floor of your piece as you open. Make sure your outside hand stays stable to prevent the clay from stretching out. Once you’ve opened your clay to be about ¾ – ½ inch thick, you are ready to begin pulling your clay.
With a little pressure, drag your sponge across the bottom of your piece to remove excess water and flatten out any bumps. To begin pulling, place one hand inside the opening to stabilize the wall. On the outside, use your pointer or middle finger to create an indent at the base of your piece. Applying pressure from just the outside and maintaining stability on the inside, begin slowly relocating your clay up the wall of your piece. This will start to create height and will help even out the walls. Continue the pulling process until you’ve achieved your desired height and wall width. To shape your piece, push the clay out and in. Make sure you are slowing your wheel down as your piece gets taller to prevent a wobble.
Step 5: Final touches
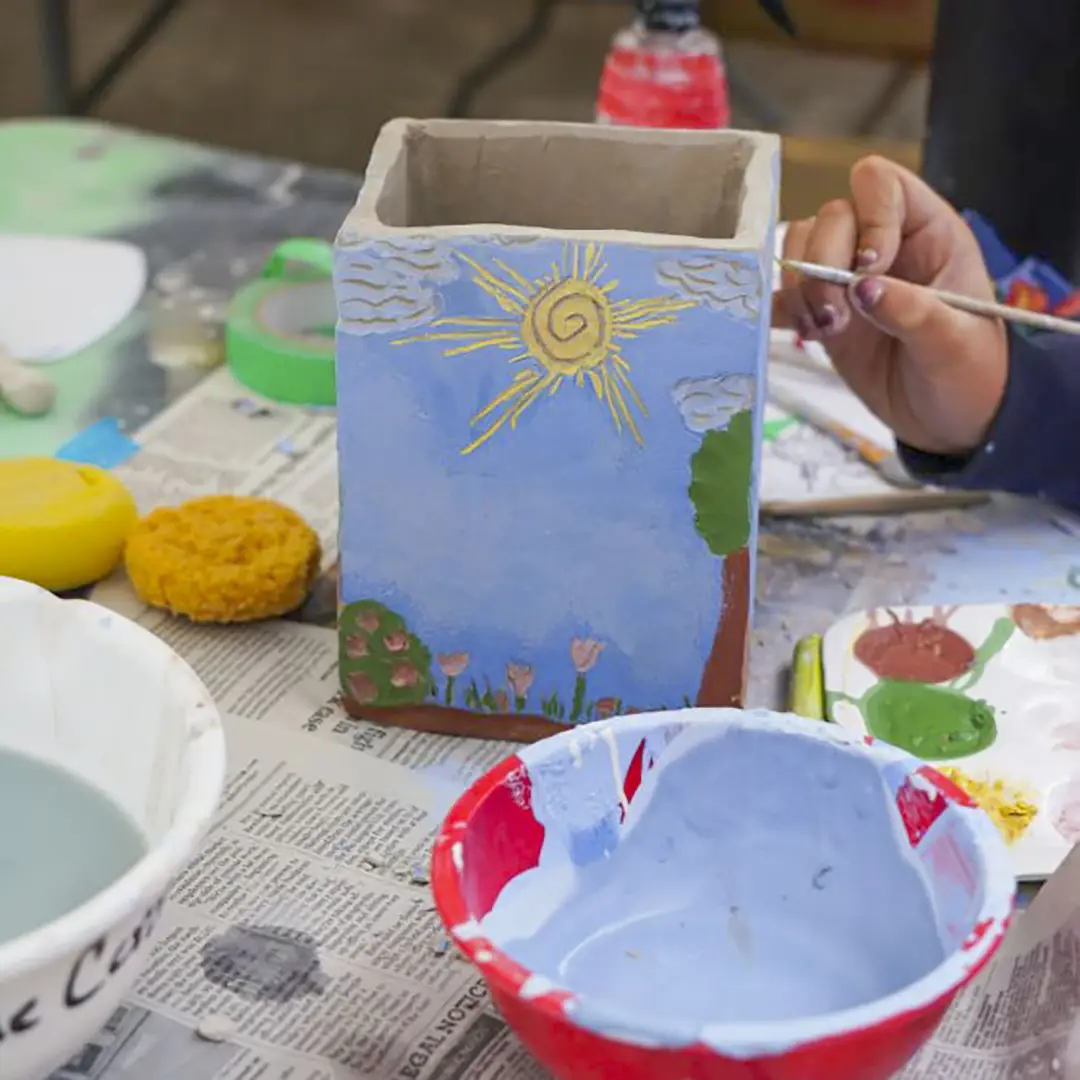
Using a wooden or rubber rib, smooth the edges of your piece as your wheel spins. You can do the same to the top of your piece with a sponge or a piece of wet newspaper. You may also use a sponge to absorb any excess moisture, especially on the inside of your clay vessel. Any excess moisture can cause your clay to dry unevenly which can lead to cracking and warping. Cut your pot off the bat using a wire tool—remember to keep the wire taught on either side of your pot. It helps to make the wire cutter smaller by twisting it around your hands like you would floss around your fingers. Add water onto the surface of the bat and slowly slide the wire across the bat under your piece. Wait until your piece is leather hard before repairing, trimming, or adding any surface design.

What can you make using a pottery wheel?
You can make any item with a round base on a pottery wheel. For the kitchen, you can mugs, pitchers, cups, bowls, plates, and teapots. For decorative items around the house, you can make vases, candle holders, planters, wall hangings, and more. Work made on the pottery wheel is usually symmetrical but can be combined with hand-building techniques and manipulation to make asymmetrical shapes.
How to learn wheel throwing
As a beginner potter, we recommend first taking a class from a professional to make your own pots from clay. There are public resources and organizations, such as the National Council on Education for the Ceramic Arts, where you can connect with ceramic artists, teachers, apprenticeships, and more. Once you have the fundamentals down, you may decide to build your own pottery studio at home.
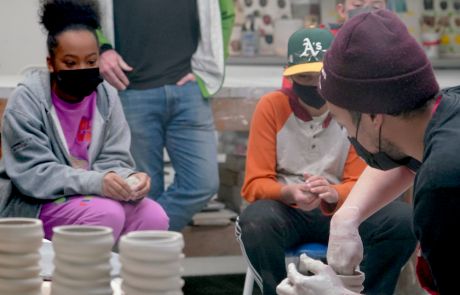
Ceramics at The Crucible
In The Crucible’s Ceramics Department, students make sculptural and functional forms in clay, covering traditional wheel throwing, hand-building, and surface treatment techniques. You can get started in classes like Wheel Throwing I*or try a 3-Hour Taster to explore a new art form without the deeper commitment of a full course. After you have the foundations of wheel throwing down, you can move on to more advanced Wheel Throwing II, or explore a variety of hand-building and alternative firing classes.
*Wheel Throwing does require a prerequisite session of Ceramics I so students are familiar with glazing and the rules of the studio.

Wheel throwing FAQs
Is wheel throwing hard?
Wheel throwing takes practice, patience, and time to grasp. Every beginner potter learns to let go of attachment to certain pieces while throwing them on the wheel since breakage and mishaps can be common. Once you find the approach and techniques that work best for you, wheel throwing comes as second nature.
What’s the difference between wheel throwing and handbuilding?
Handbuilding pottery does not use a wheel to shape the clay, while wheel throwing does. When handbuilding, a ceramic artist may use a slab roller, or simply sculpt with their hands to shape the clay. Wheel throwing pottery uses an electric or a manual pottery wheel to spin the clay while the potter shapes it. When throwing on a wheel, the potter uses their hands to center the clay, open it into a vessel, and shape it.
Where can you learn wheel throwing?
You can learn wheel throwing by first researching online resources, from videos to written tutorials. We recommend learning from an experienced potter in a group class or private session. Many professional potters have varying styles, so practice and learn what style works best for you.
Is wheel throwing a good technique for beginners to learn?
While wheel throwing can take a bit more time to master than other types of pottery-building techniques, beginners can learn with practice and patience. We recommend taking a class with a professional potter when first starting out.
Continue Exploring Guides In Earth

Guide to Ceramic Wheel Throwing
Learn exactly what tools and supplies you need to start wheel throwing pottery. Get the inside scoop from our Ceramics Department....

How To Make Pottery At Home: Materials, Equipment, & Steps
There are many different types of pottery and ways to learn ceramics. Here, we outline different types of clay and how to learn ceramics....

How To Glaze Pottery: Guide To Ceramics Glazing | The Crucible
This step-by-step guide covers how to glaze ceramics in a traditional and DIY kiln, along with different types of glazes and their uses....

Guide to Ceramics: Types, Materials, & How-To Learn
There are many different types of pottery and ways to learn ceramics. Here, we outline different types of clay and how to learn ceramics....

Guide to Handbuilding Pottery
Learn exactly what tools and supplies you need to start handbuilding pottery. Get the inside scoop from our Ceramics Department....
You Can Learn To Handbuild Pottery
The Crucible has new ceramics classes offered weekly.

Ceramic Ornaments
Glaze your own ornaments to give to your loved ones! You will select three pre-fired ornaments to paint and glaze, learning about glazing techniques and color application. After...

3-Hour Taster: Ceramic Mug
3-Hour Tasters are a great way to explore a new art form without the deeper commitment of a full course. Make a one-of-a-kind ceramic mug to enjoy your favorite warm beverage....

3-Hour Taster: Ceramic Planter
3-Hour Tasters are a great way to explore a new art form without the deeper commitment of a full course. Adding some greenery to your decor? Create your own ceramic planter and...

Hand Build and Raku Fire
Learn basic handbuilding techniques and play with a variety of raku decorating techniques. Raku firings, where ceramic pieces are taken out of the kiln glowing hot and placed in an...

Slip Casting with Plaster Molds
Learn the process of slip casting ceramics utilizing plaster molds. Cast multiple objects using clay slip, then kiln-fire and glaze your creations. Develop your slip casting skills...

Ceramics Lab
Lab sessions are a great benefit, exclusively for Crucible members! Practice the skills you learn in class and explore new possibilities with your craft. No instruction is provided...

Ceramics I
Try your hands at making sculptural and functional forms in clay. This introductory class covers traditional hand-building and surface treatment techniques while pushing the...

Ceramics II
Ceramics II is designed for students who have successfully completed Ceramics I and are looking to further advance their knowledge and creativity in working with clay. Students...

Youth Ceramics I
Try your hand at making sculptural and functional forms in clay and create a one-of-a-kind ceramic sculpture or functional vessel. Youth will practice traditional hand-building and...
Youth Ceramics II
Youth Ceramics II is designed for students who have successfully completed Youth Ceramics I and are looking to further advance their knowledge and creativity in working with clay....

Youth Clay Critters
Explore clay as a sculptural material to create critters from your own imagination! Learn hand-building techniques, such as slabs, coils, and pinching. We will cover several...

Youth Clay Critters Weekend
Explore clay as a sculptural material to create critters of your own imagination! Learn hand-building techniques, such as slabs, coils, and pinching. We will cover several...

Ceramic Bowls
Make your own soup-er bowls using clay! In this class we explore three different ways of handbuilding your own beautiful bowls. Students will make vessels using hand building...

Large Ceramic Forms
Explore techniques for making larger ceramic forms that can survive the kiln! Make a ceramic sculpture or planter, while practicing handbuilding techniques like coiling and...
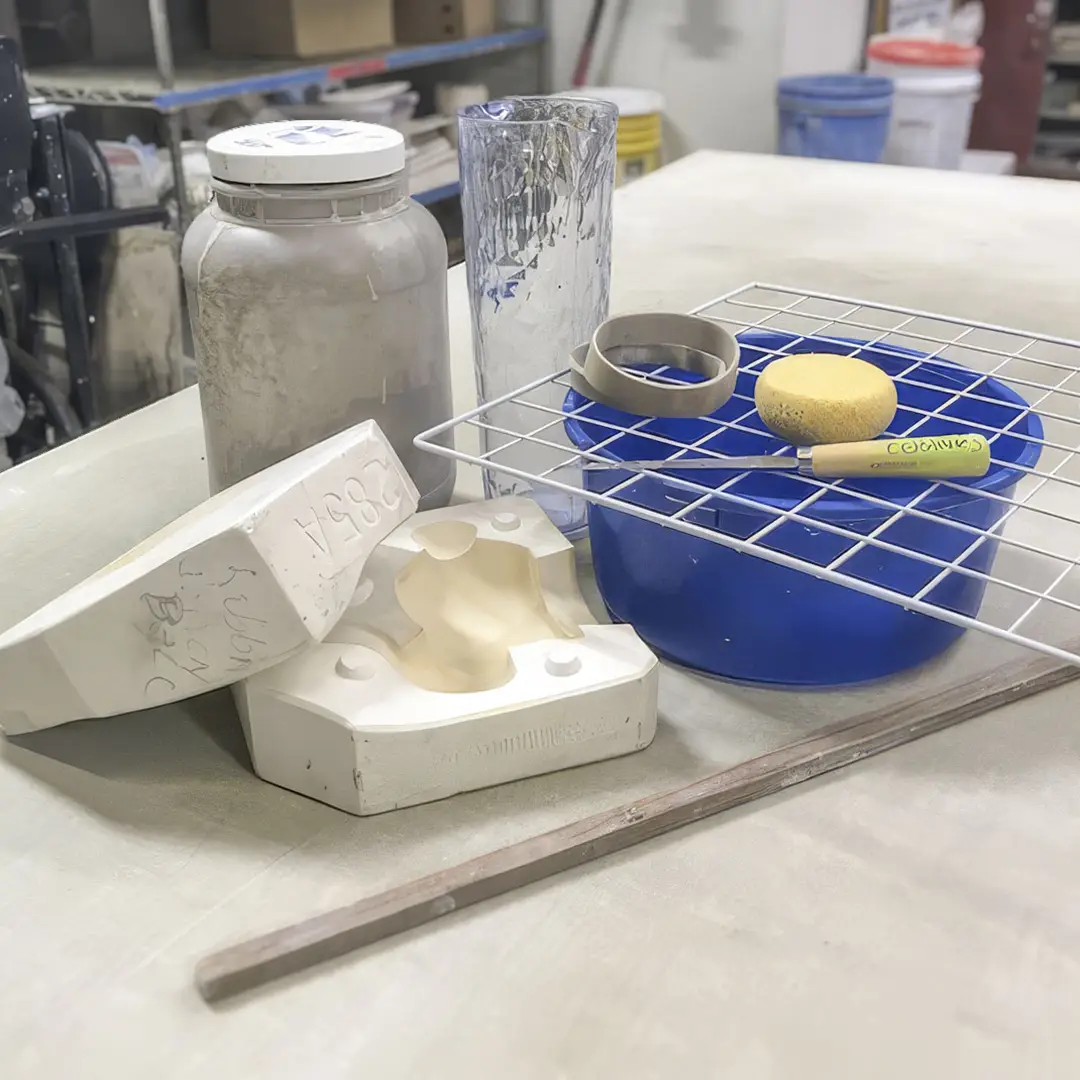
Making Plaster Molds for Slip Casting
Create ceramic multiples! Whether you are interested in making multiple vessels or sculptures, this class covers the basic moldmaking techniques. We will make molds from existing...

Teapot and Cups
Create your very own teapot and set of tea cups! During this two-session class, learn the techniques for making a slab built teapot and a pair of hand built tea cups perfect for a...


Raku Fire Bisque Pots
Have an unglazed fired pot leftover from a pottery class? Transform it into a beautiful completed piece through the magical process of raku! In this class students will bring an...
Throwing in Sections
In this intermediate to advanced class we will explore throwing large forms in parts on the wheel using measurements and heat to assemble a large pot! Students will then return the...

Horsehair and Sugar Raku
In this class, students will hand-build forms to be fired for horsehair and/or sugar raku! During the second week, you’ll refine, smooth, and dry your pots before applying...

3-Hour Taster: Ceramic Ashtray Forms
Looking for that perfect ART FUNctional piece. Come create that unique ashtray using handbuilding techniques. Decorate your small to medium sized creation with underglaze decals...
3-Hour Taster: Wheel Throwing
3-Hour Tasters are a great way to explore a new art form without the deeper commitment of a full course. Want to give it a go on the wheel? Come put your hands to spinning clay and...
Wheel Centering Focus
Want to achieve consistent results centering on the potter’s wheel or try to center larger amounts of clay? This class is for you! Students will learn techniques that will...
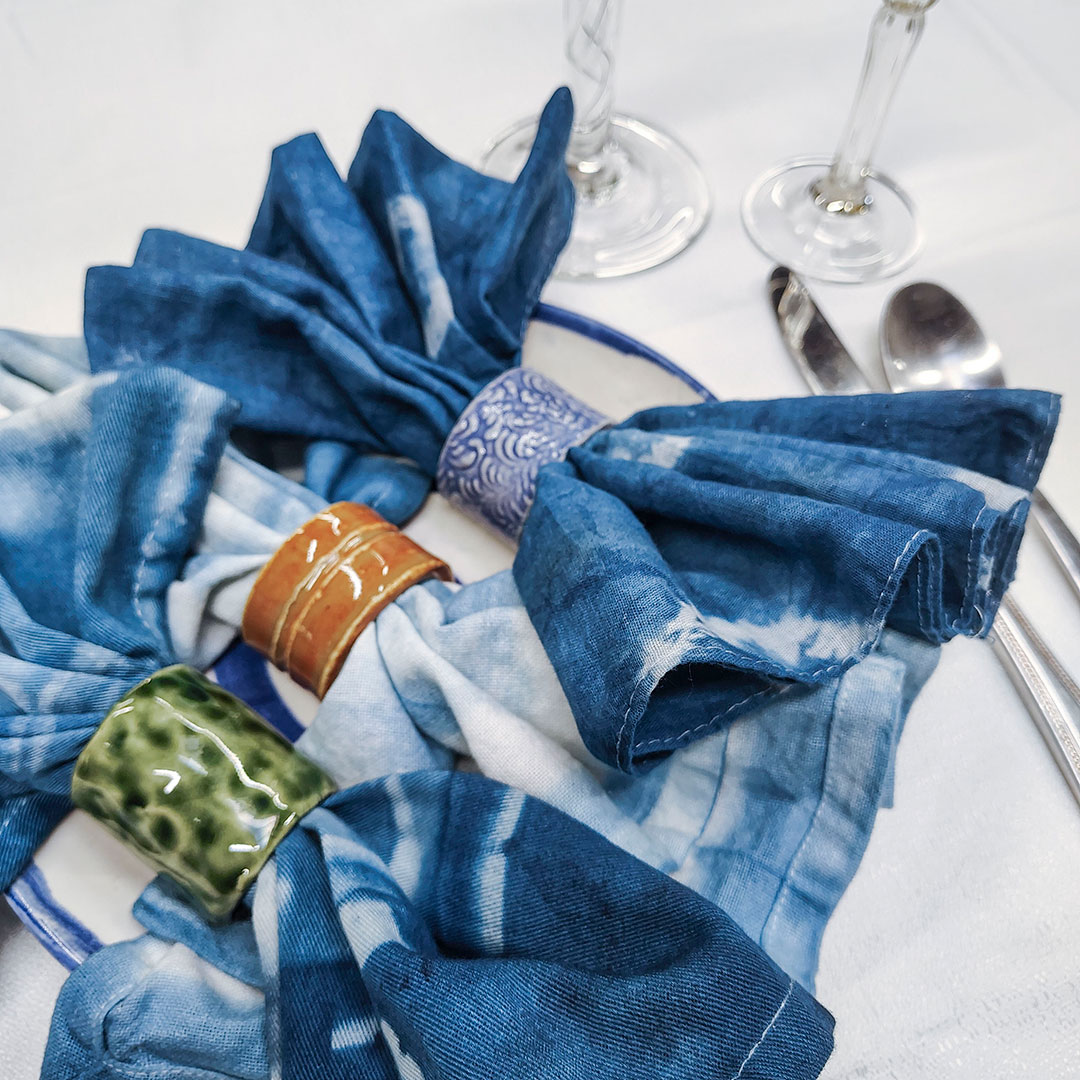
3-Hour Taster: Napkin Rings
3-Hour Tasters are a great way to explore a new art form without the deeper commitment of a full course. Make a one-of-a-kind ceramic napkin ring set to adorn your finest dinner...
Fundamentals of Hand Building
In this course students will learn basic ceramic hand building techniques to create functional and sculptural pottery. Using our hands as our primary tools we will learn pinching,...
Fundamentals of Wheel Throwing
In this class students will learn foundational basic throwing techniques needed to throw on the potter?s wheel. They will learn how to center and cone, pull a cylinder, and finish...