CeramicsEarth
Guide To Making Pottery
By Kristin Arzt
How To Make Pottery At Home: Materials, Equipment, & Steps
Guide To Making Pottery
Making pottery is a fun way to make ornamental ceramics or practical objects for your home; functional tableware, vessels, sculpture, installations, and mixed media—the possibilities in pottery are endless! In this guide, you will learn the best ways to get started making pottery and what tools and equipment you will need to begin.
What is pottery?
Pottery is made by combining naturally occurring raw materials, such as clay, earthen minerals, and water and shaping them into forms. Once shaped, the clay body is fired in a kiln at a high temperature to be hardened and heat resistant. There are a number of pottery techniques used to create functional and ornamental ceramic objects. Potters use wheel throwing to create symmetrical pottery and slip casting to create multiples of one object. They may also use hand-building techniques such as slab rolling, coiling, and pinching.
Examples of different types of pottery
Common types of pottery are earthenware, stoneware, and porcelain. They each use different types of clay and combinations of clay with variations of silica and minerals. Each results in different types of ceramic pottery.
Earthenware
Earthenware is pottery that has not been fired to vitrification, which is the process of crystalline silicate compounds bonding into noncrystalline glass compounds. This makes the pottery more porous and coarser to the touch. Earthenware pottery was the most common type of ceramics until the 18th century. Terracotta, a clay-based and unglazed ceramic, is a common type of earthenware. Today, we commonly see planters made from terracotta, along with bricks, water pipes, and more.
Porcelain
Porcelain ceramics are generally made with kaolin clay and fired in a kiln to temperatures between 2,200 and 2,600 degrees Fahrenheit. The vitrification process and silicate mineral mullite make porcelain a strong heat-resistant material compared to other clays. Common examples of porcelain ceramics are bathroom and kitchen tiles, vessels, and decorative sculptures.
Stoneware
Stoneware is a vitreous or semi-vitreous ceramic, meaning it is coated in enamel to make it appear glassy and to make it nonporous. Stoneware is fired at higher temperatures than other ceramics. Impurities in the clay typically give it an earth tone color, and it is usually glazed.

Getting to know the basic tools & materials used for pottery
Setting up a pottery studio at home requires some effort and knowledge of the basics. First, educate yourself on the best types of kiln for your space—electric and gas kilns both require unique connections and consumable materials. Set up a designated space for your pottery wheel in a well-ventilated area and make sure you have plenty of room to work on flat surfaces.
Pottery wheels
The introduction of pottery wheels was a breakthrough in pottery manufacturing. Wheels allow potters to go beyond the restrictions of hand-building and create pieces with radial symmetry. Pottery wheels can be powered either by electricity or manually.

Kilns
Pottery kilns fire the ceramics to high temperatures to solidify the clay body in a bisque fire and fuse the glaze to the clay in a glaze firing. Kilns may be either gas or electric. Electric kilns are more common in both home and professional studios because of ease of convenience and setup. You will want to have a safe, reliable electrical connection for a home kiln. Electric kilns work well for low and mid-fire clay, while gas kilns work better for high-fire clay. Compared to gas kilns, electric kilns do not require special permits. Gas firings generally result in earthier colors and can be used in reduction firing to achieve exciting surface textures.

Clays
Clay is one of the widely available raw materials for creating ceramic objects. Different types of clay and combinations of clay with different variations of silica and other minerals result in various types of ceramic pottery. When working with clay, it is important to protect yourself from inhaling the powder that results from dried clay. This dust contains silica, which can hang in the air for hours and damage your lungs. To protect yourself, wear a mask, understand what ingredients are in the clay you are using, and use premixed, wet clay bodies.

Glazes
Glazes are applied to clay when it is leather-hard or bisque fired. Glazes strengthen the surface of the clay and make pottery waterproof. They are made of a combination of silica and minerals. As the pottery is fired, the glaze floods and rehardens on the surface of the clay. Glazes have to be matched to the clay according to its maturation temperature. Many clays and glazes are rated by a cone system. This is a way to measure heat work (similar to temperature).

How to make pottery at home in 6 steps
You will need to set up a designated pottery workspace and gather the necessary equipment before you get started. Once you have all of the essential materials, tools, and equipment, you can get started making pottery at home.
Tools and Equipment

Choose your clay
Earthenware clay is versatile and typically the easiest to throw on the pottery wheel, so this may be the best option if you are just beginning. Stoneware is another clay option that is easy to handle and work with. Porcelain clay is incredibly strong and is considered the best clay available for making pottery because of its high resistance to heat and high amount of silica. The downside of porcelain is that it is expensive and can be hard to handle for beginners. Before starting your pottery project, you will want to wedge your clay on a surface to work out any air bubbles.
Prep your workspace
Your pottery workspace should include a sturdy table with a surface that clay will not stick to. Consider covering your table in canvas fabric or working on small drywall sheets. Make sure you have excellent ventilation so that your lungs are protected from small clay particles. The floors should be easy to clean at the end of your work session. Set up some shelving or tables where your pots can sit undisturbed to dry for several days.
Before sitting down at the wheel, make sure you gather up all necessary hand tools and equipment. You will want to have a small bucket of water within arms reach, along with your rib, needle tool, rim, and any other hand tools you wish to use.
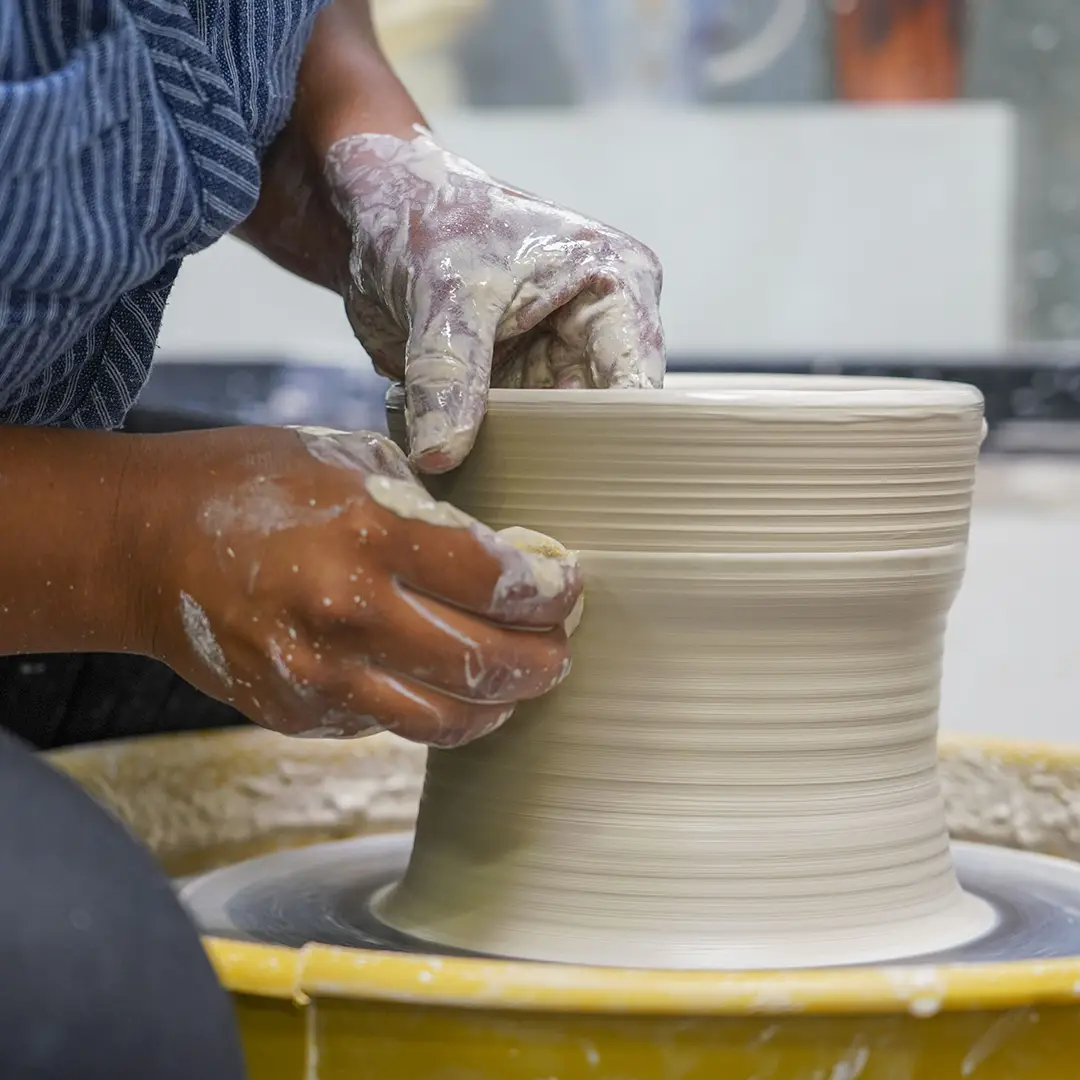
Throw pottery on the wheel
Begin by first weighing out your clay. As a beginner, it is helpful to start with small amounts of clay under one pound. Shape the clay into a symmetrical ball with both hands. Secure the bat on your potter’s wheel and slam the clay ball into the center of the bat. Tap it to the center with dry hands. Wet your hands in water and start to center the clay while the wheel is in motion. Make sure you anchor your elbows onto your knees or upper legs as you do this. Cone the clay up and down to ensure it is centered. Make a hole in the center of the clay, then push your hand into the base, while keeping the wheel in motion. Make sure you leave enough clay at the base so you don’t push through the bottom of your pot. Pull the clay up with one hand inside and one outside your pot.
Repeat this motion until the walls of your pot are about one-quarter inch all around. It is ideal for your pot to have a uniform thickness on all sides. This prevents the pot from becoming too heavy and decreases the risk of cracking as it dries. Detach your pot from the bat using a cutting wire. Let it sit on the bat to dry, loosely covered with a plastic drape.

Dry and trim your pottery
Let your pot dry until it reaches the greenware stage. To trim the base of your pot, carefully remove it from the bat and place it on a clean bat upside down. Anchor it on the bat’s center with wet clay and slowly turn the wheel. With a needle or trimming tool, remove excess clay from the base and edges. Keep your hand steady, with your elbow securely planted on your knee.
Bisque fire your pottery
Dry your piece to leather hard, then bisque fire. Bisque firing is required to increase your pottery’s durability, making it more stable for the next steps of glazing and glaze firing. The temperature and amount of time you bisque fire your clay will depend upon the firing range and cone. It may be low-, mid-, or high-fire clay, measured using the cone system.
The cone system measures the heat of the kiln and the length of firing. Cones are essential when firing to know when your kiln has reached the necessary temperature and to ensure the kiln is heated evenly. Each cone has a number assigned to it corresponding to a specific temperature range. For example, cone 03 indicates a temperature range of about 1,960 to 1,987 degrees Fahrenheit.
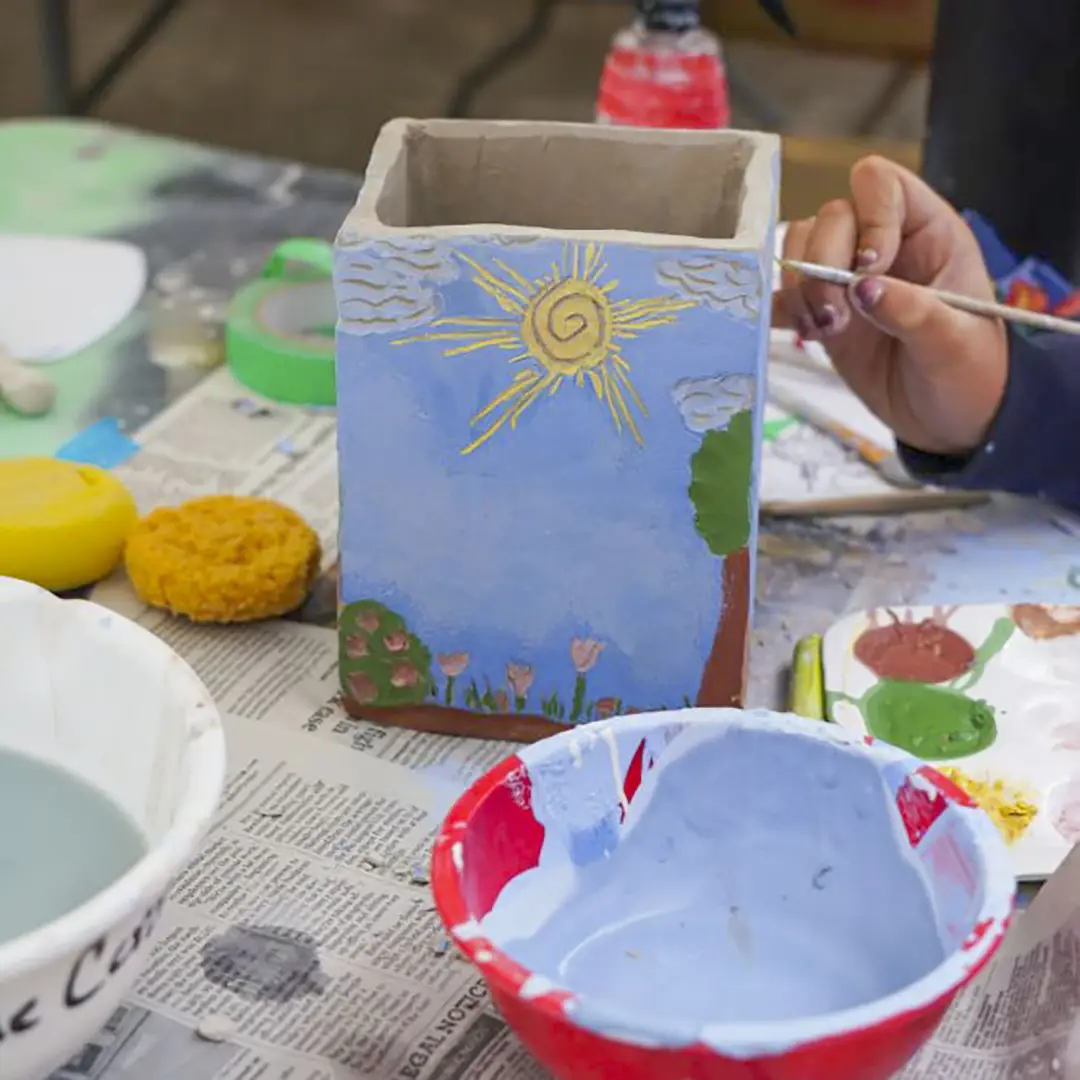
Glaze and glaze fire
Once your pottery comes out of the bisque fire, it is ready to be glazed. Pottery glazes are an impenetrable layer or coating applied to bisque-ware used to decorate pottery and waterproofing. There are many possibilities when glazing pottery and ceramics, from colorful patterns to mineral reactions.
The general process of glazing ceramics is first to mix your glaze, apply it to bisque-ware, let it dry, then finally load it into the kiln for the glaze firing. The kiln is slowly brought up to the appropriate temperature for the silica in the glaze to melt, then slowly cooled again. This makes your pottery strong and solid, and impervious to water and the elements.

How to learn more advanced pottery techniques
Look into local classes at public studios and community pottery guilds in your area. If you are local to the Bay Area, The Crucible offers a unique place to learn the different ceramic and pottery building techniques. Our beginner and advanced classes teach you pottery techniques such as wheel throwing, pinching, coiling, and slab rolling, in addition to press molds and slip casting with plaster molds. Students have the opportunity to explore different glazing techniques in low fire, high fire, and other firing alternatives, such as raku firing. Functional tableware, vessels, sculpture, installations, and mixed media—the possibilities in ceramics are endless for youth and adults of all levels.
Pottery FAQs
What do you need to make your own pottery?
To make your own pottery, you will need to start with clay, a kiln, hand tools, and a proper workspace. You can invest in a potter’s wheel or a slab roller to make more advanced pottery. You may also want to explore different glazes and glazing application tools.
What kind of clay is best?
Stoneware and earthenware are both versatile clays that are easy to work with. Stoneware is slightly more durable and less prone to breaking than earthenware. Porcelain and kaolin are more expensive and the most durable option for pottery clay. However, they are more challenging to work with for beginner potters.
Can you make pottery without a kiln?
Firing ceramics in a kiln is the most practical way to make pottery food-safe and waterproof. Clay bisque-ware that has only been fired once is not yet waterproof or food-safe until the glaze is applied and subsequently fired again. Before gas and electric kilns, traditional ceramics were fired in ground kilns at low temperatures around 1000 degrees Fahrenheit, or simply dried in the sun to harden. This type of pottery is not waterproof and is more susceptible to breaking. If you do not have access to a gas or an electric kiln, you can try pit-firing your pottery. This process should be constantly supervised and is not ideal for beginners.
Can you make your own clay?
You can make your own clay by harvesting soil and filtering out the clay content with water and a fine sheet. Most soil has some clay content, and the yield will be higher if you find high clay soils. Fill a bucket with clay-rich soil and water and let it sit overnight. The sand and silt will sink to the bottom of the bucket, while the clay will be suspended in water. Next, filter out the clay from the water using a fine mesh or piece of cloth. You can let this dry in the sun for a few hours until it is workable. This method is experimental based on your soil type and firing temperatures.
Is pottery hard to learn?
Making pottery takes practice and familiarity with the materials and tools, but is generally forgiving to beginners. You could easily make a small pot by hand on your first try at pottery. Handbuilding is an easy technique to start with, and wheel throwing takes practice but can also be very rewarding. Clay can be prone to cracking and breaking, so when you begin to make pottery remember that everything you make can break at any moment.
Continue Exploring Guides In Earth

Guide to Ceramic Wheel Throwing
Learn exactly what tools and supplies you need to start wheel throwing pottery. Get the inside scoop from our Ceramics Department....

How To Make Pottery At Home: Materials, Equipment, & Steps
There are many different types of pottery and ways to learn ceramics. Here, we outline different types of clay and how to learn ceramics....

How To Glaze Pottery: Guide To Ceramics Glazing | The Crucible
This step-by-step guide covers how to glaze ceramics in a traditional and DIY kiln, along with different types of glazes and their uses....

Guide to Ceramics: Types, Materials, & How-To Learn
There are many different types of pottery and ways to learn ceramics. Here, we outline different types of clay and how to learn ceramics....

Guide to Handbuilding Pottery
Learn exactly what tools and supplies you need to start handbuilding pottery. Get the inside scoop from our Ceramics Department....
You Can Learn To Make Ceramics
The Crucible has new ceramics classes offered weekly.

Ceramic Ornaments
Glaze your own ornaments to give to your loved ones! You will select three pre-fired ornaments to paint and glaze, learning about glazing techniques and color application. After...

3-Hour Taster: Ceramic Mug
3-Hour Tasters are a great way to explore a new art form without the deeper commitment of a full course. Make a one-of-a-kind ceramic mug to enjoy your favorite warm beverage....

3-Hour Taster: Ceramic Planter
3-Hour Tasters are a great way to explore a new art form without the deeper commitment of a full course. Adding some greenery to your decor? Create your own ceramic planter and...

Hand Build and Raku Fire
Learn basic handbuilding techniques and play with a variety of raku decorating techniques. Raku firings, where ceramic pieces are taken out of the kiln glowing hot and placed in an...

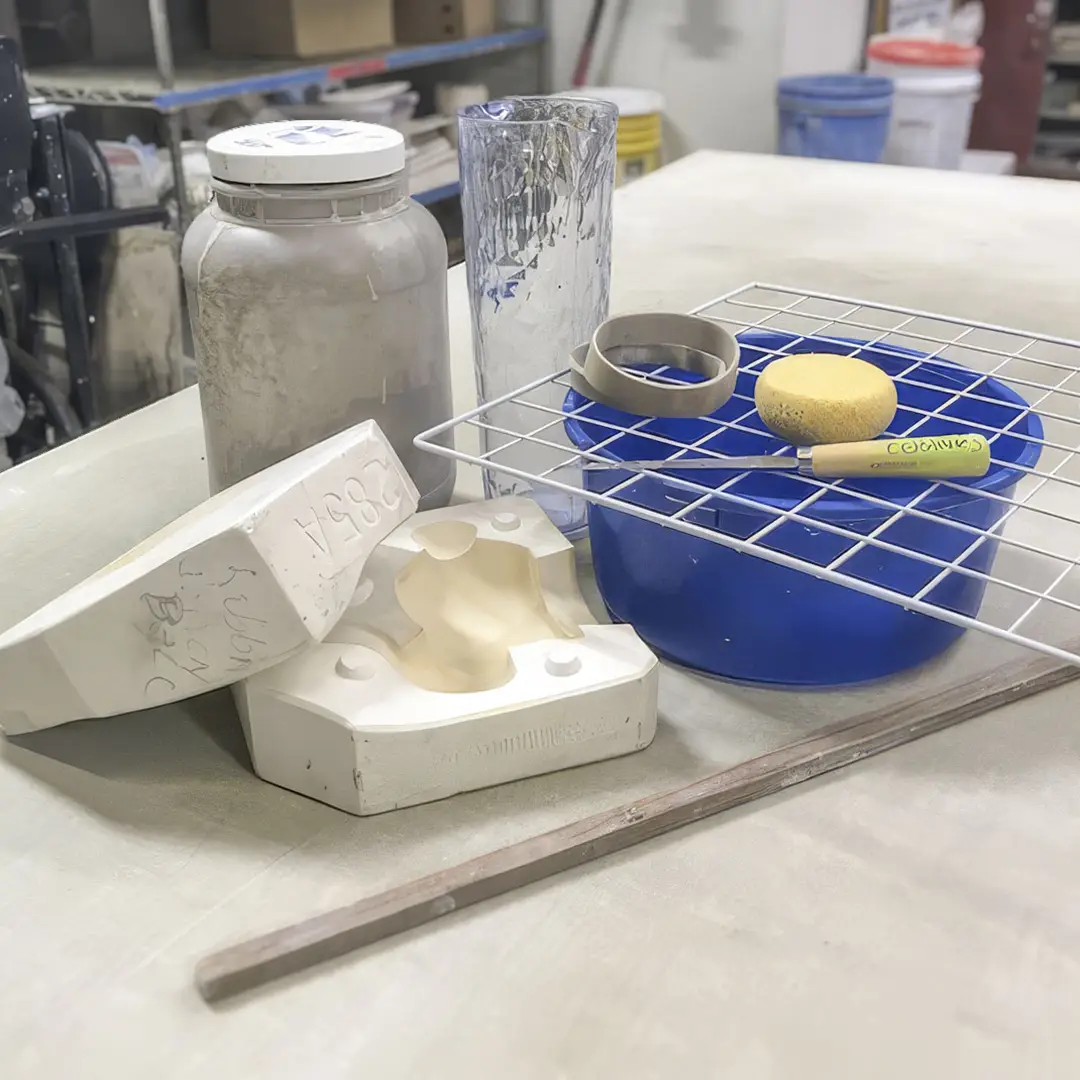
Slip Casting with Plaster Molds
Learn the process of slip casting ceramics utilizing plaster molds. Cast multiple objects using clay slip, then kiln-fire and glaze your creations. Develop your slip casting skills...

Ceramics Lab
Lab sessions are a great benefit, exclusively for Crucible members! Practice the skills you learn in class and explore new possibilities with your craft. No instruction is provided...

Ceramics I
Try your hands at making sculptural and functional forms in clay. This introductory class covers traditional hand-building and surface treatment techniques while pushing the...

Ceramics II
Ceramics II is designed for students who have successfully completed Ceramics I and are looking to further advance their knowledge and creativity in working with clay. Students...

Youth Ceramics I
Try your hand at making sculptural and functional forms in clay and create a one-of-a-kind ceramic sculpture or functional vessel. Youth will practice traditional hand-building and...
Youth Ceramics II
Youth Ceramics II is designed for students who have successfully completed Youth Ceramics I and are looking to further advance their knowledge and creativity in working with clay....

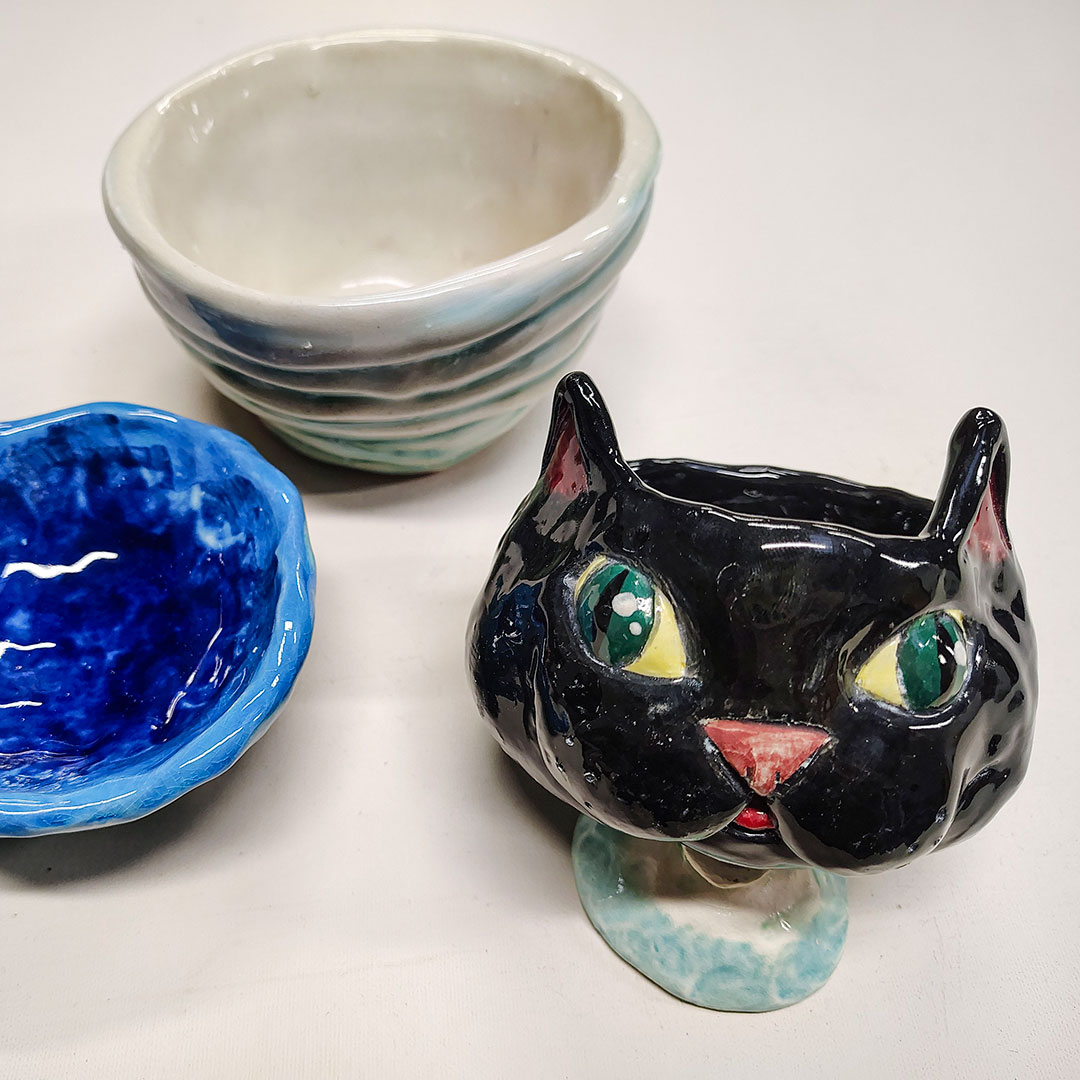
Youth Clay Critters
Explore clay as a sculptural material to create critters from your own imagination! Learn hand-building techniques, such as slabs, coils, and pinching. We will cover several...

Youth Clay Critters Weekend
Explore clay as a sculptural material to create critters of your own imagination! Learn hand-building techniques, such as slabs, coils, and pinching. We will cover several...

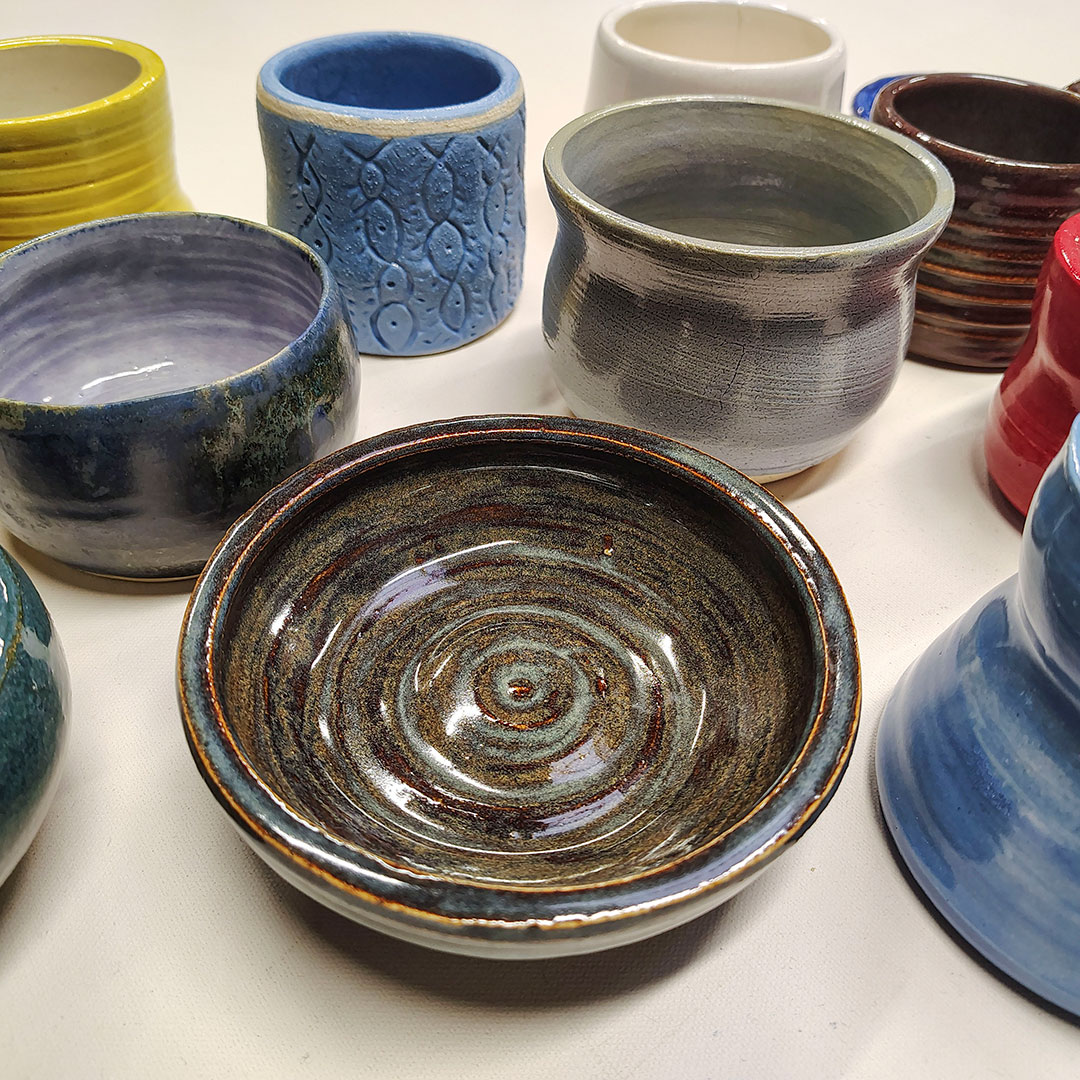
Ceramic Bowls
Make your own soup-er bowls using clay! In this class we explore three different ways of handbuilding your own beautiful bowls. Students will make vessels using hand building...

Large Ceramic Forms
Explore techniques for making larger ceramic forms that can survive the kiln! Make a ceramic sculpture or planter, while practicing handbuilding techniques like coiling and...
Making Plaster Molds for Slip Casting
Create ceramic multiples! Whether you are interested in making multiple vessels or sculptures, this class covers the basic moldmaking techniques. We will make molds from existing...

Teapot and Cups
Create your very own teapot and set of tea cups! During this two-session class, learn the techniques for making a slab built teapot and a pair of hand built tea cups perfect for a...


Raku Fire Bisque Pots
Have an unglazed fired pot leftover from a pottery class? Transform it into a beautiful completed piece through the magical process of raku! In this class students will bring an...
Throwing in Sections
In this intermediate to advanced class we will explore throwing large forms in parts on the wheel using measurements and heat to assemble a large pot! Students will then return the...

Horsehair and Sugar Raku
In this class, students will hand-build forms to be fired for horsehair and/or sugar raku! During the second week, you’ll refine, smooth, and dry your pots before applying...

3-Hour Taster: Ceramic Ashtray Forms
Looking for that perfect ART FUNctional piece. Come create that unique ashtray using handbuilding techniques. Decorate your small to medium sized creation with underglaze decals...

3-Hour Taster: Ceramic Shot Glass
Create and color your perfect set of shot glasses for celebrating. Design your tiny vessels using slab & handbuilding techniques, you?ll then use underglaze colors to make...
3-Hour Taster: Wheel Throwing
3-Hour Tasters are a great way to explore a new art form without the deeper commitment of a full course. Want to give it a go on the wheel? Come put your hands to spinning clay and...
Wheel Centering Focus
Want to achieve consistent results centering on the potter’s wheel or try to center larger amounts of clay? This class is for you! Students will learn techniques that will...
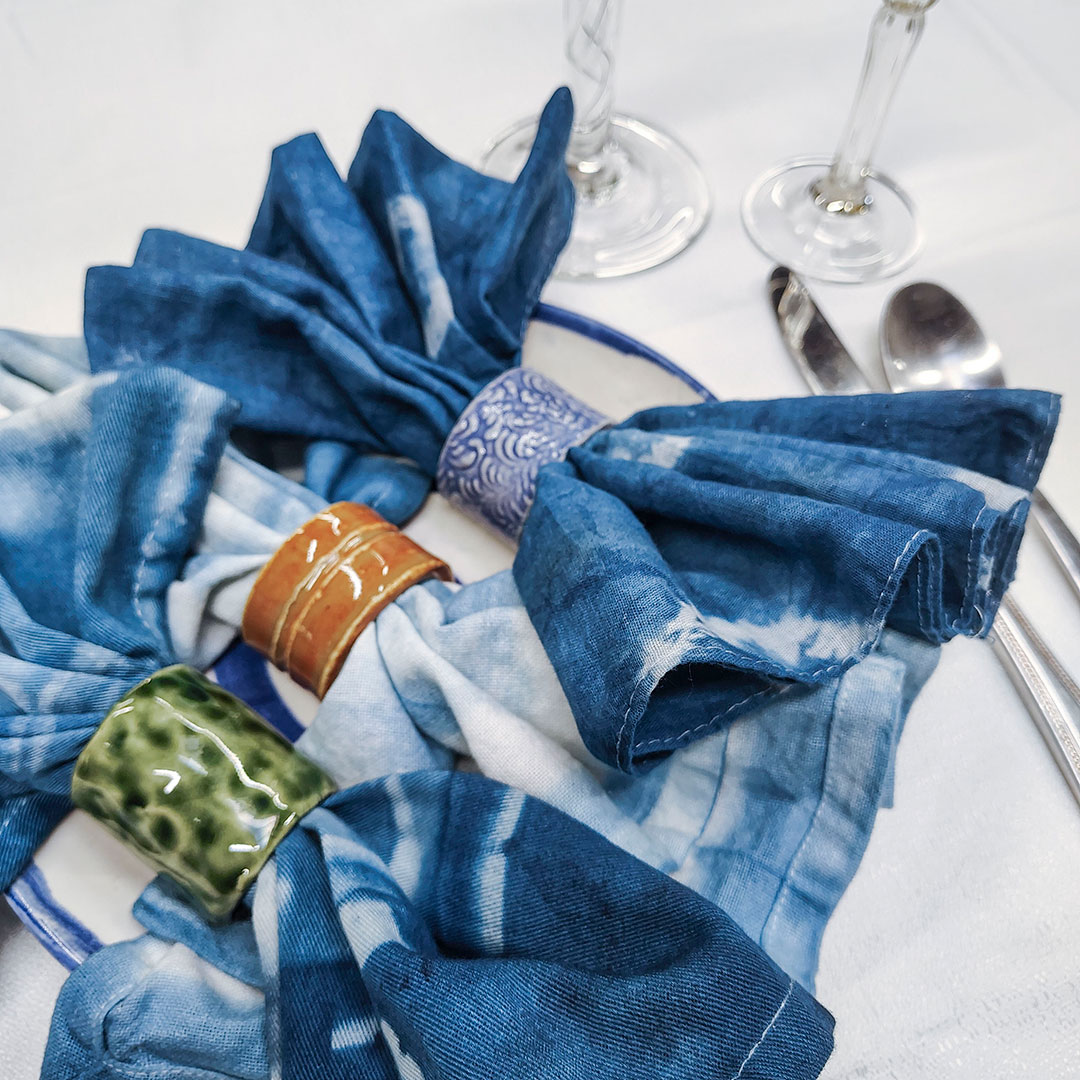
3-Hour Taster: Napkin Rings
3-Hour Tasters are a great way to explore a new art form without the deeper commitment of a full course. Make a one-of-a-kind ceramic napkin ring set to adorn your finest dinner...
Fundamentals of Hand Building
In this course students will learn basic ceramic hand building techniques to create functional and sculptural pottery. Using our hands as our primary tools we will learn pinching,...
Fundamentals of Wheel Throwing
In this class students will learn foundational basic throwing techniques needed to throw on the potter?s wheel. They will learn how to center and cone, pull a cylinder, and finish...