Glass Fusing & SlumpingGlass
Complete Guide to Fusing Glass
By Kristin Arzt
Glass Fusing Guide | Fused Glass Explained
Complete Guide to Fusing Glass
Fusing glass offers a myriad possibilities for creating both functional pieces and artwork with color and form. Glass fusing teaches you about how glass directly interacts with heat, and how to safely cut and fuse glass into one piece.
What is glass fusing?
Glass fusing is the process of joining compatible sheet glasses together in a kiln until the glass fuses at approximately 1490 degrees Fahrenheit. It grants you the power to create colorful, dynamic works of glass art that are completely unique. Unlike many other glass forms, glass fusing allows you as much time as you need to bring your designs to life since you are working with the glass while it is cold.
What is fused glass?
Fused glass refers to any piece of glass formed after heating two or more pieces of glass together in a kiln.
The art of glass fusing
Fused glass is used to fabricate plates, tiles, bowls, jewelry, wall hangings, and other artistic creations. You only need a kiln and a few simple tools to create a finished fused glass piece. On a larger scale, Glass blowing is used to make vessels and other forms that cannot easily be made in a kiln. Glass blowing requires a large furnace to melt the glass and other equipment to complete the process. Cast glass uses a mold to create a 3-dimensional sculpture that is kiln fired, then coldworked with grinding and polishing equipment. Glass flameworking uses a torch to make a finished glass piece, but the size is limited to smaller objects.

How to fuse glass
Once you have the proper equipment and studio safety in place, there are limitless possibilities of what you can create with fused glass. You have the option to fuse it flat or add texture, mixed media, and more. Fusing glass is also the first step in creating dynamic slumped glass artwork. Below you will find the basic steps to get started with glass fusing.


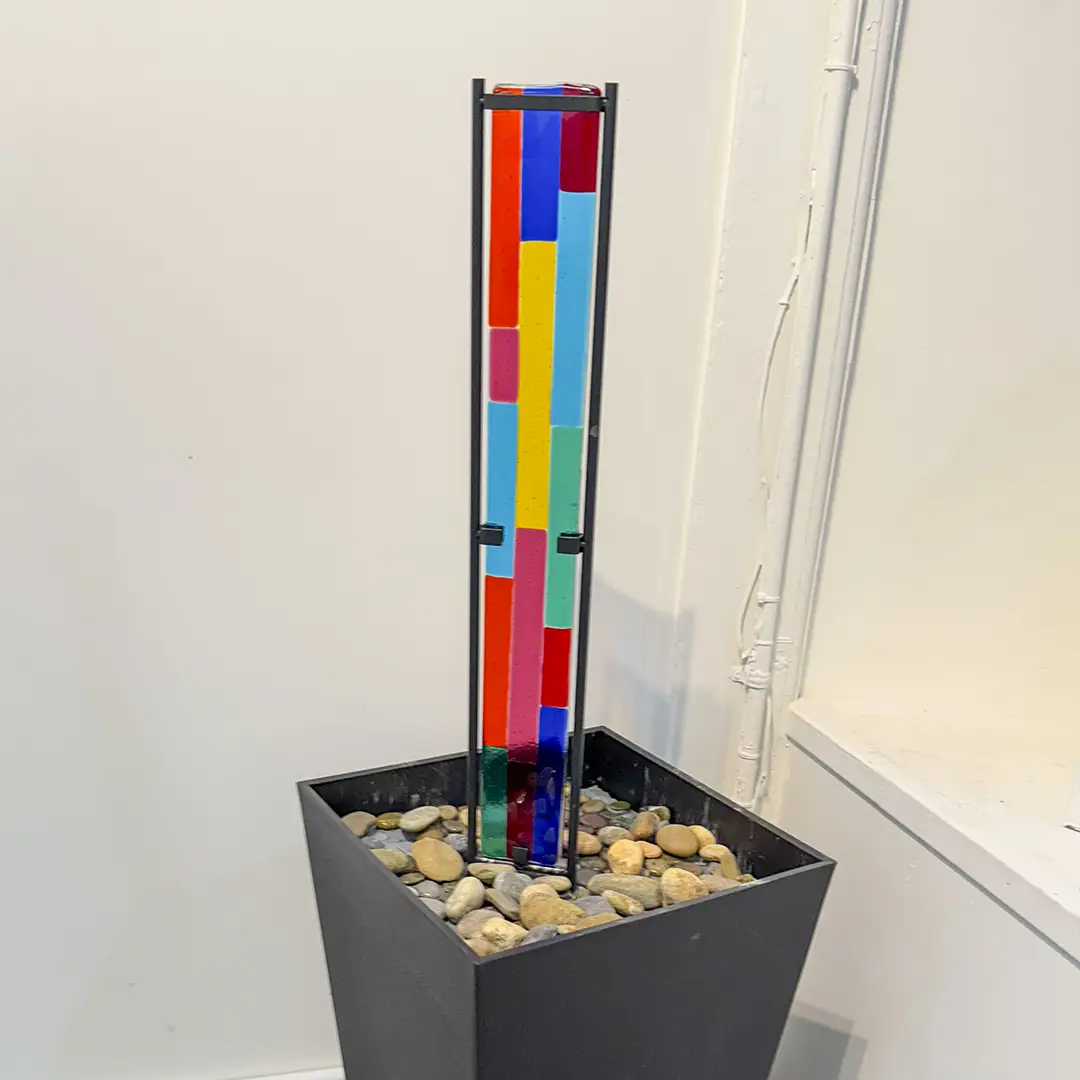
Examples of fused glass at The Crucible
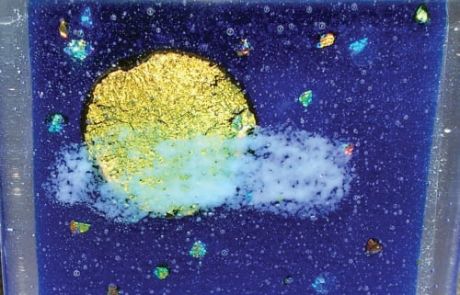
Daniel Stauber: “Flow Fuse #3”
Daniel used a patterned bar flow fusing to achieve this pattern. Strips of glass are stacked and placed in the kiln in a dam, and the glass is heated until it flows together and creates a single fused piece.

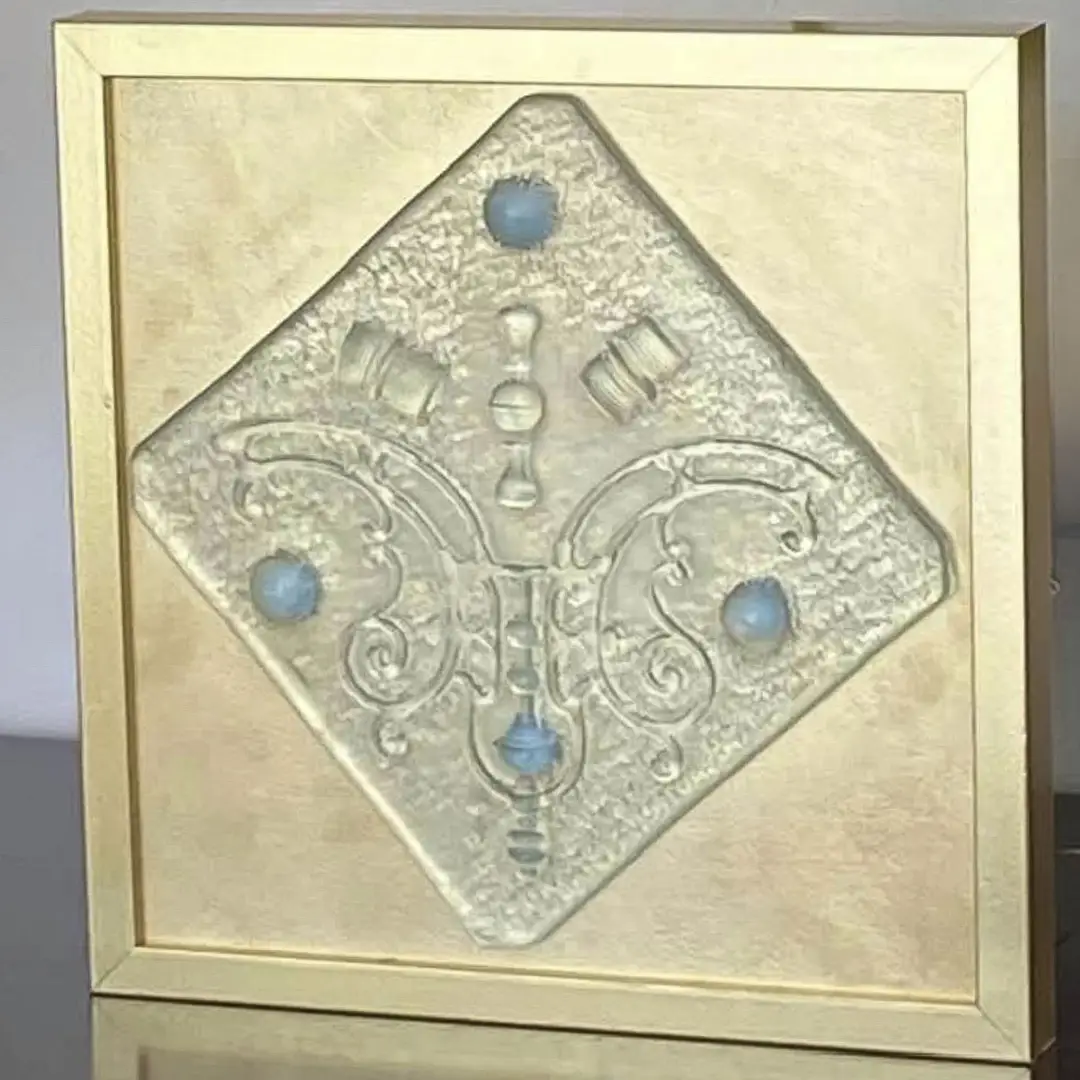
Janet Heibert: “Magnolia Parasol”
Janet fused, then slumped, the glass to create patterns and depth in this piece. She also incorporated copper embellishments.

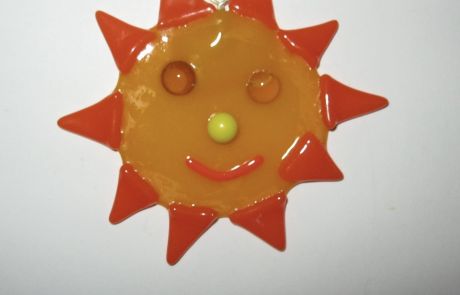
Beginner student work
This piece was made in The Crucible’s beginner-level Glass Fusing & Slumping I class.

How to start fusing glass
There are a number of online resources, but taking an in-person class is ultimately the best way to learn. Taking a glass fusing class with the guidance of an experienced glass artist is necessary, both for your safety and to create the highest quality work. Keep in mind that when you are first starting out, an in-person class will be less costly than setting up a proper glass fusing studio at home. Due to the high costs of setting up your own studio, starting by taking an in-person class is recommended.
Learn to fuse glass at The Crucible
You can learn to heat and reshape glass in the intense heat of a kiln to create art pieces or practical objects like plates and bowls in classes at The Crucible. Individual classes teach you to combine colors, paint on glass, and incorporate recycled materials to create beautiful and ecologically sound art. Whether you want to drape glass into a new shape or fuse colorful patterns and shapes, The Crucible has you covered. We offer a variety of classes from shorter 3-Hour Tasters to give you a short introduction to the art of glass fusing, to more in-depth intensives like Glass Fusing and Slumping I. Once you have the foundations down, you may opt to level-up to Kiln Formed Glass, or try a self-guided Glass Fusing and Slumping Lab.

Glass fusing FAQs
What kind of glass is best for glass fusing?
Soda-lime glass is commonly used for fusing because of the temperature range of the kiln and the great amount of accessory glass available for design application. These include frit (crushed glass), stringers (threads of glass), and dichroic glass (metal fused to the glass in a vacuum chamber). Float (window glass) glass can also be fused, but it is a different COE (coefficient of expansion) than the soda-Lime glass, meaning fusing temperatures and time would vary.
What temperature do you fuse glass at?
Soda-lime glass fuses between 1350 degrees Fahrenheit to 1500 degrees Fahrenheit. Float glass fuses 50 degrees higher than soda-lime glass.
Can you fuse glass at home?
Yes, if you have the proper kiln and a computerized controller or a pyrometer to show the temperature of the kiln. Also, cutting tools and a glass grinder are helpful to have in your home studio.
How long does it take to fuse glass?
Depending on the glass and the size and thickness of the project, it can take anywhere from three to four hours for smaller pieces, and up to 13-14 hours for larger pieces. After fusing, the glass must be cooled slowly and annealed at 900–1000 degrees Fahrenheit to relieve stress that builds up during the firing process.
Continue Exploring Guides In Glass

Guide To Enameling: Learn Different Types & Techniques for Enamel Art
Learn the essential common enameling techniques, how to start, and what you create with enameling, from jewelry to bathtubs!...

Glass Casting 101: Process and Techniques
Learn how to create molds and cast your own glass work of art. Get the inside scoop from our Glass Casting & Coldworking Department....

Guide To Vitreous Enamel Vitreous Enamel 101: Definition, Process, & How To Learn
Learn vitreous enameling by fusing glass to metal at high heat, and enamel everything from from precious jewelry to industrial bathtubs!...

Glass Fusing Guide | Fused Glass Explained
Learn exactly what tools and supplies you need to start fusing glass. Get the inside scoop from our Glass Fusing & Slumping Department....

Guide to Glass Slumping: How to Slump Glass in 5 Steps
Learn exactly what tools and supplies you need to start slumping glass. Get the inside scoop from our Glass Fusing & Slumping Department....

Lampworking 101: Guide to Glass Lampworking & Flameworking
Learn exactly what techniques you to learn and how to start lampworking. Get the inside scoop on our Flameworking Department's favorite tips....

This Guide Has The Expert Stamp of Approval
Janet Hiebert, Glass Fusing & Slumping Department Head
Janet has devoted the last 35 years to exploring the complex and exciting possibilities of stained and kiln-fired glass. “The enthusiasm of seeing others share my passion for glass is rewarding and inspirational,” Janet shared.
You Can Learn To Fuse Glass
The Crucible has new glass fusing classes offered weekly.

Glass Fused Ornaments
Learn to cut glass and assemble it into beautiful hanging glass fused ornaments! Add sparkle with dichroic glass, frit, and stringers that will embellish your design. Ornaments...

Fused Glass Pendants
Learn to work with fusible glass, dichroic glass, and silver foil to create beautiful pendants in this three-hour workshop. Students will make several small glass fused pendants,...

Glass Fusing and Slumping I
Enter the world of art glass! We will focus on the techniques of fusing and slumping, which offer myriad possibilities for creating with color and form. You will learn the basics...

3-Hour Taster: Glass Fusing
3-Hour Tasters are a great way to explore a new art form without the deeper commitment of a full course. After a basic introduction to glass and heat interaction, glass cutting,...

Glass Fusing and Slumping Lab
Lab sessions are a great benefit, exclusively for Crucible members! Practice the skills you learn in class and explore new possibilities with your craft. No instruction is provided...

Fused Glass Wall Vase
Design a wall hanging vase with different color glass, fiber paper, powder glass, and copper wire. Each student will learn how to make pockets in two layers of glass and create a...


Fused Glass Suncatchers
Learn to cut glass and assemble it into beautiful hanging fused glass suncatchers! Add sparkle with dichroic glass, frit, and stringers that will embellish your design. Suncatchers...
Fused Glass Suncatchers
Learn to cut glass and assemble it into beautiful hanging fused glass suncatchers! Add sparkle with dichroic glass, frit, and stringers that will embellish your design. Suncatchers...

3-Hour Taster: Glass Gifts
3-Hour Tasters are a great way to explore a new art form without the deeper commitment of a full course. After a basic introduction to glass and heat interaction, glass cutting,...
Kiln Glass Playdate: Explore, Experiment and Create
This hands-on lab is for those who want to extend their warm-glass skills below or beyond the standard 6 mm thickness rules. Under guidance you will create self-guided projects...
Painting with Light
Step into the luminous world of fused glass and create artwork that glows from within. In this hands-on course, you?ll design and build radiant glass panels that explore color,...
3-Hour Taster: Recycled Glass Sculpture
In this workshop, you will learn how to design and create a glass sculpture in a kiln-formed glass fusing technique utilizing recycled glass and dry plaster. Recycled glass...
Glass Fusing and Slumping Lab – 5 weeks
Lab sessions are a great benefit, exclusively for Crucible members! Practice the skills you learn in class and explore new possibilities with your craft. No instruction is provided...