Glass Fusing & SlumpingGlass
Guide to Glass Slumping: How to Slump Glass in 5 Steps
By Kristin Arzt
Guide to Glass Slumping: How to Slump Glass in 5 Steps
Guide to Glass Slumping: How to Slump Glass in 5 Steps
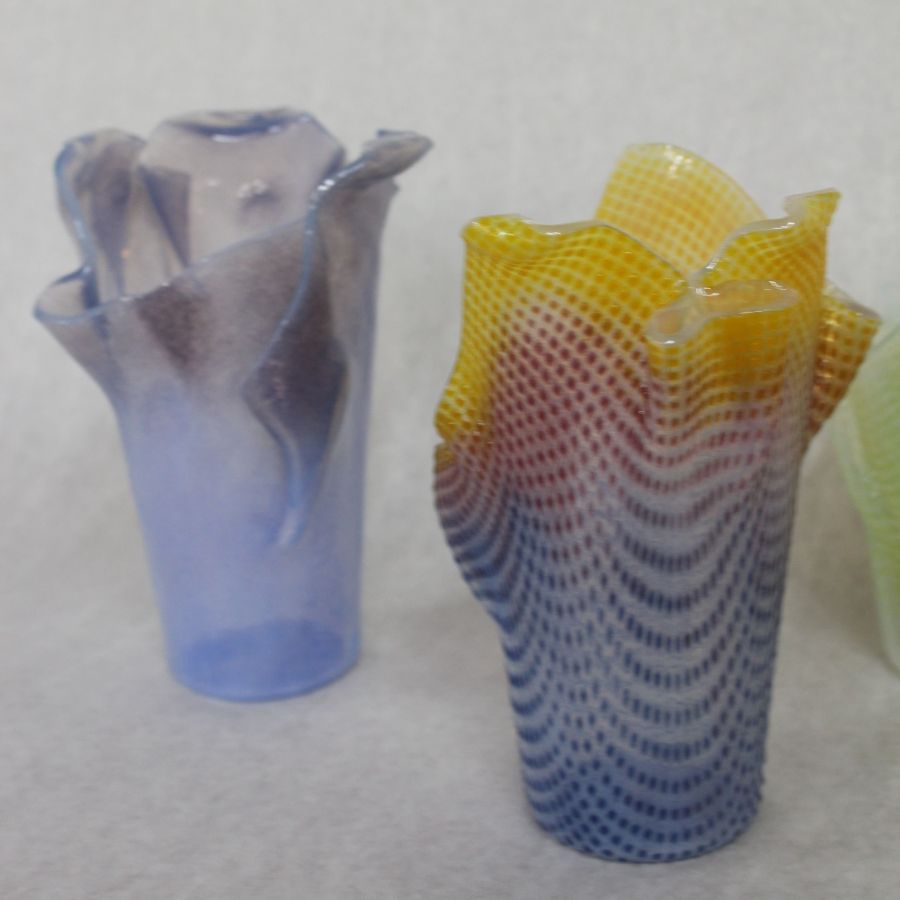
You can create entirely unique glass bowls, platters, artwork, and so much more when working with slumping glass. Using a mold, heat, and gravity, glass can be formed into many shapes and take on various textures. In this guide, you will learn how to start slumping glass and create one-of-a-kind artwork.
What is glass slumping?
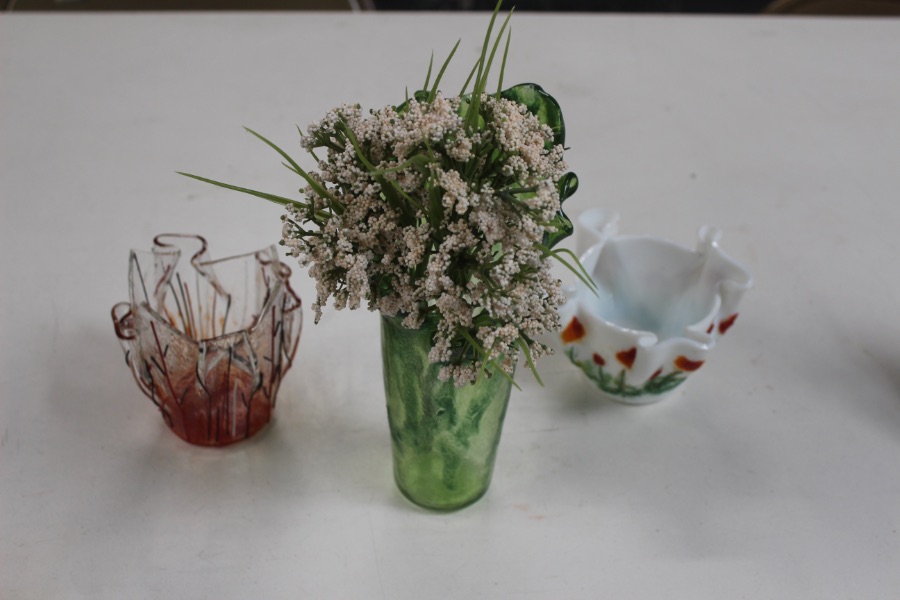
Glass slumping is a process that uses gravity and heat from a kiln to shape sheet glass using a mold. The possibilities are endless with many different mold shapes and textures to choose from. The slumping process is commonly used to create bowls, platters, and art glass.
In the glass slumping process, the sheet glass is laid over a mold and put in a kiln up to 1300 degrees Fahrenheit. As the glass is heated, gravity pulls it down into the mold. Once the glass assumes your desired shape in the kiln, it is slowly annealed and brought back to room temperature. Annealing occurs at 700 to 1000 degrees Fahrenheit. The precise annealing temperature depends on the glass.
Glass slumping vs glass fusing
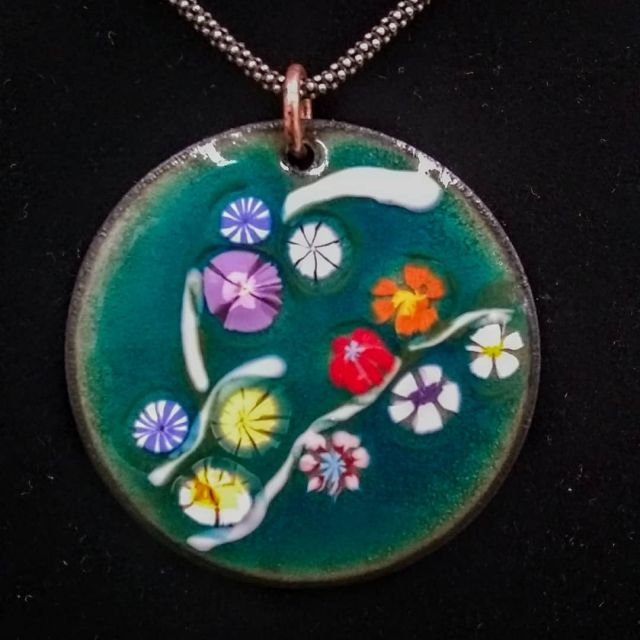
Glass slumping and fusing are two unique processes that require different temperatures in the kiln and must be done at separate times. While slumping allows you to reshape glass, fusing glass enables you to combine sheets of glass that have the same coefficient of expansion, and ultimately create unique surface patterns on the glass. Slumping temperatures are much lower than glass fusing, and it is strongly recommended to fuse your glass before you slump it. Fusing your glass helps to avoid problems with excess air bubbles and gives you greater control over the final outcome.
What is slumping used for?
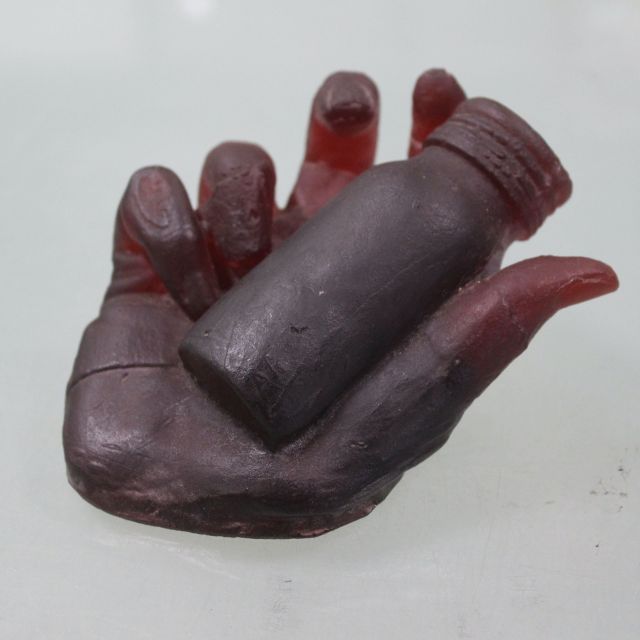
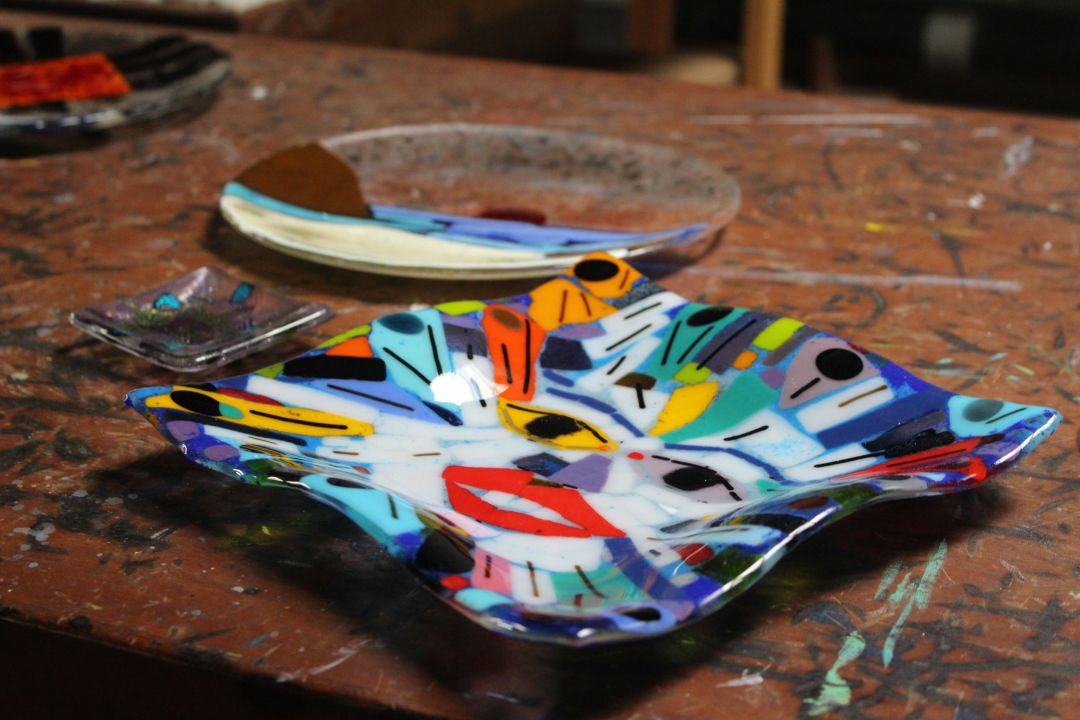
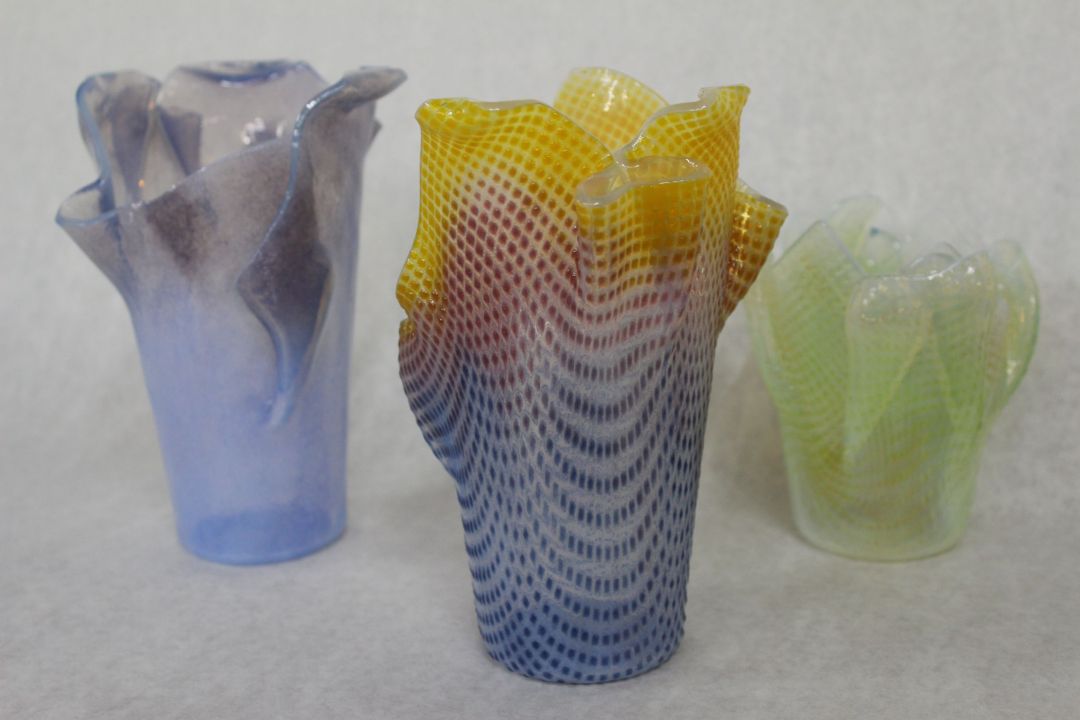
Slumping is a technique that allows you to create glass in different shapes and textures. It is a process commonly used to make serving ware, such as bowls and plates, and is also effective in making unique art pieces. Below are some of our favorite applications of slumped glass.
- Plates
- Bowls
- Platters
- Yard and garden art
- Decorative art
Equipment needed to slump glass
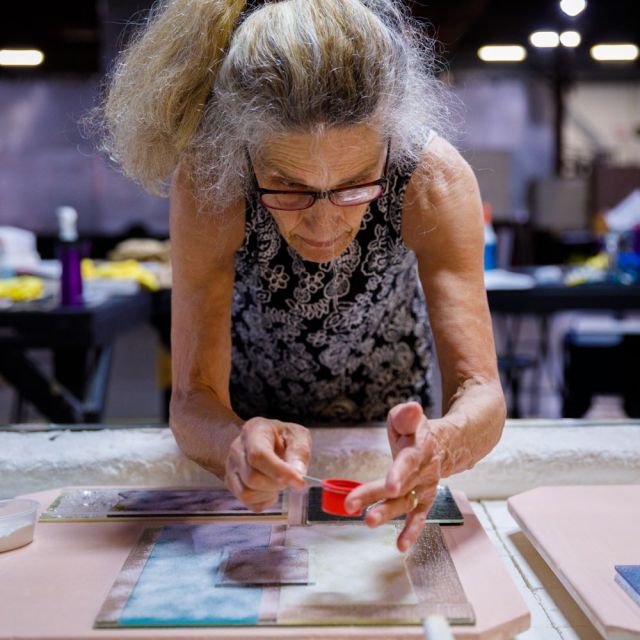
We recommend starting out in a Glass Fusing and Slumping class with an experienced teacher before setting up your own studio. Once you have some experience in a classroom, you will need the following equipment and tools to start slumping glass.
Molds
Select your molds based on the project you are slumping. You can select a mold for a platter or bowl, or choose a mold based on a texture that you want to achieve. Molds are made out of materials that can withstand high firing temperatures in the kiln. Most molds are made of ceramic clay or stainless steel.
Kiln wash
Prepare your mold by applying a few layers of kiln wash before using it to slump glass.
Kiln
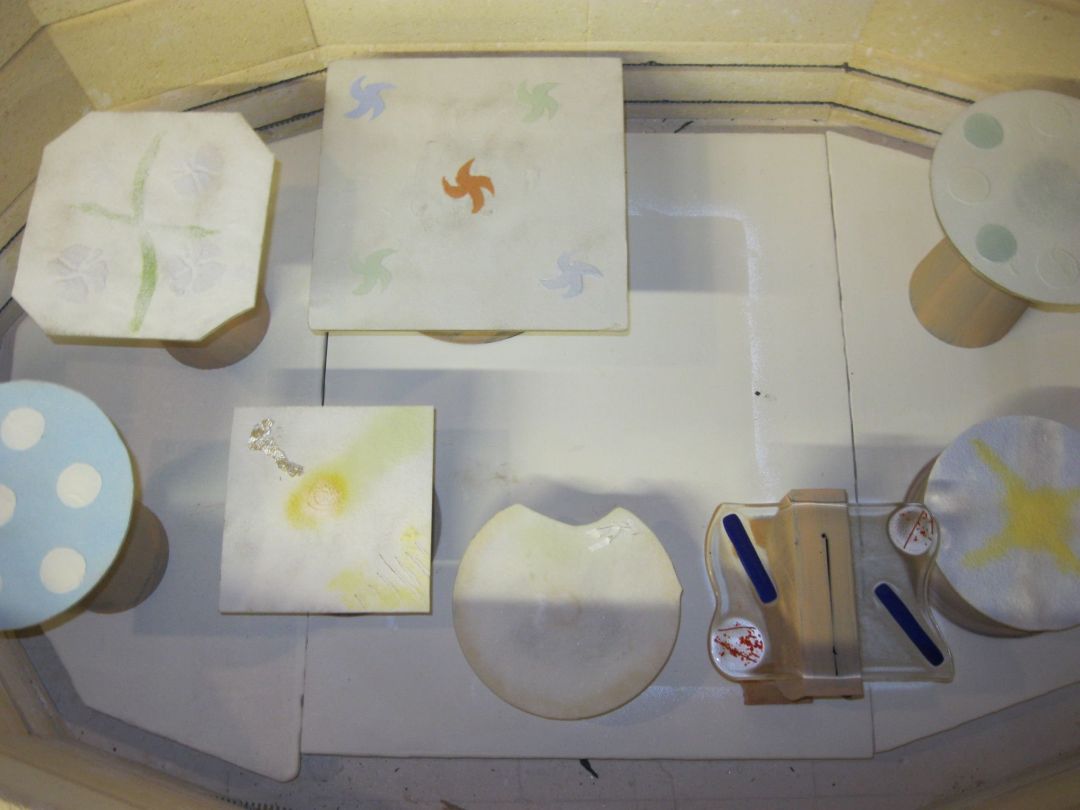
A kiln is necessary to raise the temperature of the glass to 1400 to 1500 degrees.
Safety equipment
If you are sticking your arms into a kiln, you absolutely must wear heat resistant gloves. If you are simply handling hot glass once it comes out of the kiln, oven mitts should suffice. Wear infrared safety glasses when firing to protect your eyes.
3 methods for slumping glass
Based on the projects that you are working on—whether it is a bowl, platter, art piece, etc.—there are a number of different methods to choose from when slumping glass.
Over the mold
Draping glass over a mold uses a mold without any undercuts, allowing heat and gravity to drape the glass over the mold in the kiln. Most of these molds are made from stainless steel.
Because of the shrinkage difference between the glass and the mold, ceramic molds are not recommended. Draping results in more unpredictable designs.
Into the mold
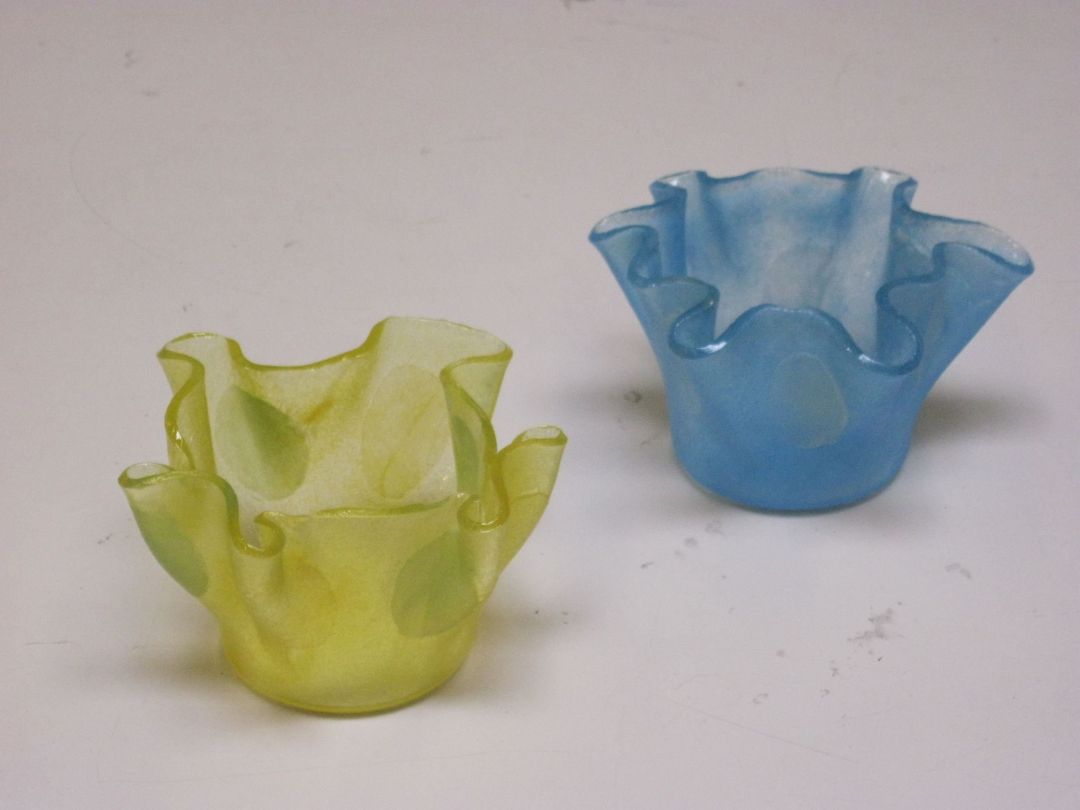
Slumping glass into a mold is the most commonly used method. Glass is balanced on top of a mold and placed into the kiln, where gravity and heat sink the glass downwards in the mold shape. This method is best utilized with ceramic mold. Make sure there is a small hole at the bottom of your mold so that air can escape.
Through the mold
This method uses a rigidized ceramic fiber board as a mold. The glass is laid on the drop ring and as the kiln heats up, gravity pulls the base of the glass down through the mold. You can also use a clay drop out ring, but these firings are usually slower.
How to slump glass in 5 steps
With the proper equipment and prepared studio space, you can slump glass in 5 steps.
Learn to slump glass!
You can learn how to reshape glass in the intense heat of a kiln to create art pieces or practical objects like plates and bowls at The Crucible. Individual classes teach you to combine colors, paint on glass, and incorporate recycled materials to create beautiful and ecologically sound art. The Crucible offers classes from short weekly classes to longer intensives.
Glass slumping FAQs
What temperature do you need to slump glass?
Slumping temperatures are typically between 1200 to 1300 degrees Fahrenheit. The glass will begin softening and turn glossy when the temperature nears 1100 degrees Fahrenheit and will start slumping as it approaches 1200 degrees Fahrenheit. Bullseye Glass put together this helpful tipsheet on glass slumping and firing schedules.
Is glass fusing different from slumping?
Glass slumping and fusing are two different processes that require different firing temperatures in the kiln. Glass fusing temperatures are much higher than slumping. Always fuse your glass project before you slump it.
Can you slump glass with a blowtorch?
A kiln is necessary to raise the temperature of glass up to 1500 degrees Fahrenheit, while a blow torch can raise the temperature of glass to approximately 900 degrees. To slump glass successfully and safely, you must do it in a kiln. Using a propane torch alone would not get hot enough to slump the glass, and using a propane torch on glass larger than a rod thickness will cause the glass to crack under thermal shock. Present-day glass lampworkers use an oxygen-propane torch. Oxygen is mixed with the propane to make the flame hotter. If you are interested in learning more about torchworking glass beads and vessels, check out this guide to lampworking.
Continue Exploring Guides In Glass

This Guide Has The Expert Stamp of Approval
Janet Hiebert, Glass Fusing & Slumping Department Head
Janet has devoted the last 35 years to exploring the complex and exciting possibilities of stained and kiln-fired glass. “The enthusiasm of seeing others share my passion for glass is rewarding and inspirational,” Janet shared.

