Glass Casting & ColdworkingGlass
Glass Casting 101: Process and Techniques
By Kristin Arzt
Glass Casting 101: Process and Techniques
In The Crucible’s Glass Casting & Coldworking Department, you can learn everything from how to cast glass in a kiln to finishing techniques in our coldworking studio. In this guide, you will learn everything from the basics of glass casting to exactly how to get started.
What is glass casting?
Glass casting is the process of melting glass into a mold where it solidifies and creates a glass object. Typical glass casting techniques include kiln casting and sand casting.
Glass casting techniques
There are several ways to build a mold to create a unique glass work of art. Sand casting and lost wax casting are the most common processes. These techniques go back thousands of years. Both are versatile approaches that are also used when casting metals.
What is kiln casting?
Kiln casting is a type of glass casting in which cold glass is placed over a mold inside of a kiln. The kiln is brought up to molten temperatures, causing the glass to flow into the mold. The glass object is annealed and cooled as the kiln is slowly brought back down to room temperature.
Sand casting
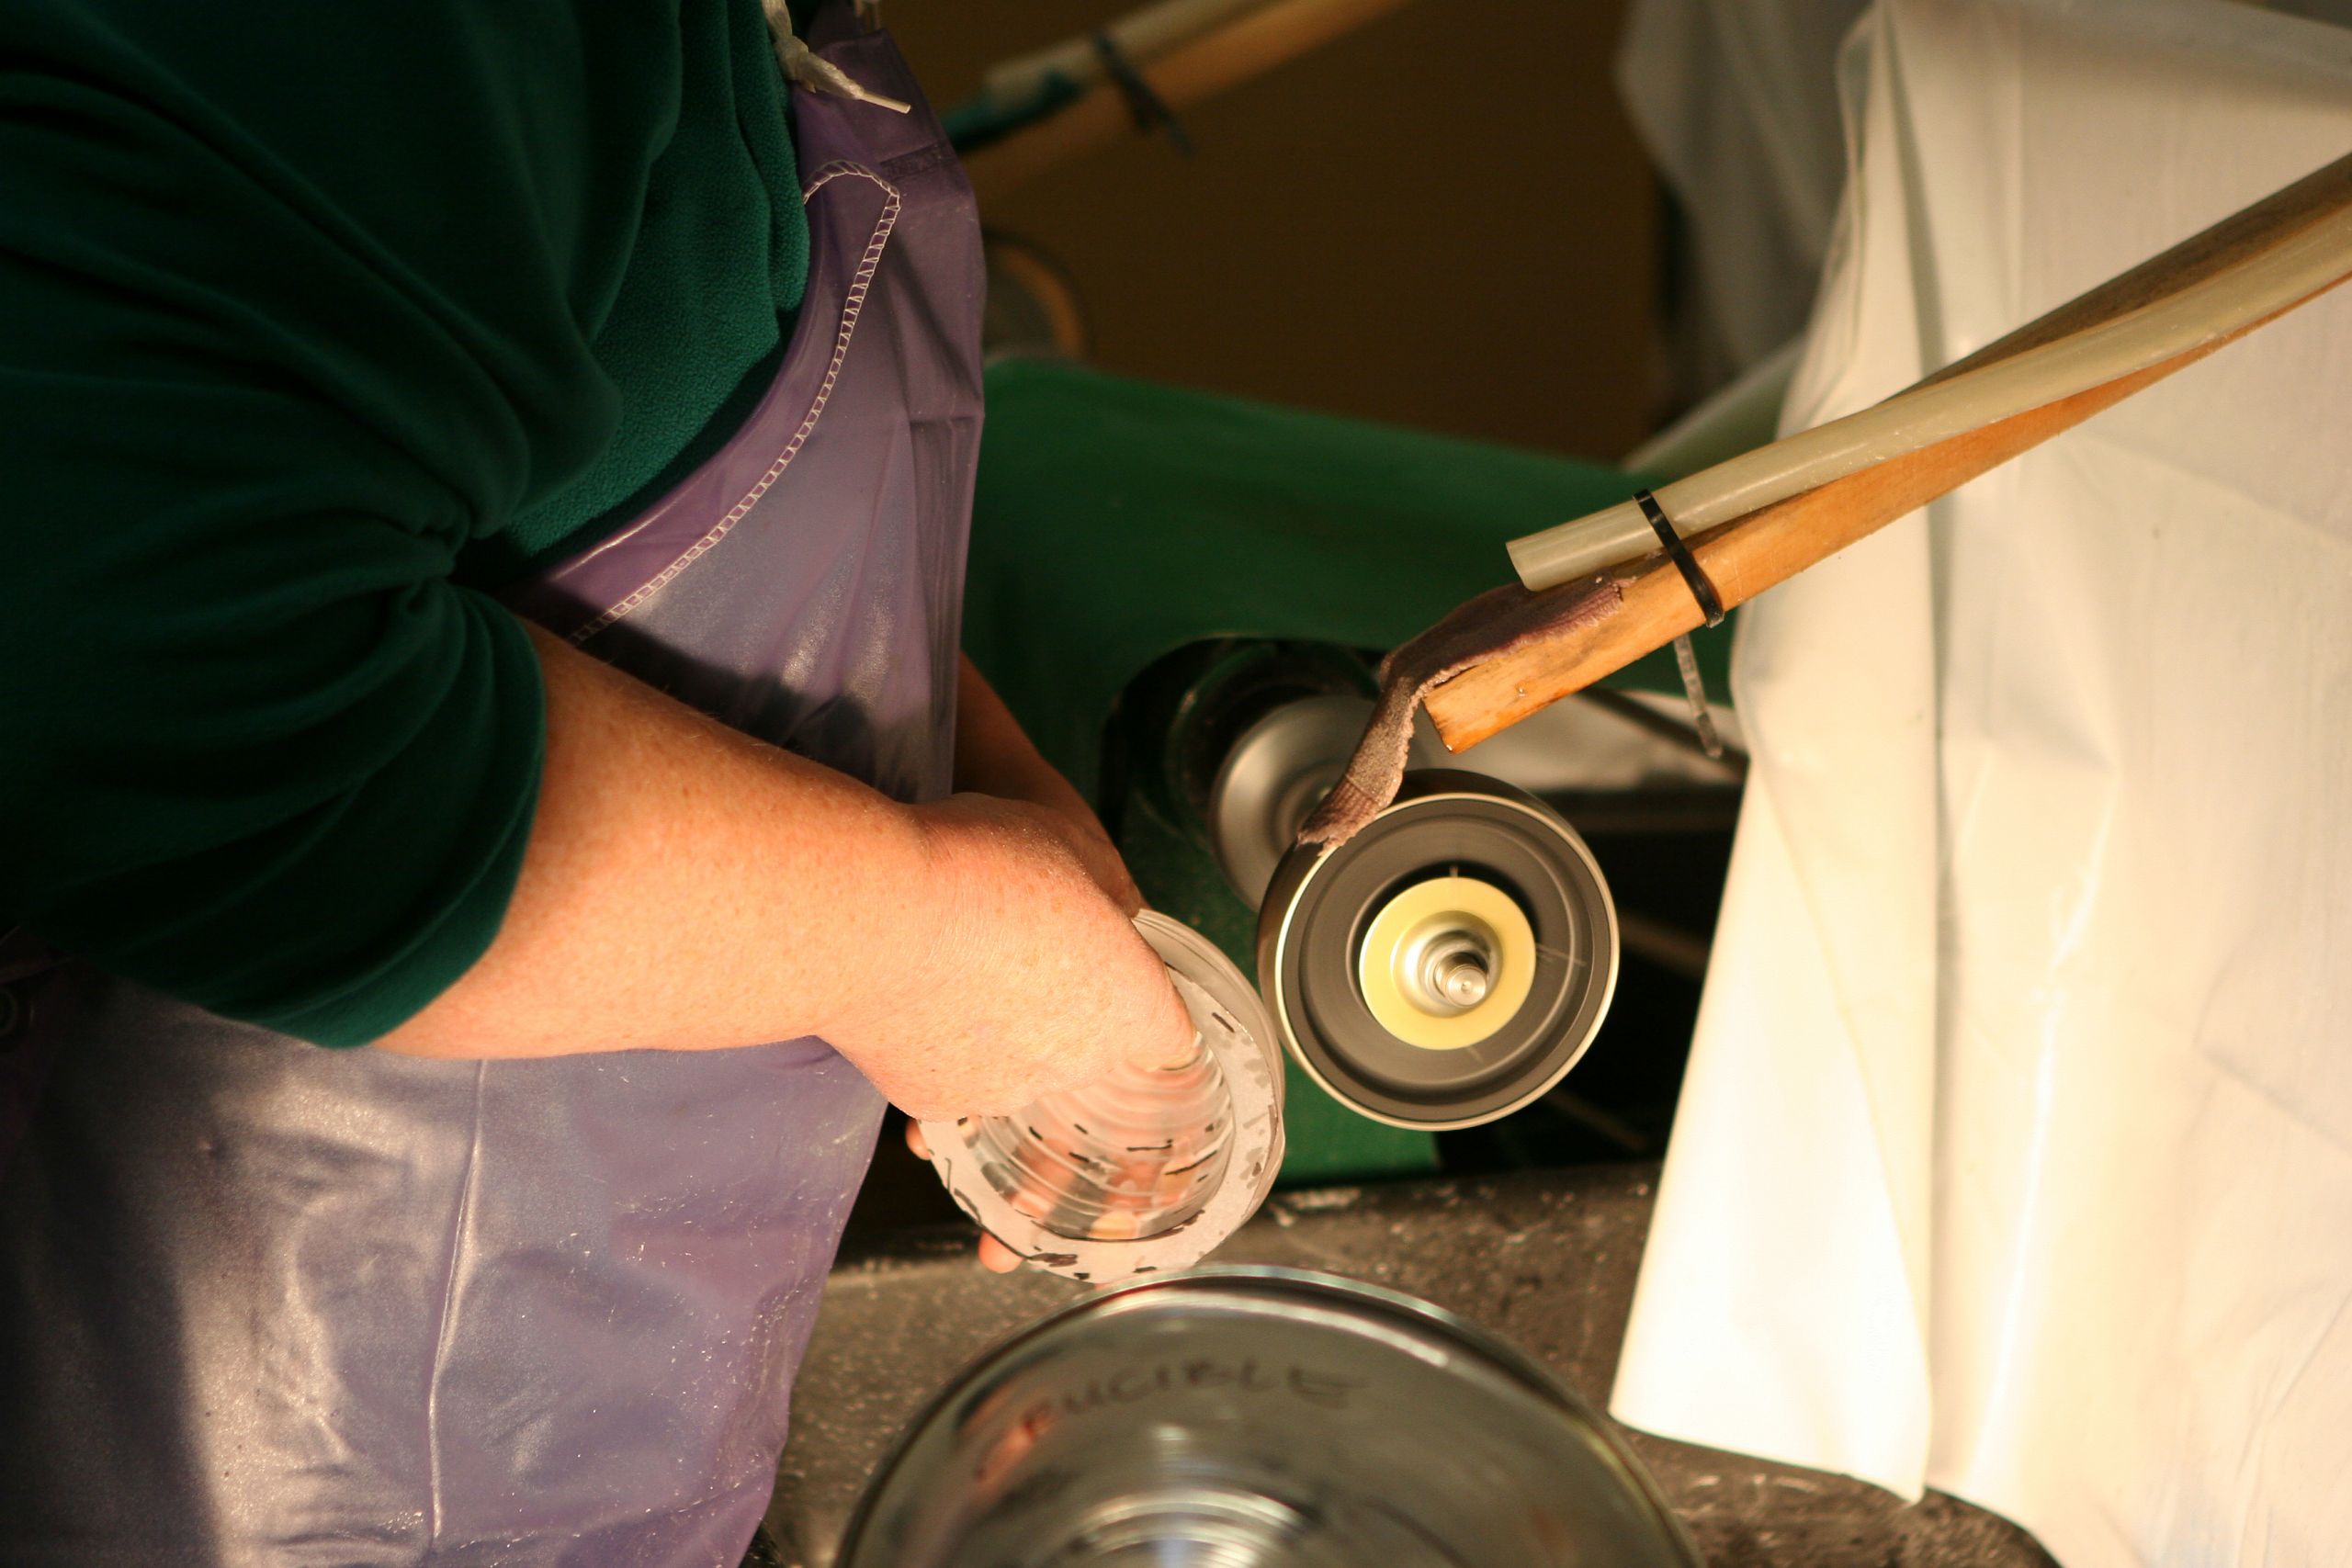
When sand casting, a design is placed in or carved into treated serpentine sand to create a mold. Then, using a ladle of molten hot glass, the sand mold is filled and given time to cool. Once the glass is cool to touch, pull the sand away and reveal a perfect solidified casting.
Open-faced molding
Open-faced molding is used when casting pieces where one side is flat, like when making a glass tile or a coaster. To make the mold, pour plaster around a clay pattern and let it set. Once the plaster has solidified, remove the clay and finish drying the plaster mold in the oven. Then fill the mold with glass and cast it in a kiln.
Lost wax casting
Lost wax casting builds a mold around a sacrificial wax model. After the mold investment is set, the wax is melted out and forms a cavity where the glass flows in. Using this method of glass casting captures fine details. Below, we cover the steps and equipment needed for glass casting using the lost wax casting technique.
Equipment needed for glass casting
Safety equipment
Wear a respirator in a well-ventilated space for mixing your investment. Make sure to have heavy-duty welding gloves when melting wax out of the mold.
Wax
Create your design in wax before building a mold around it. Shape it with texturing tools, a soldering iron, and a heat gun. Many experienced wax sculptors swear by repurposing dental tools in order to effectively sculpt and carve unique designs in wax.
Molds
You can make your own molds using a combination of plaster and silica. Mix equal parts by weight of plaster, silica, and water together until it has the consistency of heavy cream. Plaster gives the mold support and silica has a high refractory, so it can withstand a lot of heat.
Scale
A gram scale is necessary for making your investment and calculating how much glass you will need.
Kiln and kiln furniture
A kiln large enough to fit your mold is necessary for melting the glass into your mold and annealing. Kiln furniture is used inside of the kiln during firing to ensure that the molds and components do not deform or stick to one another.
Wallpaper steamer
In this guide, we walk you through how to use a wallpaper steamer to melt the wax out of your mold.
Coldworking tools
In the final stage of this process, you will use a grinder, belt sander, and more to polish and finish your piece.
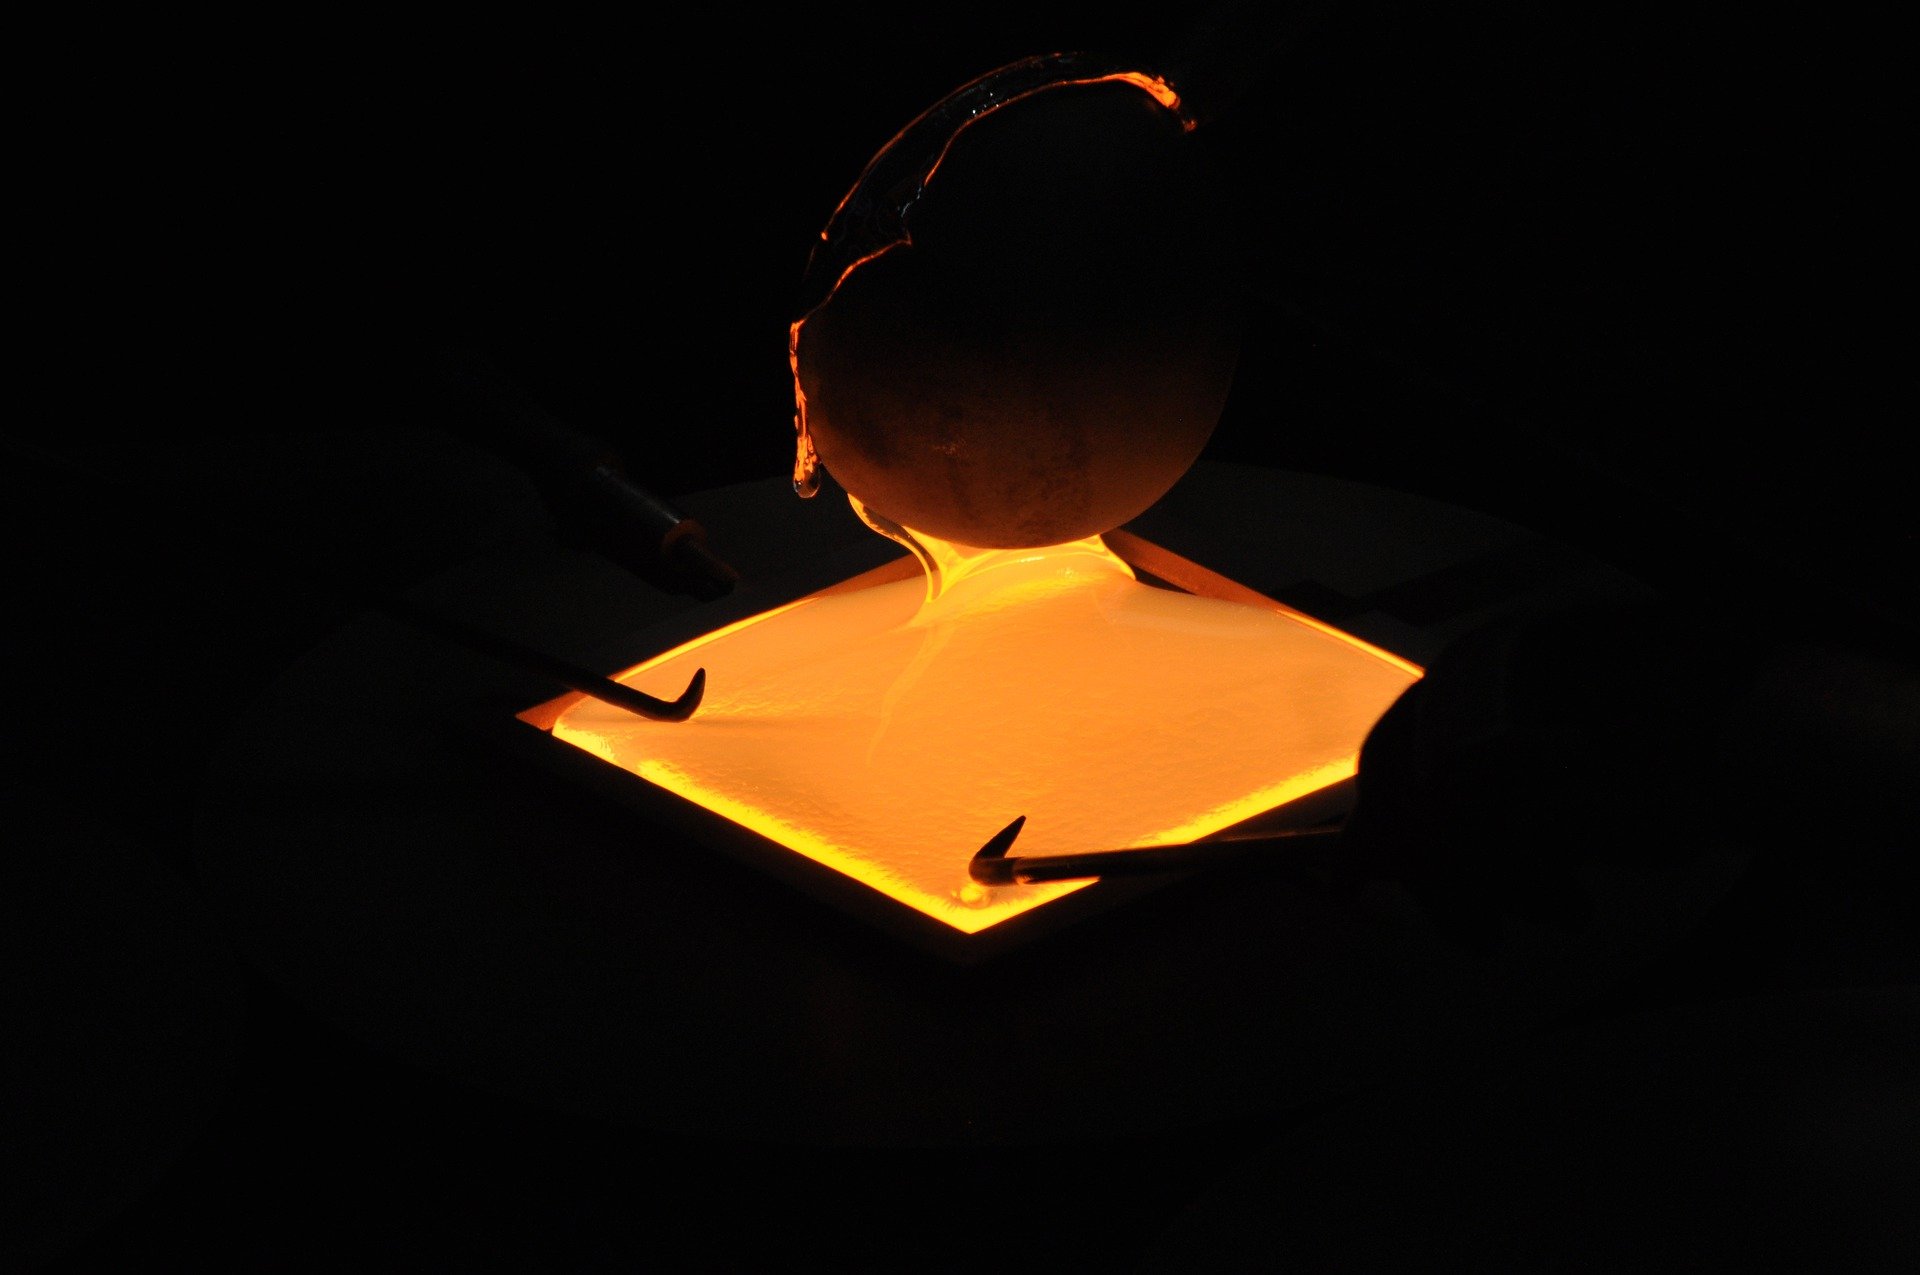
How to cast glass in 8 steps
Step 1: Design your piece
Draw out your project before you begin shaping it in wax. Keep size limitations in mind. Any glass sculpture over one inch in thickness will take over 24 hours total in the kiln. As your piece gets thicker, kiln firing times can easily stretch into weeks at a time. Shape your three-dimensional model in wax and hollow it out if possible. You may use any type of wax; microcrystalline, paraffin, or beeswax all work well. In The Crucible’s Glass Casting and Coldworking Department, we use Victoria Brown wax because it is very versatile. This wax is flexible at low temperatures, making it easily moldable. It can be used as an adhesive in investment castings. Make sure to attach a wax reservoir to your design for the glass to flow through.
Step 2: Make an investment
When working with dry materials, make sure that your work area is well ventilated, and wear a respirator when working with dry investment. Mix equal parts by weight of plaster, silica, and water together until it has the consistency of heavy cream. Plaster gives the mold support and silica has a high refractory, so it can withstand a lot of heat.
Build a simple wooden box around your wax model to secure the mold. Pour the investment into the box and let it sit for 30 minutes.
Pro tip! While you are pouring, ask a friend to knock on the work table to push bubbles up out of the investment. This creates a vibration and pushes the oxygen up and the material down. It is important to avoid any bubbles because they will create holes on your final sculpture.
Step 3: Melt out the wax
The easiest way to melt wax out of a small mold is in a microwave. Remove any metal clamps you might have added to your mold, then prop it up on clay supports over a small container underneath to collect the wax. Heat in short bursts in the microwave until all of the wax has dripped into the small container.
If you have a larger mold, prop it up on a grate with a plastic bucket underneath to collect the wax. Shoot steam inside of the mold with a wallpaper steaming, melting out of all of the wax inside. Make sure to wear welding gloves so you don’t burn yourself.
Once the wax is melted out, rinse the mold with boiling water to remove any residual wax. Let the mold completely dry.
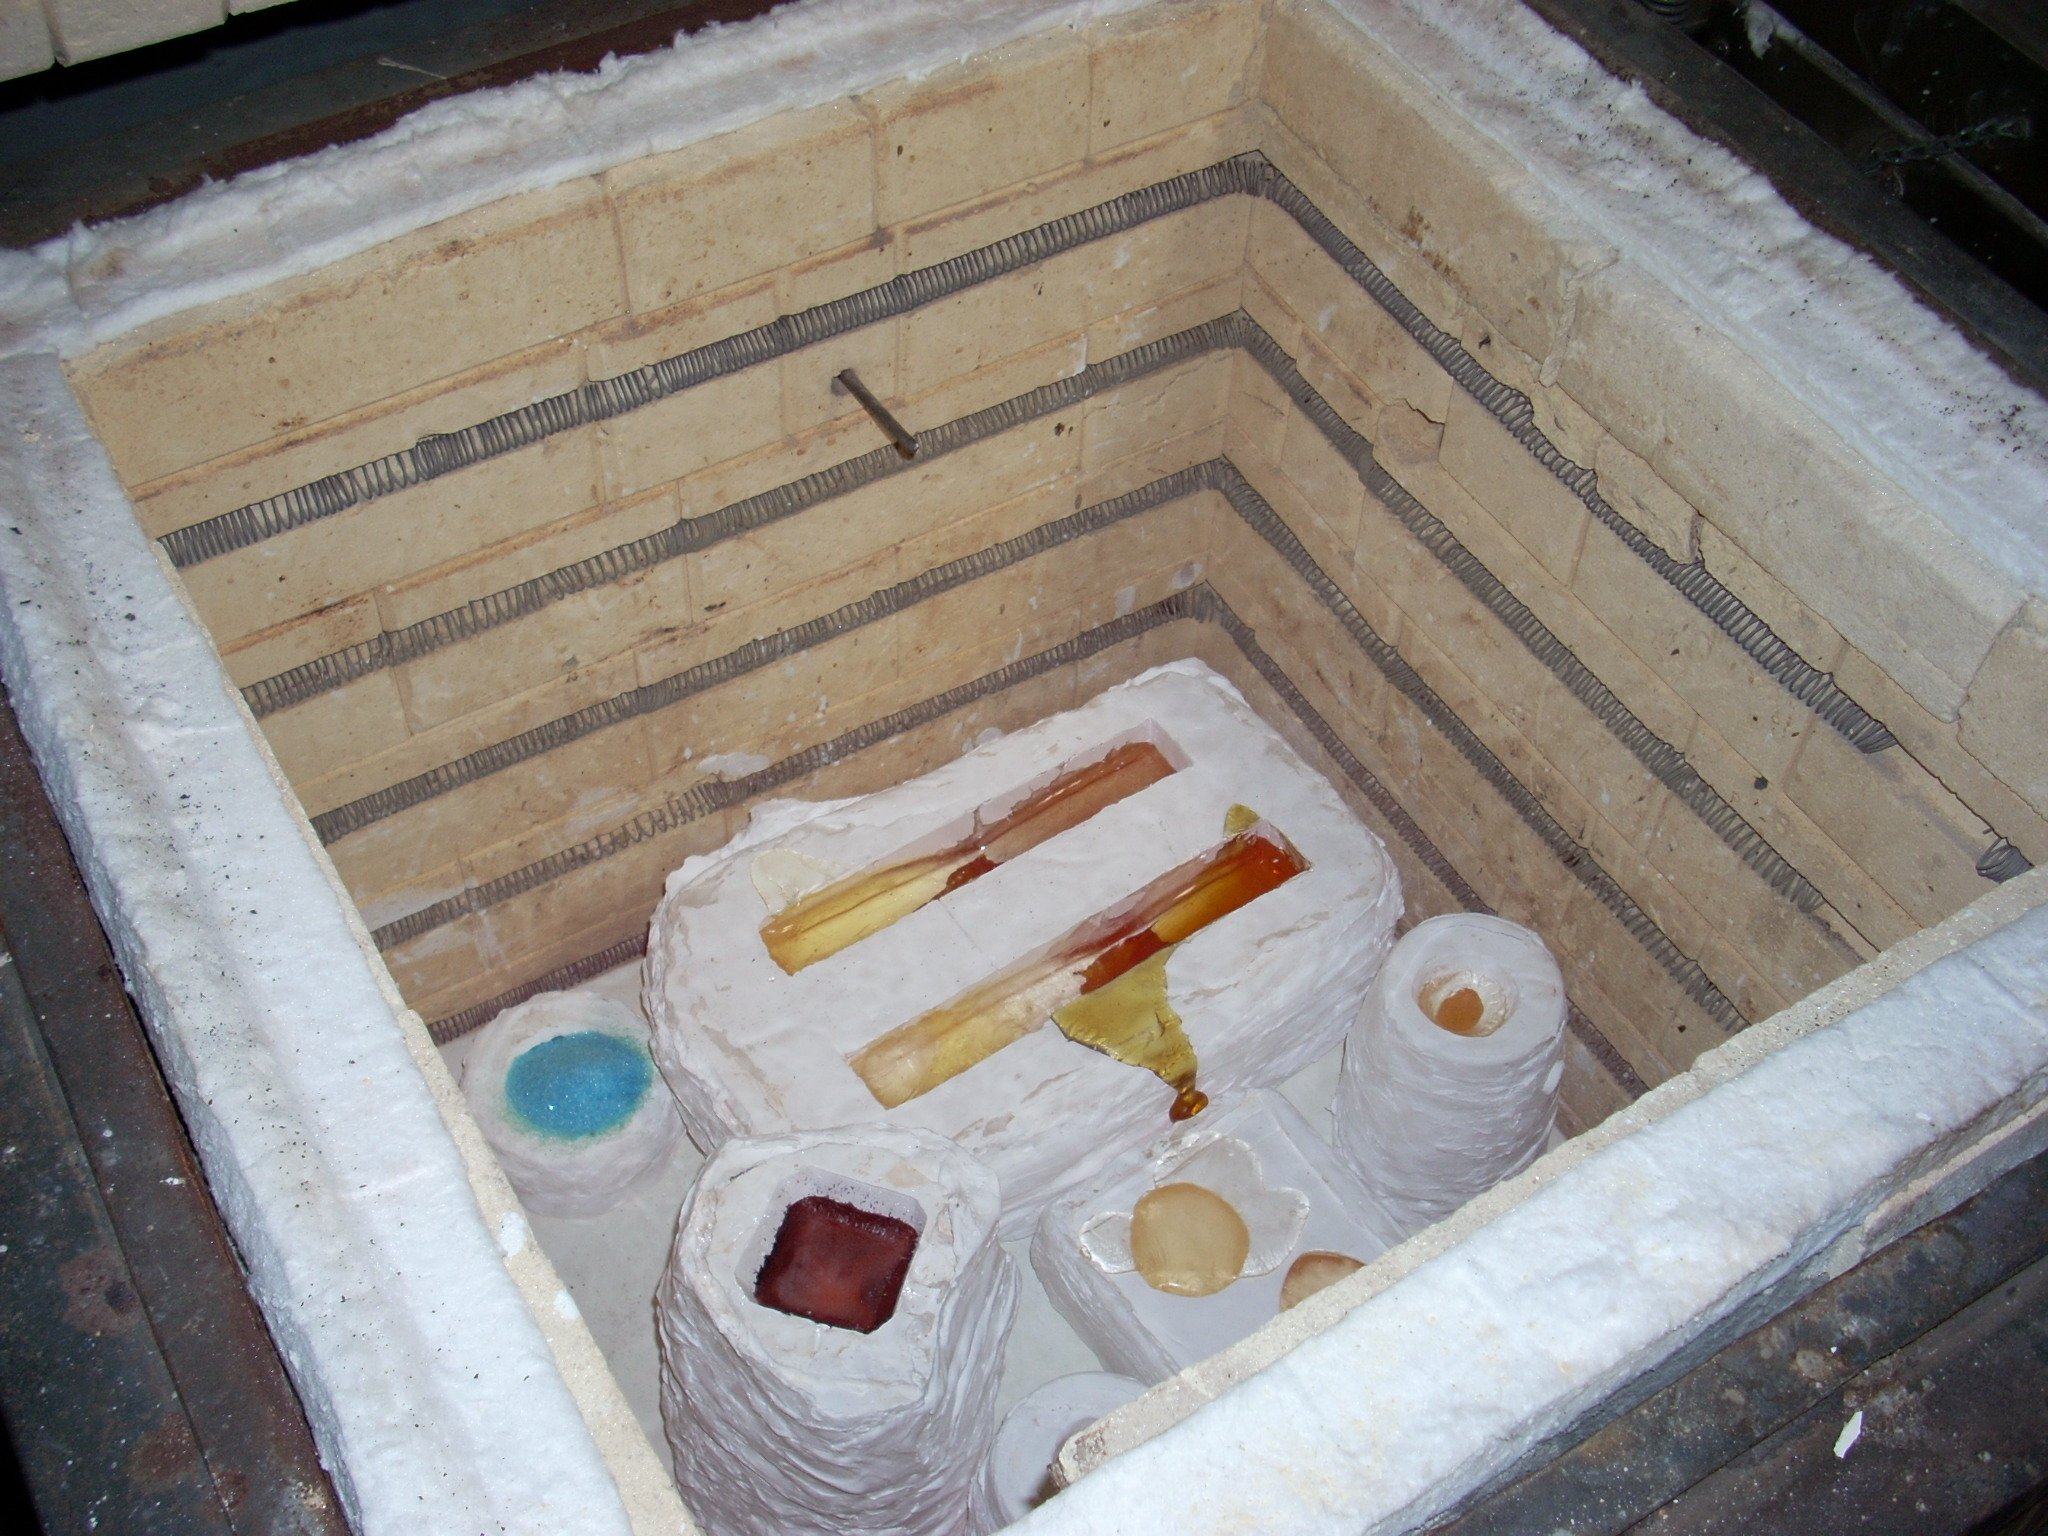
Step 4: Measure out the glass
Use a simple water displacement formula to decide how much glass you will need. Pour water into the mold until it is full. Pour this water back out into a container and weigh how much water you used in grams. Multiply this weight by 2.5 to calculate how much glass you will need.
Step 5: Insert the glass into your mold
Fill up the reservoir with as much cold glass as you can fit. If you aren’t able to fit the glass, suspend a flower pot above the mold and fill it with the glass. The small hole in the flower pot will act as a channel to flow the glass into your mold in the kiln.
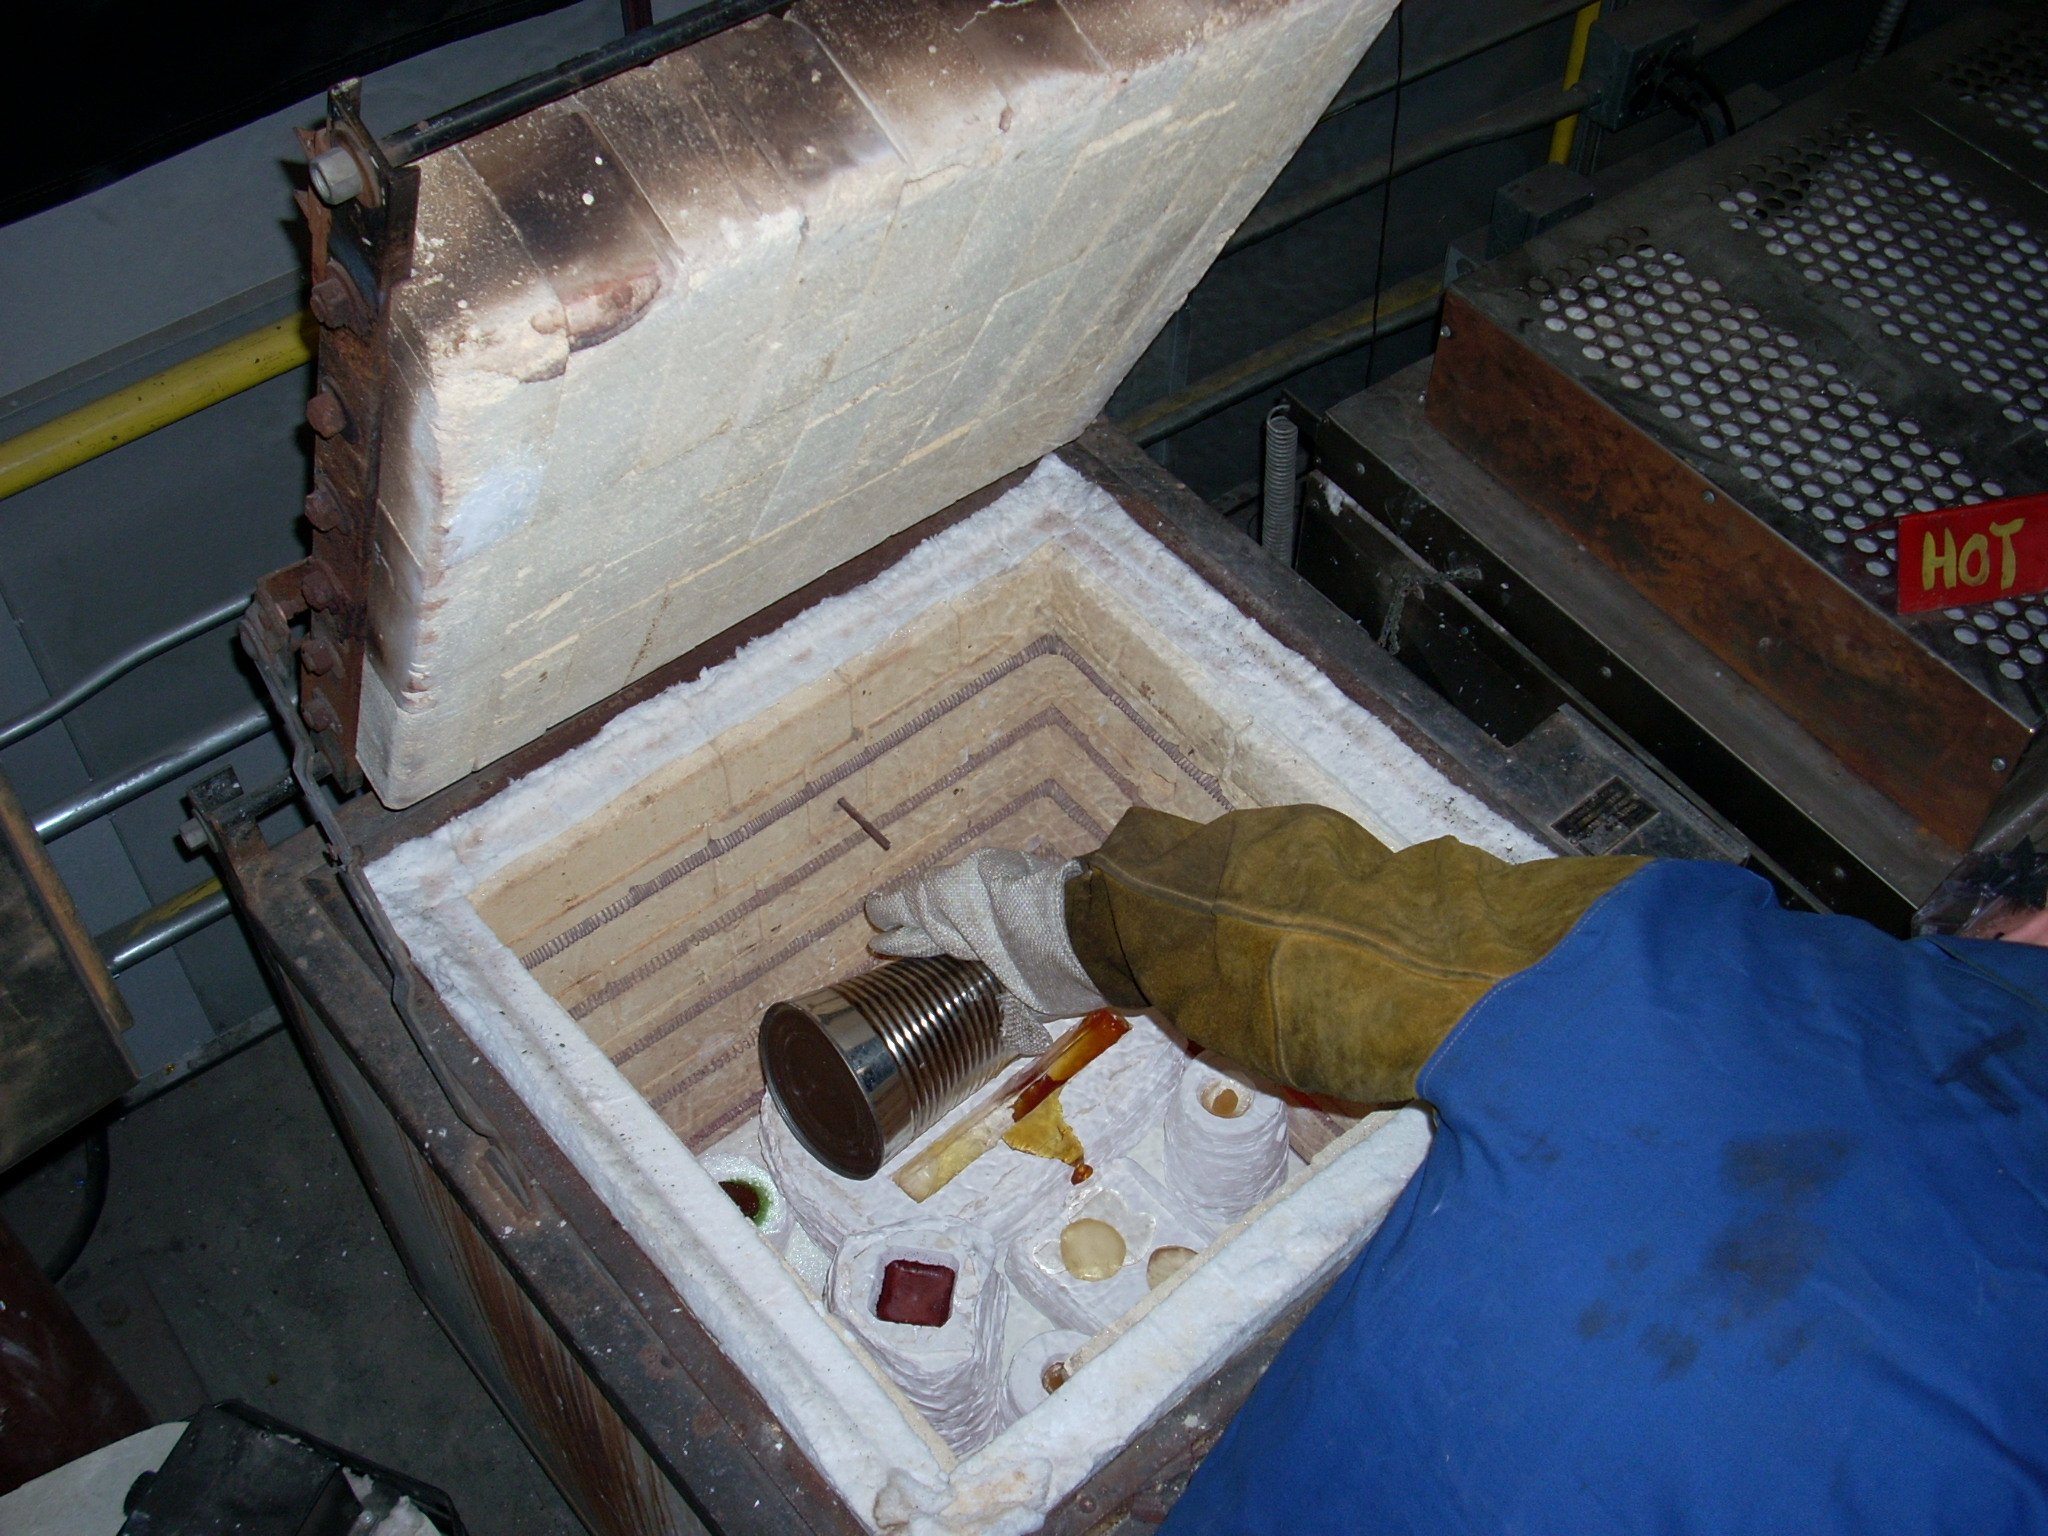
Step 6: Fire the glass in the kiln
There is no one-size-fits-all temperature for firing, so this will depend on the size of your piece. Bullseye Glass has a helpful guide on firing and annealing temperatures. After your glass is melted into the mold, you must slowly bring the temperature down as it anneals to prevent it from exploding in the kiln. The thicker your piece is, the longer the annealing process will take. It is ready to be removed from the kiln when it reaches room temperature.
Step 7: Divest and clean
When your piece is completely cool, the investment should easily break off from the glass. Some of it may stick into tighter crevices. Clean the glass by soaking it in vinegar and use a brush to clean off any excess plaster.
Step 8: Coldwork
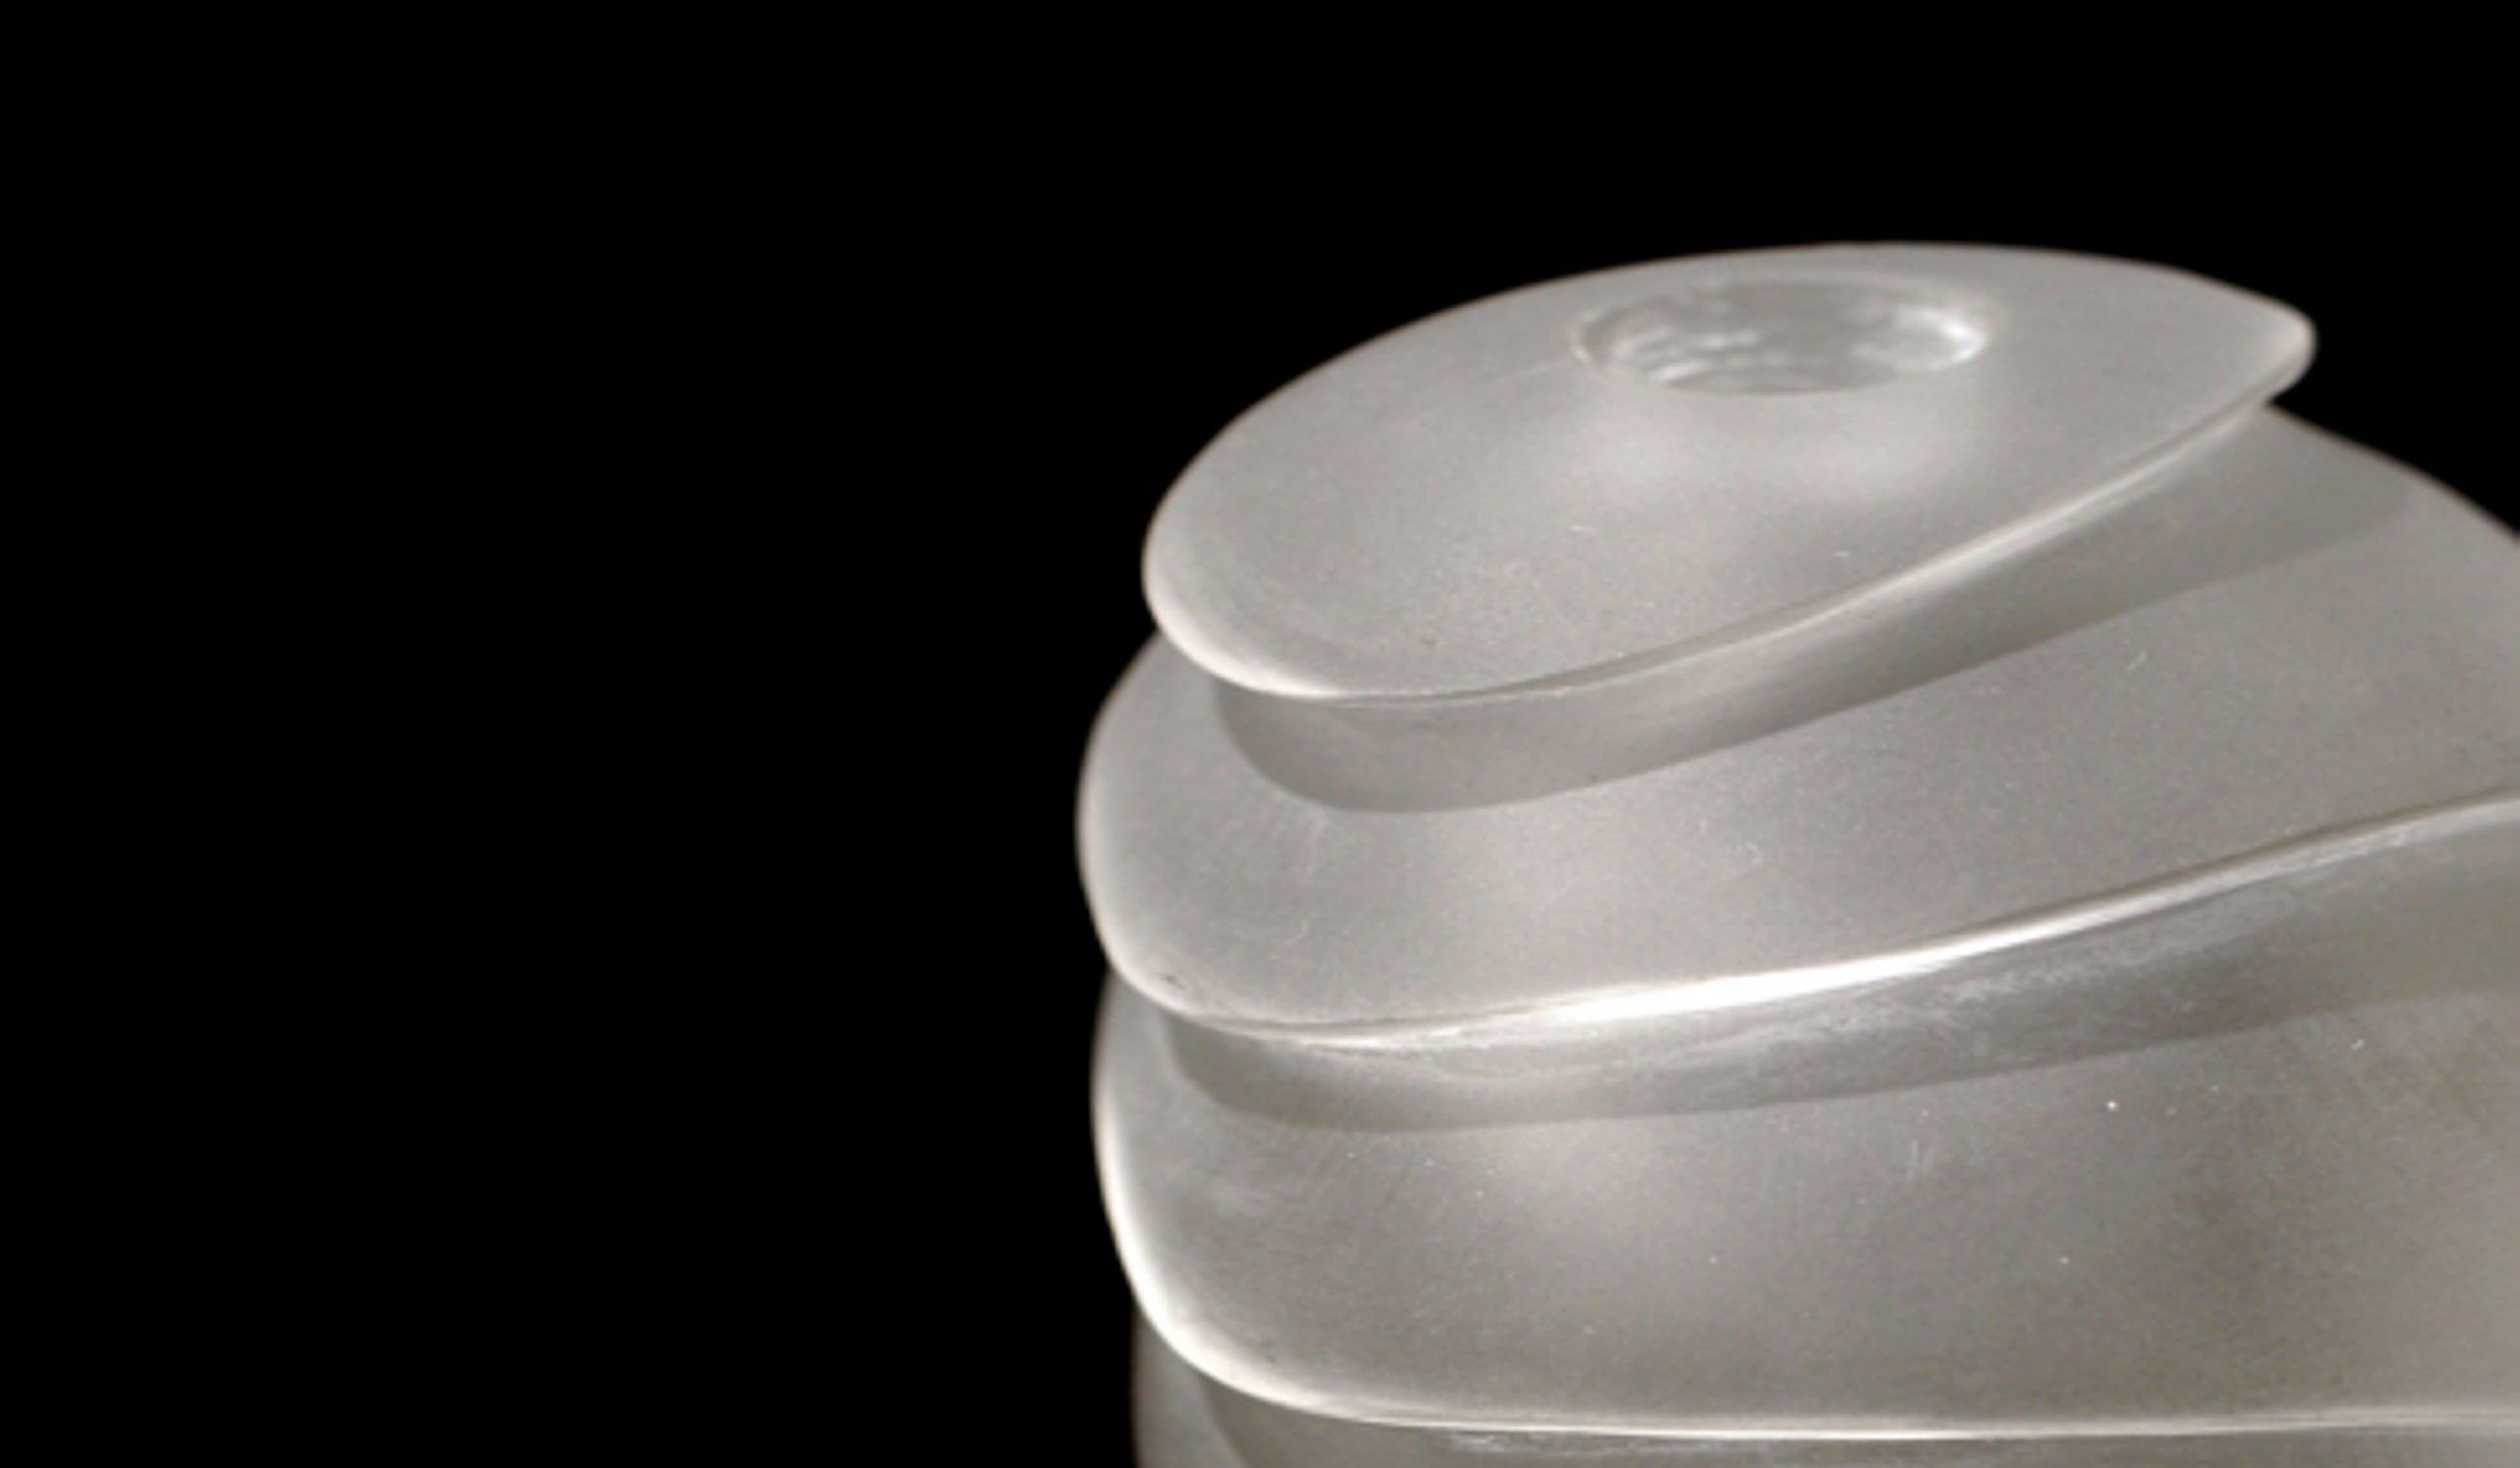
Coldworking is the final step in glass casting to smooth the surface and edges and remove any excess glass. Grind the bottom and edges of your piece on the lap wheel or belt sander. Break off the sprues and grind them down and polish the surface. Now, admire your finished piece!
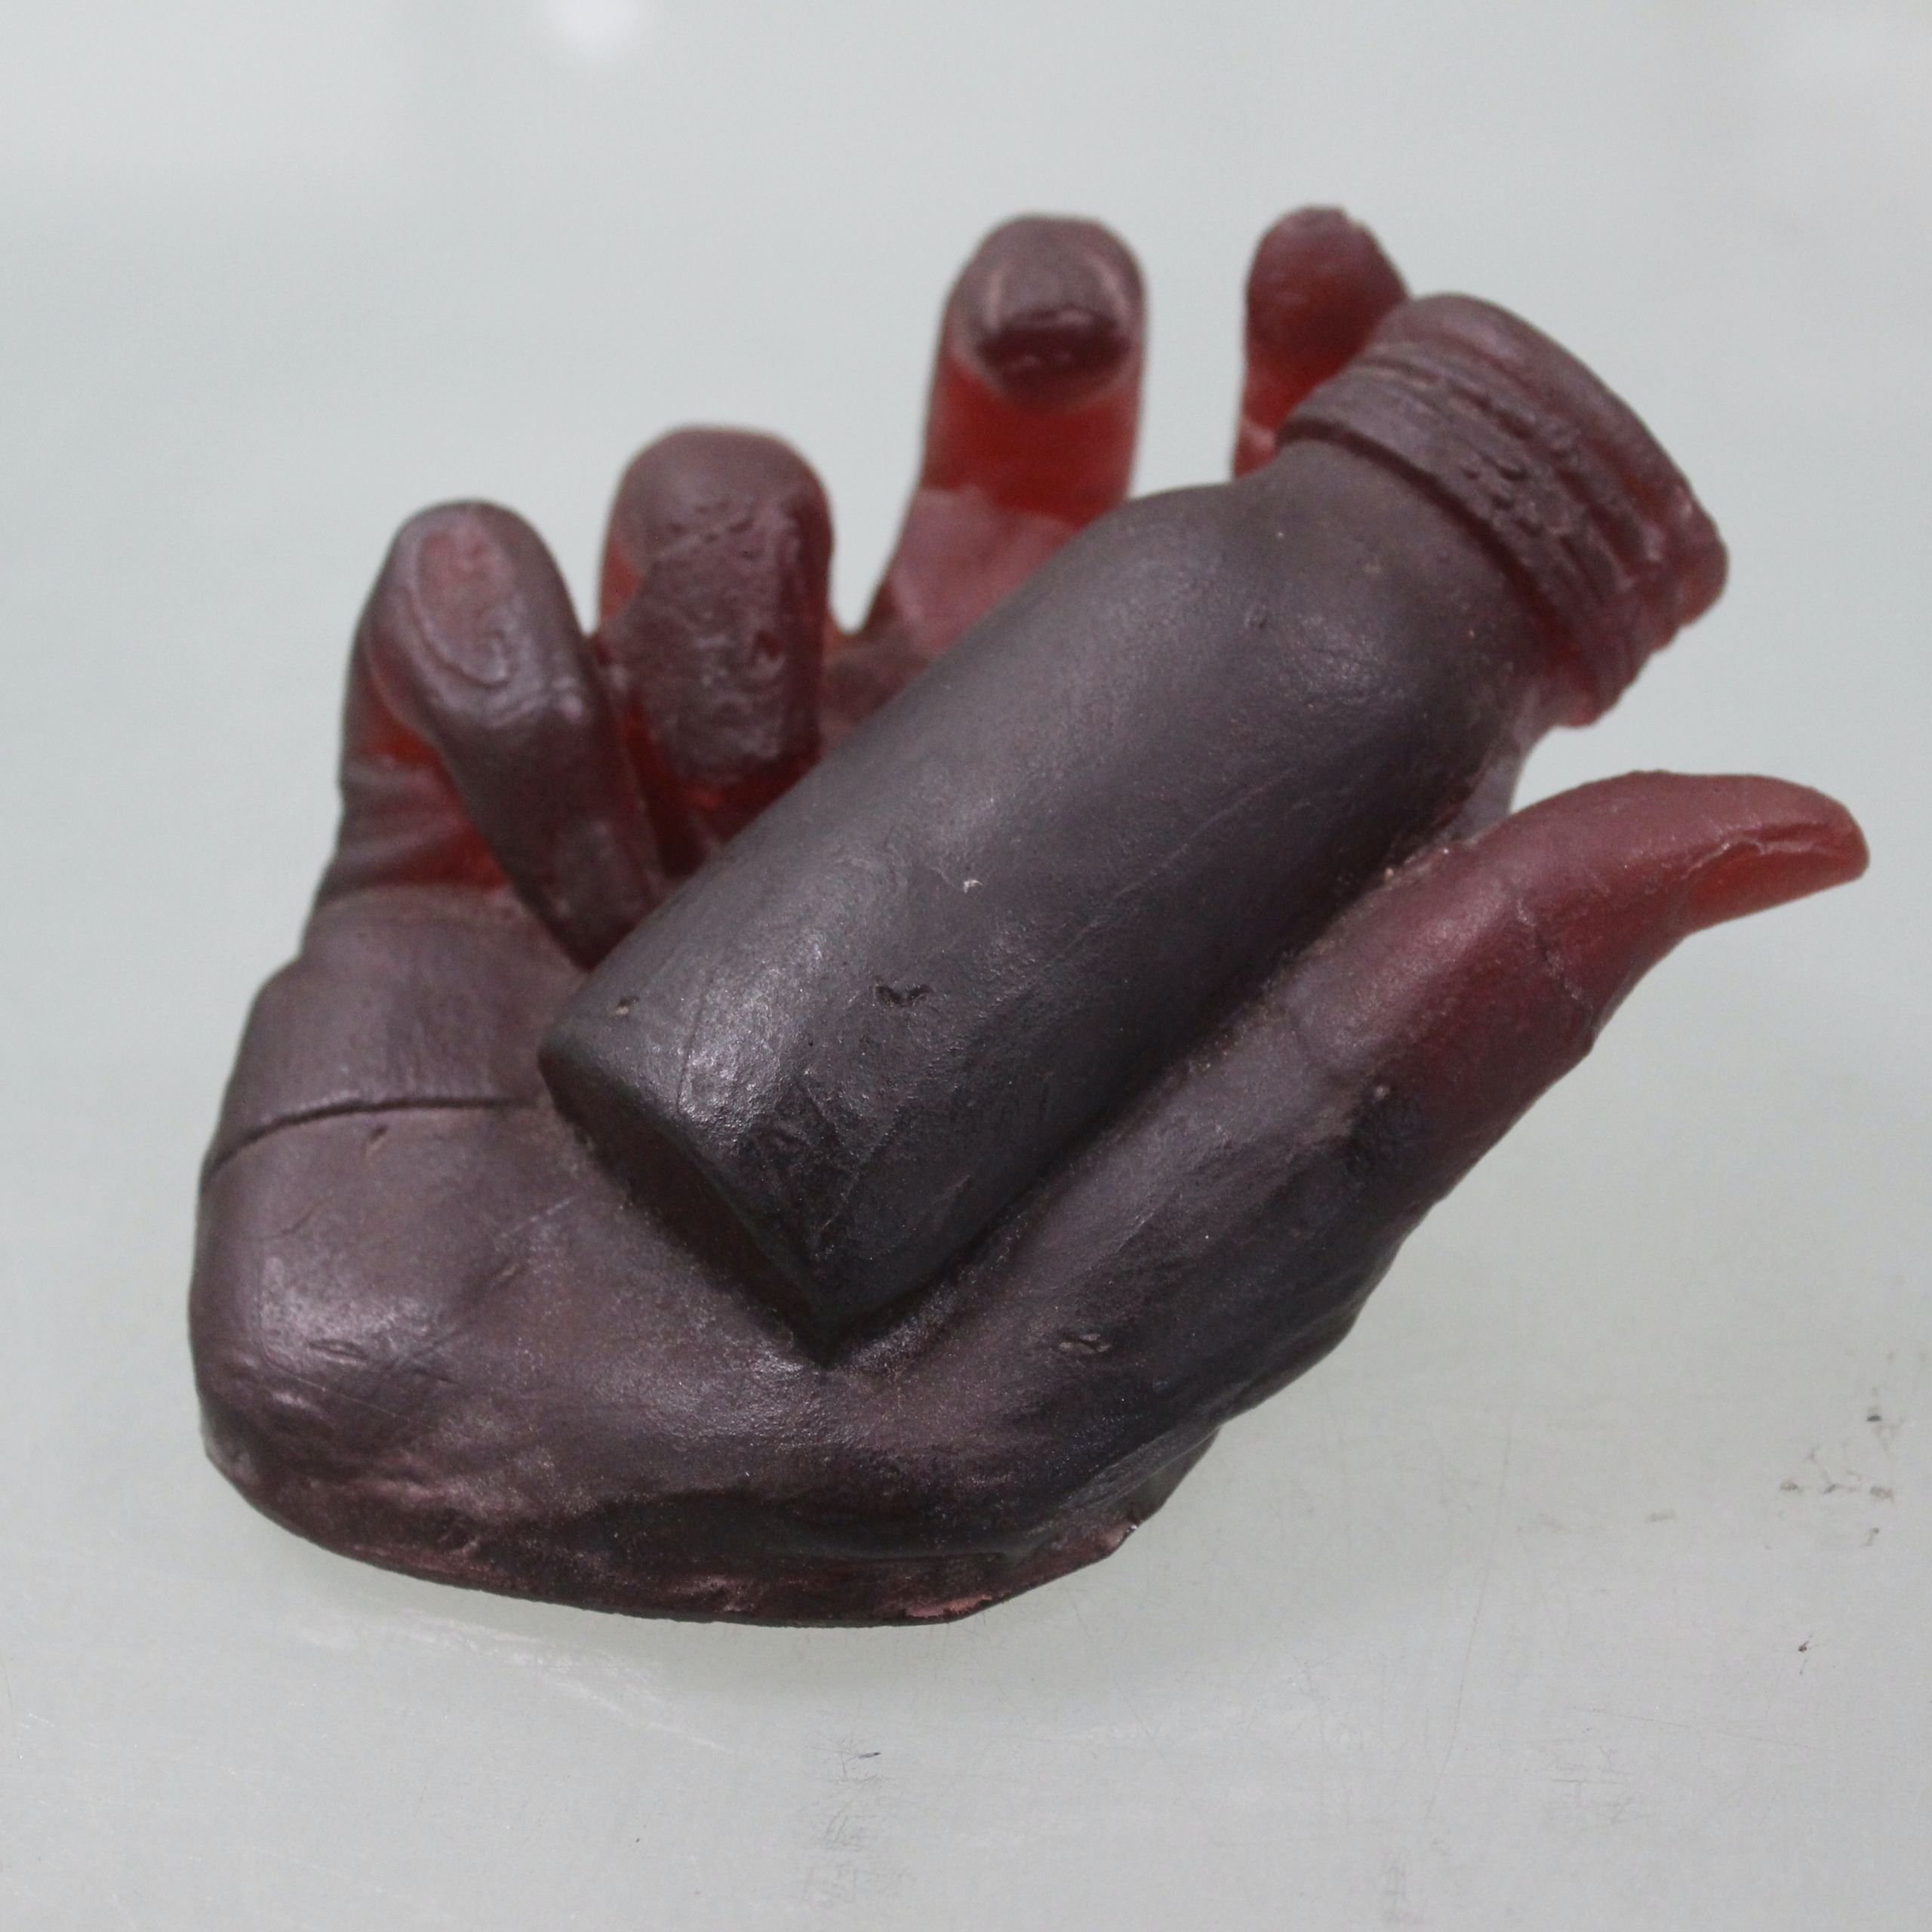
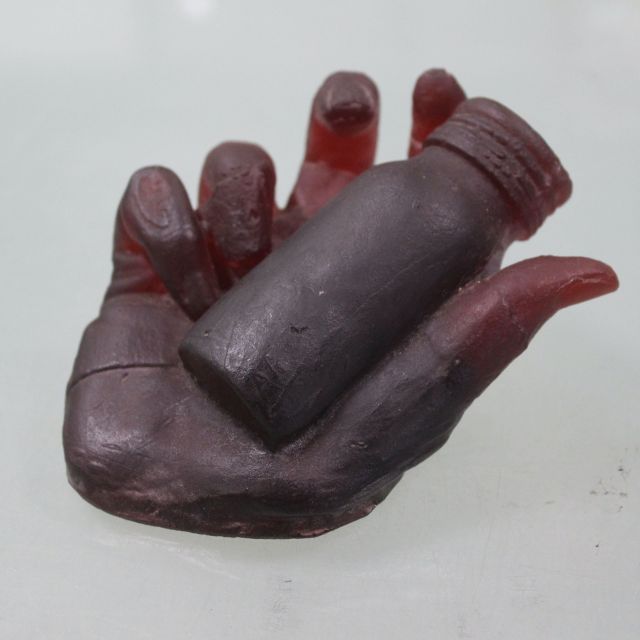
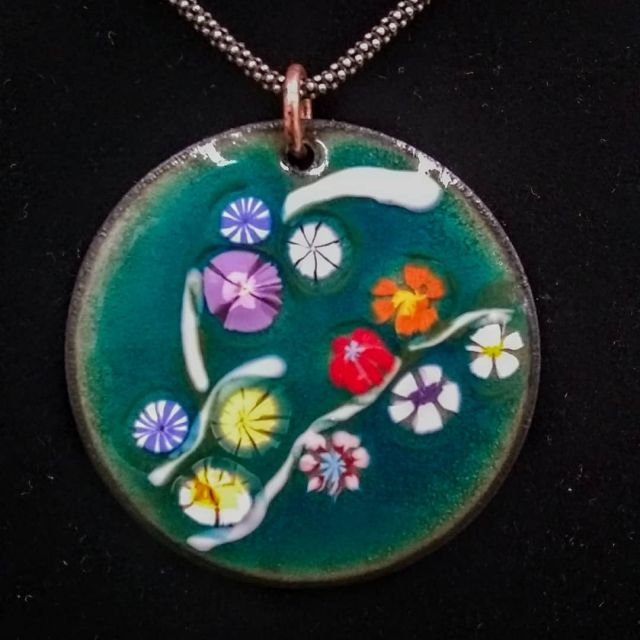
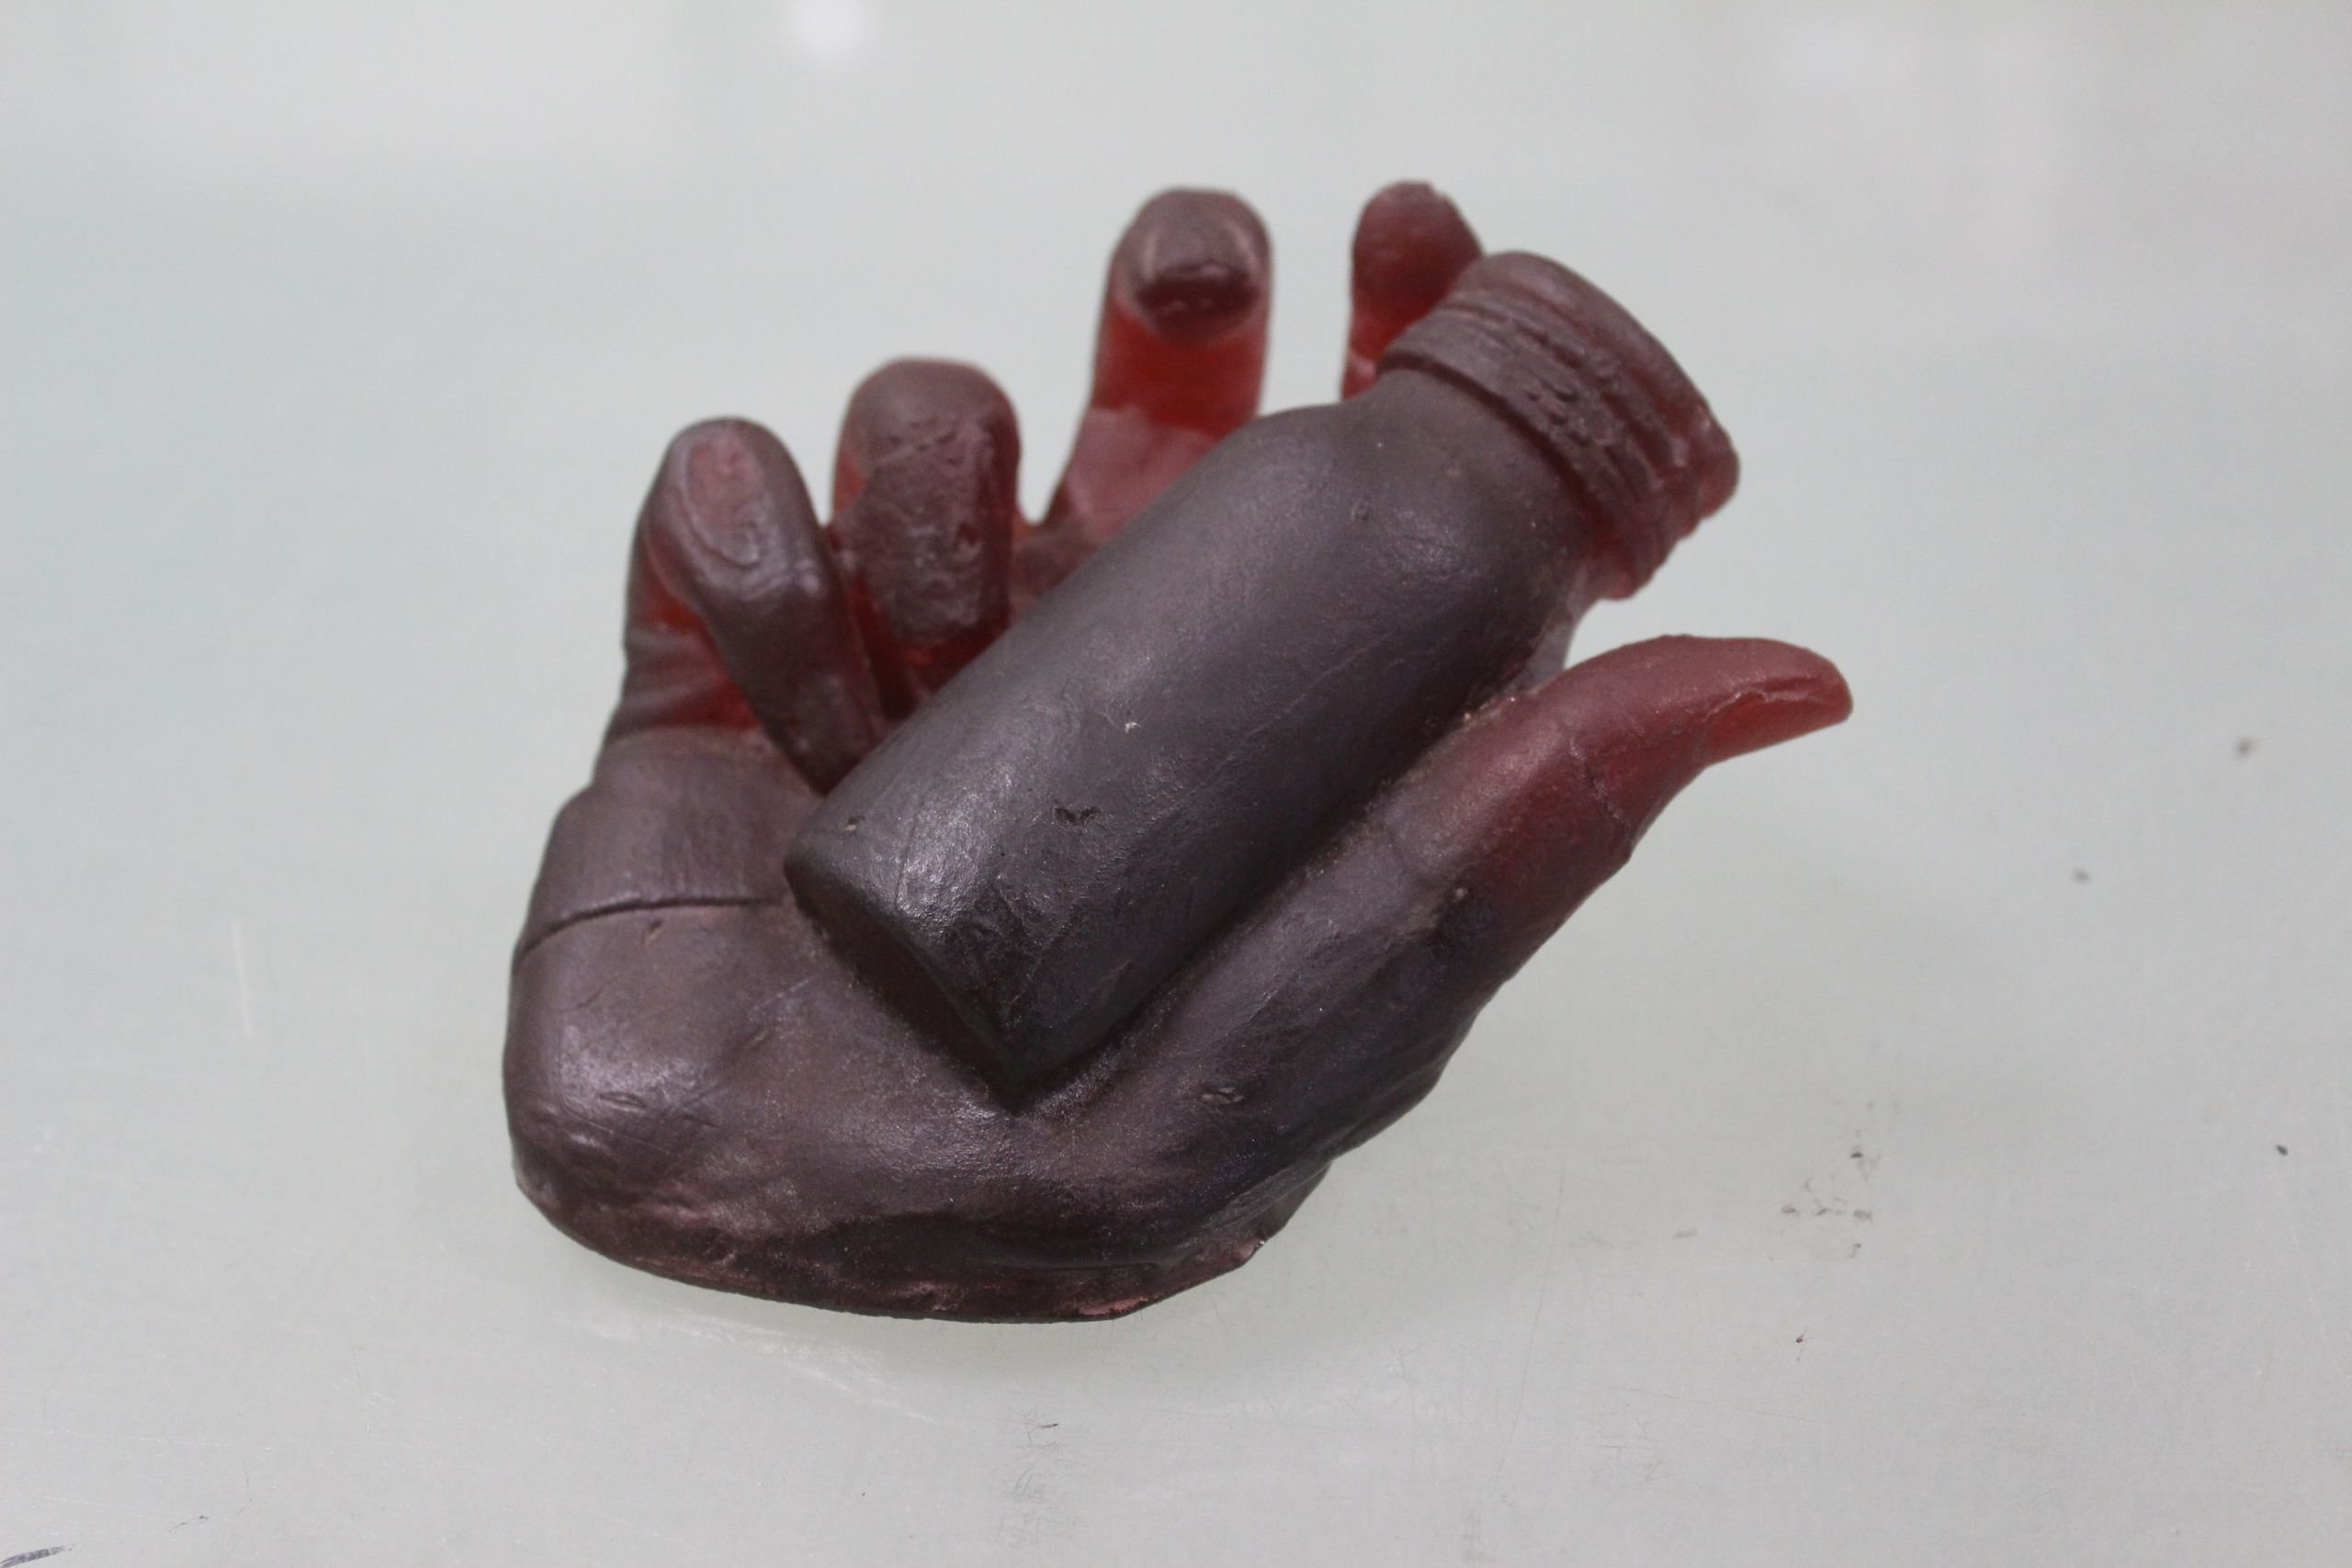
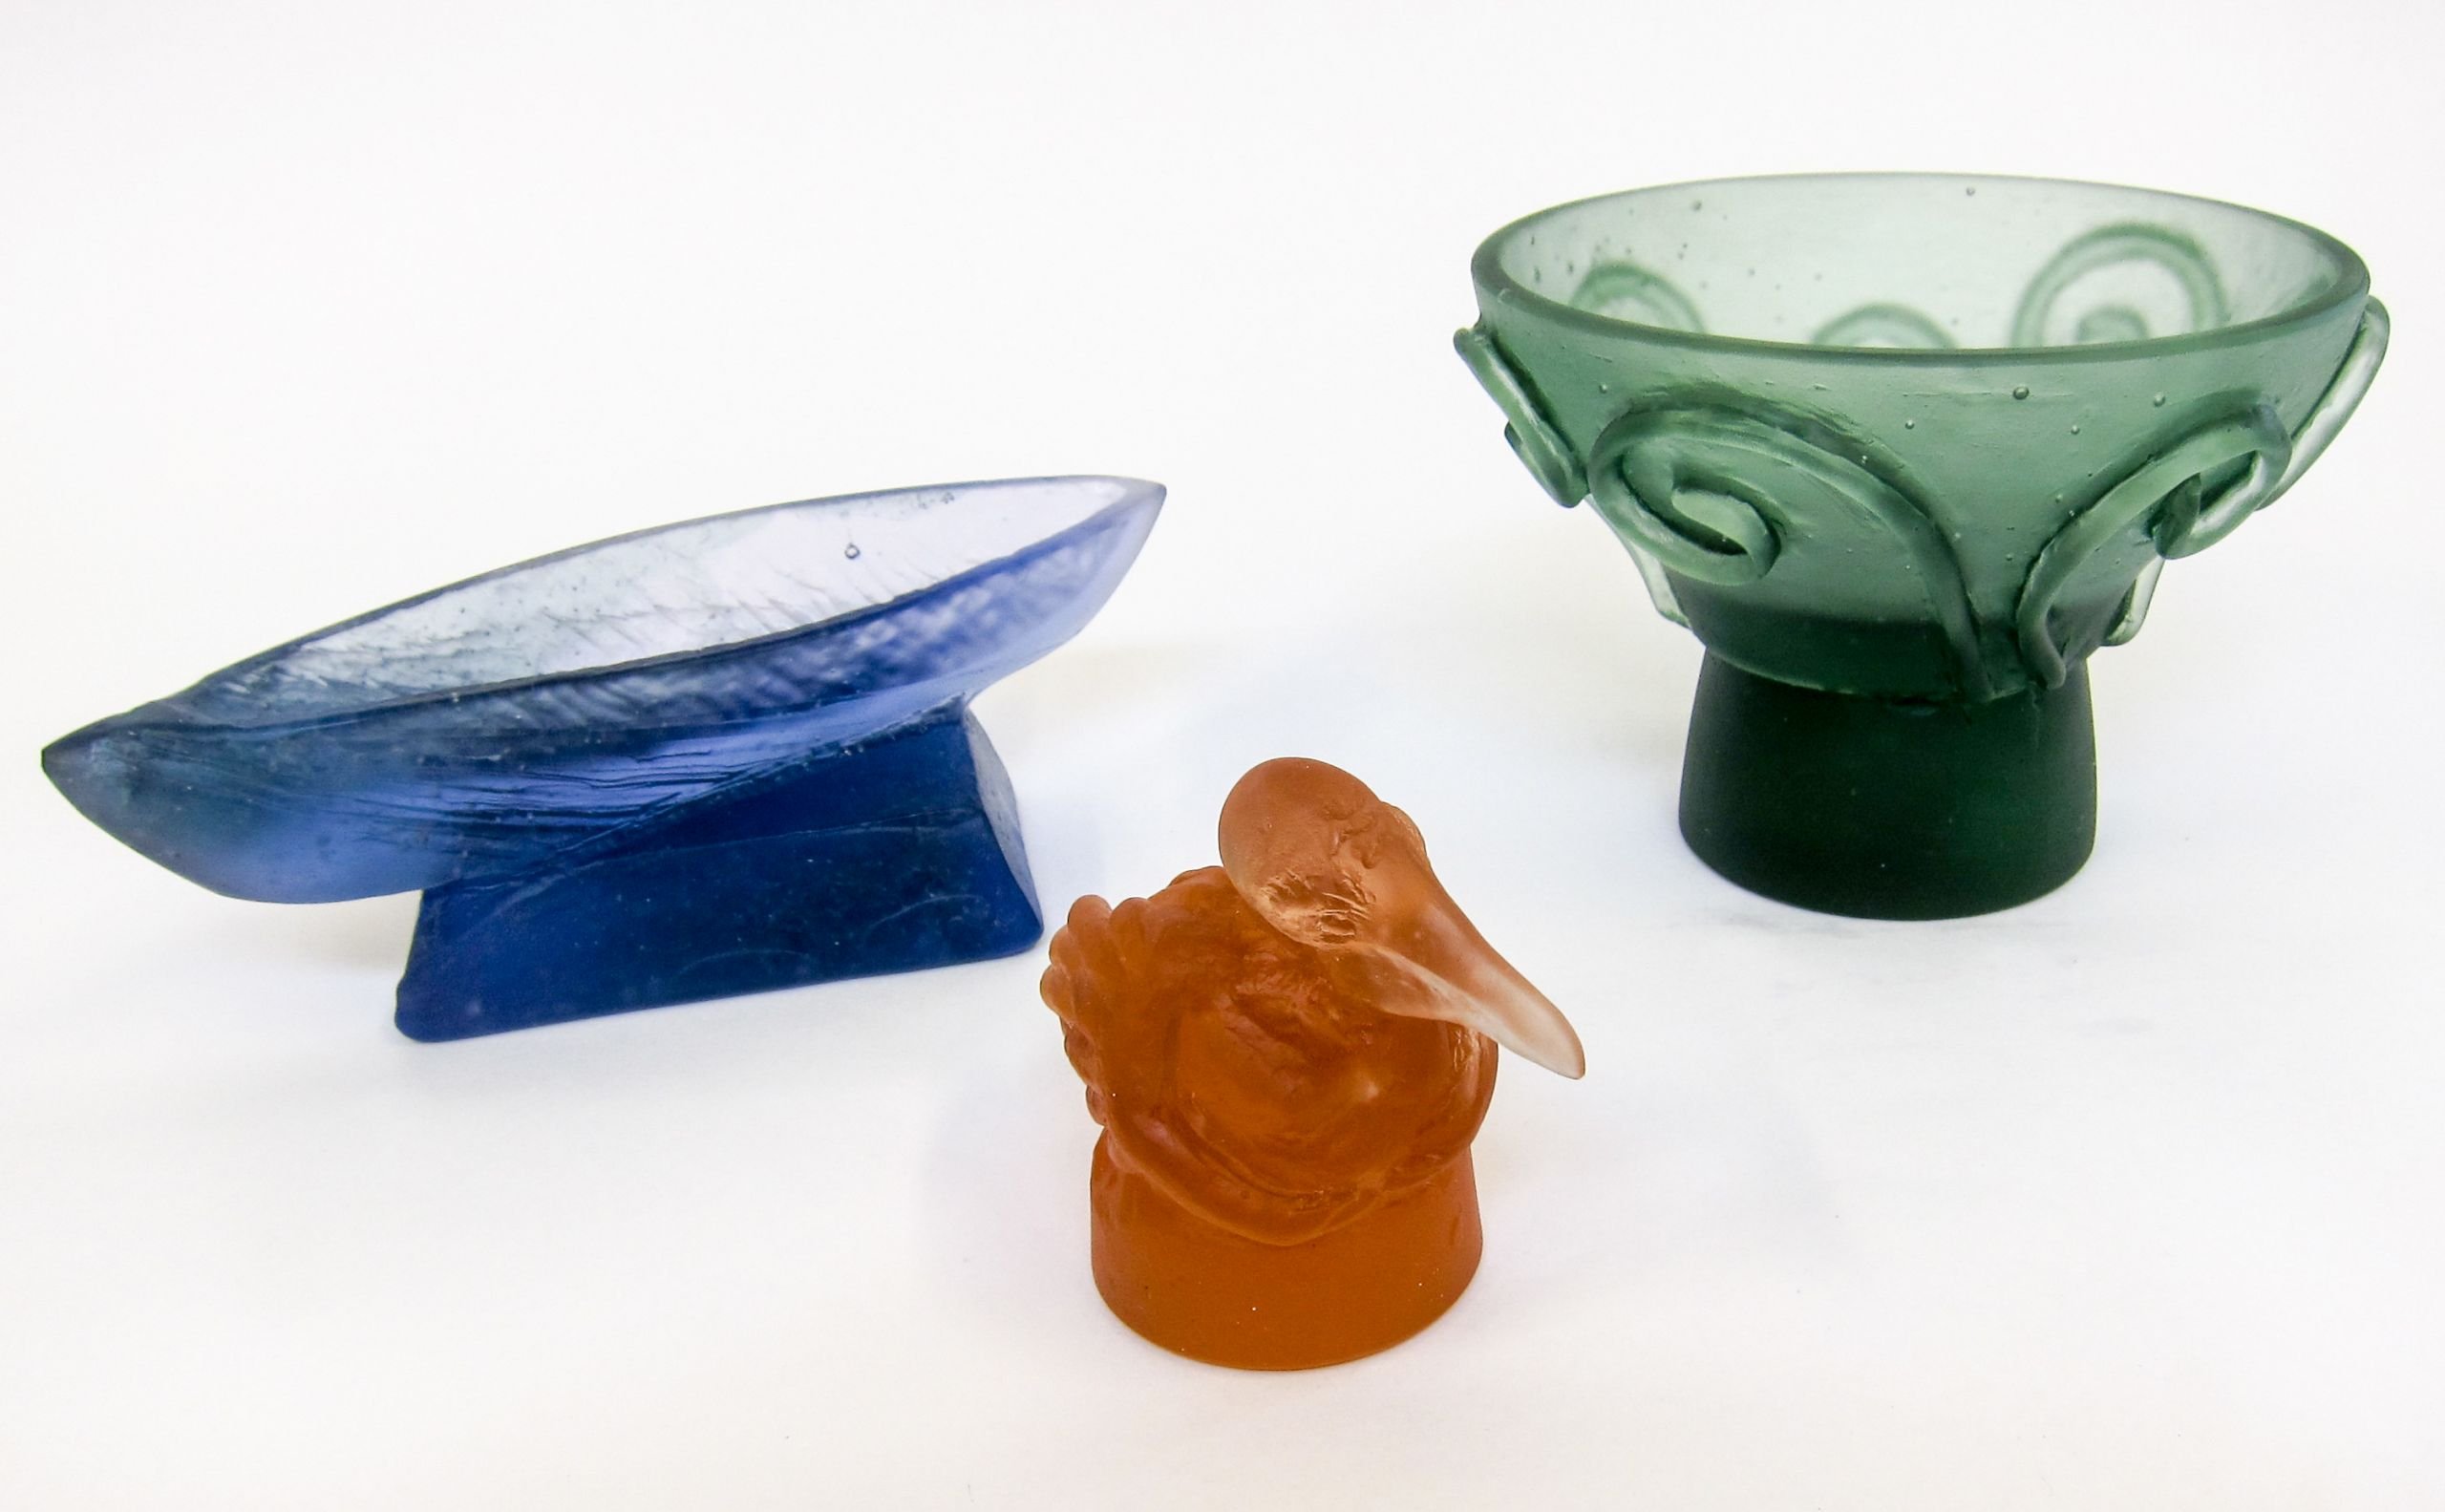
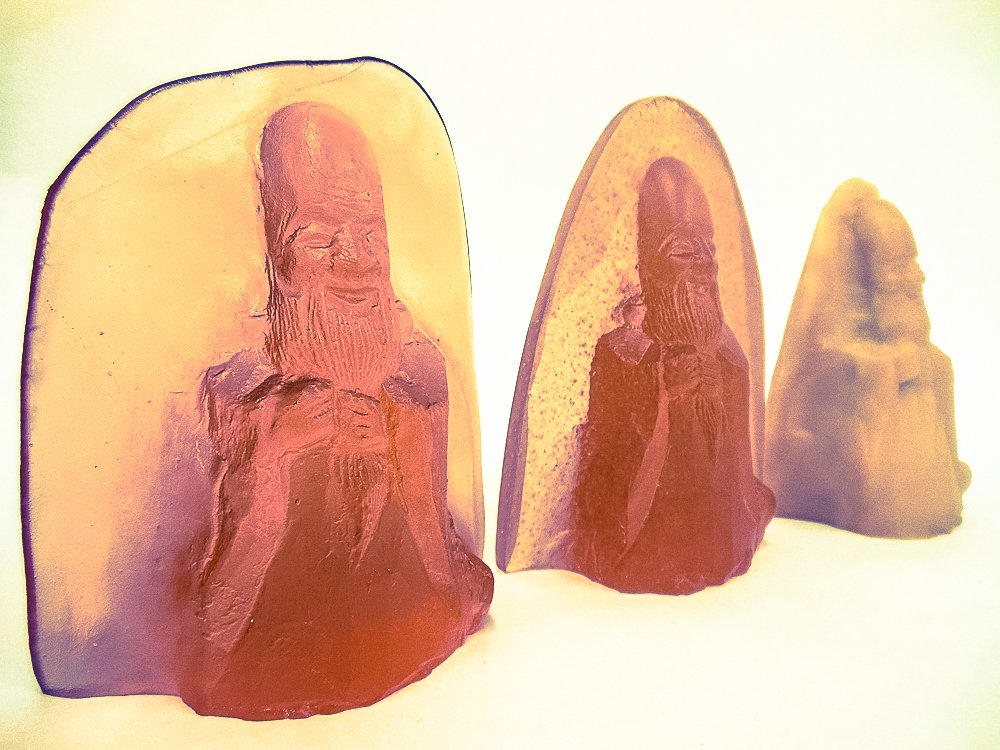
Examples of cast glass
Learning to cast glass at The Crucible
You can learn to kiln cast and coldwork glass at The Crucible. Our classes allow you to turn wax sculptures into solid glass art pieces or put a relief into a solid piece of glass. Learn to carve, cut, and drill cold glass to create gorgeous pieces with unique surface textures and shapes.
Kiln Casting Glass Sculpture I
Create a glass sculpture using the ancient technique of lost wax. In this class, you will learn wax sculpting techniques to create wax positives that are invested in a refractory material to create a mold. The mold is de-waxed to create a void that is filled with glass melted in a kiln. When cooled the refractory is divested and the wax positive is now glass. We finish the class with an introduction to coldworking techniques, and you leave with a beautiful cast glass piece of art!
Kiln Casting Glass Sculpture II: Reverse Relief
In this class, you will learn to create imagery on the inside of the glass. You will carve hardened plastic silica, attach it to the inside of a mold, and melt glass into it. When your piece is finished, you can look through and see the image. This class finishes with coldworking techniques.
3-Hour Taster: Pâte-de-Verre
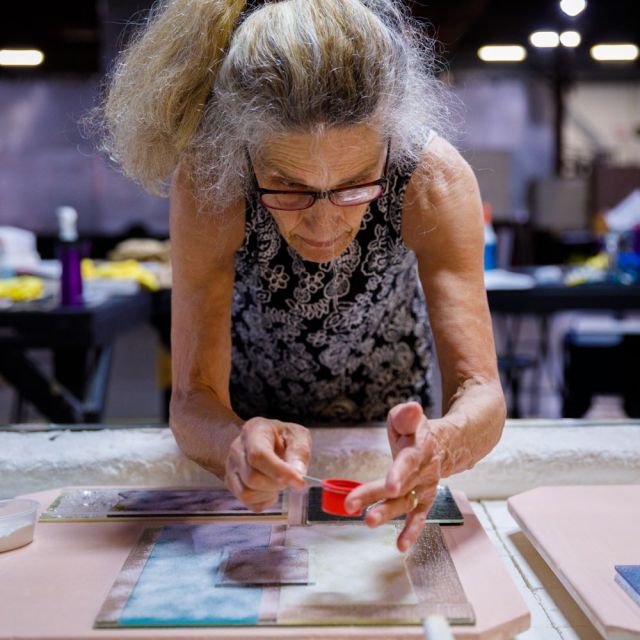
One of the earliest techniques of glass manipulation, pâte-de-verre or “paste of glass” is a versatile kiln casting technique that uses glass paste. In this three-hour course, you will learn the fundamentals of pâte-de-verre, including color and application techniques, while making a small shallow bowl.
Glass Casting FAQs
What kind of glass is best for casting?
Bullseye glass sells high-quality casting glass, which is easy to melt down and work with. Glass is sold in different forms, including billet, cullet, sheet, frit, and more. The form that you select will impact the final result of the casting. If you work with a finer glass, such as frit, there will be more oxygen introduced and air bubbles will be visible in the final piece. Melting down billets will result in fewer air bubbles. Some glass artists choose to work with recycled glass. However, you must do your research on these different types of glass and their coefficient of expansion.
Can you cast glass at home?
When you are first starting out, we recommend taking a class to learn from a professional glass artist to get to know the equipment and learn the basics. Glass casting and coldworking should be done using professional equipment and ventilation in a glass studio.
How long does it take to cast glass?
It depends on the size of your piece and the complexity of your mold. The thicker the piece, the more difficult the casting process is and the longer the annealing stage will take. An eight-inch thick piece can take over three weeks to anneal in the kiln, while a much smaller one-inch thick piece would take around twenty-four hours.
Can casting glass make you money?
According to the Bureau of Labor Statistics, the national average salary for an industrial glass caster is $42,247. However, if you are interested in selling your own work as a glass casting artist, you may make more or less, depending on your art’s popularity.
Can you put glass into a mold?
When casting glass in a kiln, you will place cold glass directly into the mold. As the kiln rises slowly in temperature, the glass will flow into the mold, creating a glass cast object.

