16 Blacksmithing Techniques
By Kristin Arzt
16 Blacksmithing Techniques
This guide covers the fundamental skills and basic blacksmithing techniques that you will use to forge steel. Before you start, educate yourself with these 16 essential blacksmithing techniques used to forge beginner to advanced projects in the smithy.
5 forging techniques in blacksmithing
The following forging techniques are essential to any smithy. Depending on the project, you will likely use each of these basic blacksmithing techniques in each forging session.
Bending
To make a bend or curve in the metal, heat it and hold it over the anvil horn and strike it with a hammer to make your desired curve. You can strategically heat sections of your metal in the forge before bending it, rather than heating your entire piece. You can also unbend metals by reheating the metal and reversing your steps.
Punching
Punching utilizes a punching tool to make holes in hot metal. Begin by heating the metal, identify where you want to punch a hole and hammer your punching tool softly on the intended spot until you feel resistance from the anvil. Be careful not to hit too hard, so you do not damage the surface of your anvil.

Drawing
Drawing is an essential technique in blacksmithing and is used to make your metal longer and thinner. You will want to use your tongs to hold down your piece on the anvil and hammer both sides to extend the length.
Upsetting
Upsetting is the opposite of drawing, and is used to make your metal thicker, shorter, and narrower. This requires a little more technical skill than many forging techniques. The process can be difficult to control and is used in more advanced stages of blacksmithing. You can heat the specific part of the metal in the forge that you intend to shape, rather than heating the entire piece in the forge.
Shrinking
Shrinking is the process of compressing metal between the flat head of your hammer and the flat surface of the anvil. This method works best when the width of the anvil and flat head of the hammer are the same width as the object.

3 heat treatment techniques in blacksmithing
Throughout forging, blacksmiths use heat treatment techniques to strengthen material and make it easier to work with. Annealing, hardening, and tempering are three essential heat treatment techniques used in blacksmithing.
Annealing
Annealing makes the material being forged easier to work with. It softens the metal, causing it to bend and shape more easily. Annealing also protects material from cracking or snapping. To anneal material, you will bring it up to heat in the forge and cool it down very slowly by placing it in sand or vermiculite. This is especially important when working with recycled materials. Annealing removes impurities in the grain, increases the material’s strength, and reduces its hardness.
Hardening
Hardening is the process of controlled heating and controlled cooling of the material in order to increase its strength. The metal is brought up to its highest temperature and is rapidly cooled by quenching it in a liquid—commonly water, salt water, or oil. Water is the fastest quenching material, while oil and salt may be added to slow down the cooling process. This would prevent the materials from becoming brittle.
Tempering
After hardening, the forged metal is tempered to increase the toughness and reduce excess hardness. To temper, the metal is heated and cooled at room temperature to decrease the brittleness and increase strength.

8 miscellaneous blacksmithing techniques everyone should know
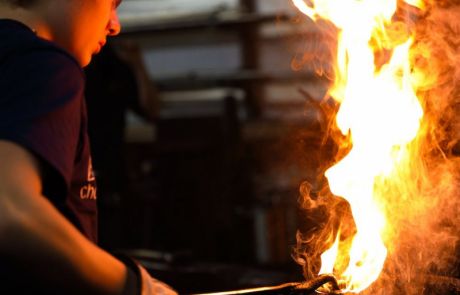
These blacksmithing techniques are centered around four main stages of the forging process: heating, holding, hitting, and shaping. From cutting into metal to joining it together, you can create limitless forged projects using these blacksmithing techniques.
Hitting
The forging process requires striking metal with a hammer against an anvil accurately with the appropriate force and in the right locations. DIfferent techniques call for different force and hitting patterns. It may be a series of hard blows, soft taps, or a combination of the two depending on the process at hand.
Quenching
Quenching is the process of placing heated metal directly into a liquid to rapidly cool the piece and ultimately strengthen the material. The liquid may be water, salt water, or oil-based. It can be used to isolate one side of a piece in order to only work the opposite side. It is also used to make metal harder by reducing brittleness and internal stresses. It is best to submerge the hot material straight into the liquid to prevent distortion.
Cutting
In order to cut metal, strike a hot cut chisel into material that has been heated up to a bright yellow color in the forge. As you cut the steel, the chisel tip will also heat up, so remember to regularly quench the chisel in water to cool it off. In order to protect the surface of your anvil, use a sacrificial piece of scrap metal between your material and anvil. Soft metals like aluminum are ideal sacrificial pieces in order to keep your chisel sharp.
Shaping
Hot metal can be shaped using bending, drawing, and upsetting techniques. First, heat the metal in the forge until it is easily malleable. Then, strike the hot metal with a hammer against the anvil to shape it.

Tapering
To forge a taper, heat the material on one end and position it on the edge of the anvil. Use the drawing technique to strike the hot edge, rotating it 180 degrees each strike, and then 90 degrees each strike to narrow the edge to a tapered point.
Flattening
Flattening reduces the thickness of a piece of metal through heating and striking. It is typically used as a finishing technique to make a surface flat and smooth.
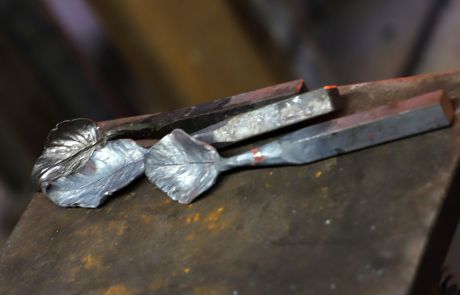
Dishing
Dishing is a forming technique used to shape flat sheet metal into curved shapes by hammering into a concave indentation, similar to a mold. Blacksmiths use a dishing stump as a form to hammer into. A dishing stump is a large wooden block, often built from a tree trunk, that has a circle carved into it, where the sheet metal is placed and hammered into.
Collaring
Collaring is a joining technique that is accomplished by wrapping a piece of metal around the pieces of material that will be joined. The blacksmith strategically heats the two pieces of metal to be joined and hammers them together in one area, creating small “O” shapes. This technique is used in forge welding.

Learn beginning and advanced blacksmithing techniques at The Crucible
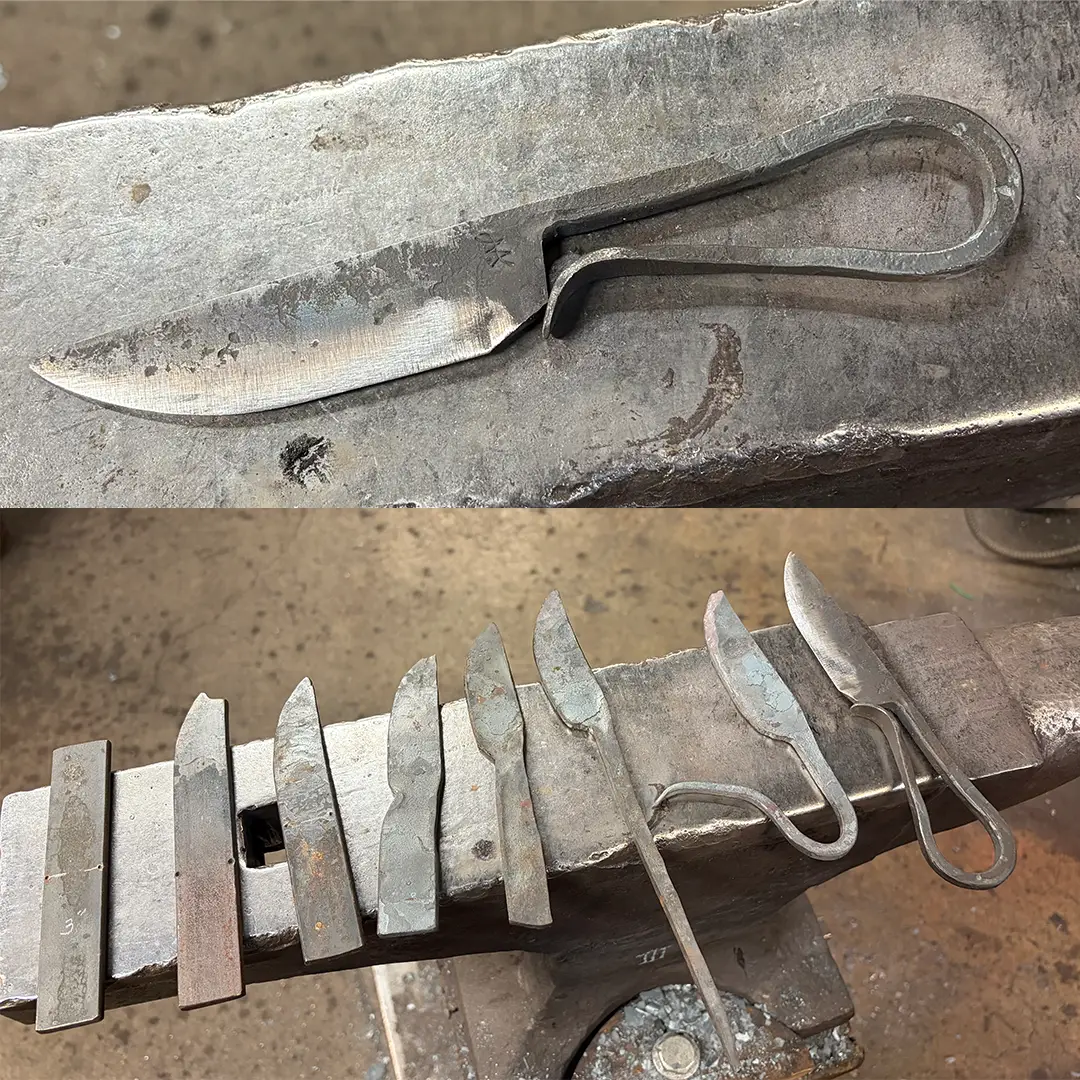
The Crucible hosts a wide variety of classes in our Blacksmithing Department and also fosters a community of students, teachers, and master smiths in our smithy. Crucible blacksmithing courses teach smithing operations such as drawing, shrinking, bending, upsetting, and punching, so you can make pieces of your own. Advanced classes introduce you to the power hammer, bladesmithing, forge welding, and ornamental ironwork. You can start by forging a hook in Blacksmithing I and work your way up to forging a knife in advanced classes like Bladesmithing.
Continue Exploring Guides In Metal

Power Hammers 101: How To Use a Power Hammer
Learn how to work with power hammers and how they work in this introductory guide to blacksmithing with a power hammer....

Foundries 101: What Is A Foundry? What Foundry Workers Do?
Have you wondered what a foundry does? Learn the difference between ferrous and non-ferrous metals and how to start a foundry career....

Bronze Casting 101: Process of Casting Bronze [+How To Learn]
Learn the different uses for bronze casting in foundry and jewelry making, and how to get started in this beginner's guide to bronze casting....

Lost Wax Casting Guide
Learn the different types of lost wax casting, from metals to glass, and how to get started in this beginner's guide to lost wax casting....

16 Blacksmithing Techniques
Learn how to build your own blacksmithing forge and become a blacksmith with this step-by-step guide....

Beginners Guide to Metal Casting
Learn everything you wanted to know about metal casting from types of molds to different casting methods....
You Can Learn To Forge Metal
The Crucible has new blacksmithing classes offered weekly.

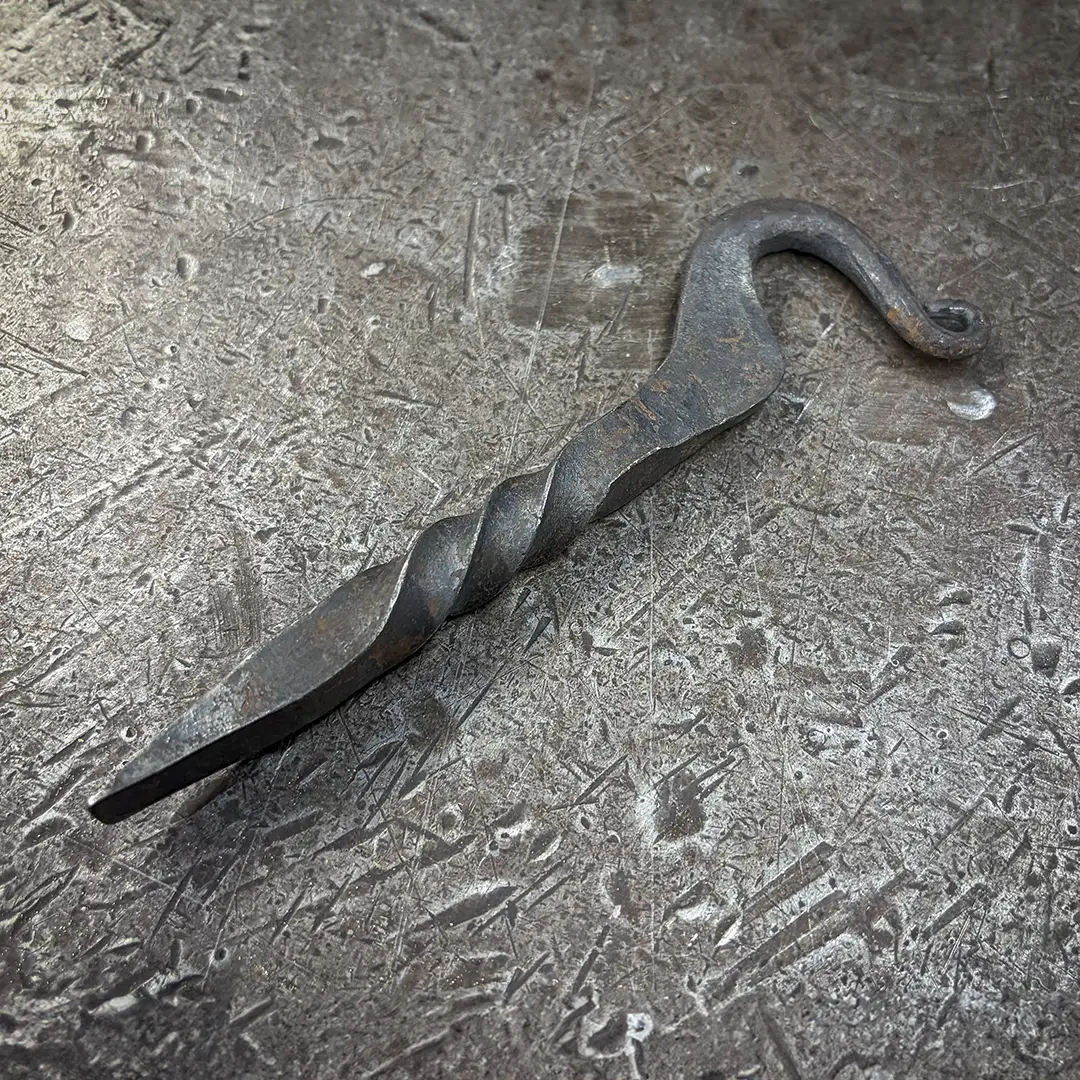
3-Hour Taster: Blacksmithing – Twisted Hook
3-Hour Tasters are a great way to explore a new art form without the deeper commitment of a full course. After a basic introduction to forging steel and using blacksmithing tools,...

Blacksmithing I
Learn the basics of blacksmithing! This class teaches the fundamental skills needed to forge steel and understand blacksmithing tools. We will introduce tapering, upsetting,...

Blacksmithing II
Deepen your knowledge in this sequel to Blacksmithing I. This class is designed to develop your basic skills along with techniques including scroll-making, collaring, basic...

Power Hammer I
We will focus on power hammer techniques as we forge a set of basic hammer tools, side sets, and a round-back flatter. By the time these new tools are heat-treated, students will...

Blacksmithing Lab
Lab sessions are a great benefit, exclusively for Crucible members! Practice the skills you learn in class and explore new possibilities with your craft. No instruction is provided...

Youth Blacksmithing I
Learn to bend and shape steel in The Crucible?s smithy as you practice traditional blacksmithing techniques, such as drawing, bending, twisting, punching, slitting, and drifting...
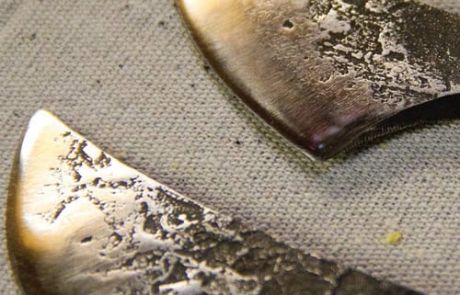
Bladesmithing
This specialized course focuses on the forging techniques needed to produce sharp-edged tools of high-carbon steel. We will cover blade design, control of steel grain structure,...
Youth Blacksmithing Immersion
Explore techniques taught in our entry and continuing level Youth Blacksmithing class in a single course. In this immersive, weeklong course, students will become young artisans....
Forms from Nature
Use traditional blacksmithing techniques to create organic forms for use on functional objects or sculptures. Learn to make tools to create your own designs and how to improvise...

Techniques in Ornamental Iron Work
Take your skills to the next level and begin producing work that sells! This class covers traditional decorative ironwork methods and introduces the power hammer. You will explore...
3-Hour Taster: Blacksmithing – Bottle Opener
3-Hour Tasters are a great way to explore a new art form without the deeper commitment of a full course. After a basic introduction to forging steel and using blacksmithing tools,...
Bladesmithing I: Forge a Blacksmith’s Knife
This specialized course focuses on the forging techniques needed to produce the first knife a blacksmith should learn to make, a Blacksmith’s Knife! In this class, we will...