Blacksmithing Projects: Forged Coat Hook in 6 Steps
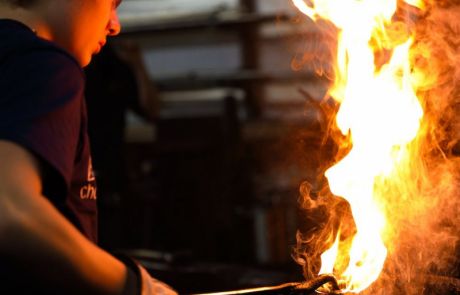
Here, we will show you one of our favorite beginner blacksmithing projects—a forged coat hook. This forged iron hook is a classic design, and has a practical use while maintaining its ornamental appeal. As a plus, you end up with a tool that you can use in your own home. This is one of the first projects you will learn in The Crucible’s Blacksmithing I. Before you pick up the hammer, read how to fire a hook in the six steps below.

Beginning blacksmithing project: Coat hook
Tools required:
Step one: Create the shoulder
Use tongs to place your steel stock in the forge. Remove when orange. Place your piece one inch above the edge at a 10-degree downward angle. Strike at the edge of the anvil, creating a shoulder.
Bring your piece to level and strike to flatten. Work along the edges with consistent overlapping blows. Thin your piece to 3/16 inch. Remove your piece from the forge when orange and place it on the anvil with the faceplate shoulder down.

Step two: Punch a hole
Position punch strike and stop when you hit ¾ of the way through. Flip your piece over to punch the other side. Center it on the anvil, reposition punch, and strike until ¾ of the way through. Move to punch a hole on the plate and drive the punch into the hole, knocking out the plug. Cool the punch tool and return your piece to the forge, square end first.
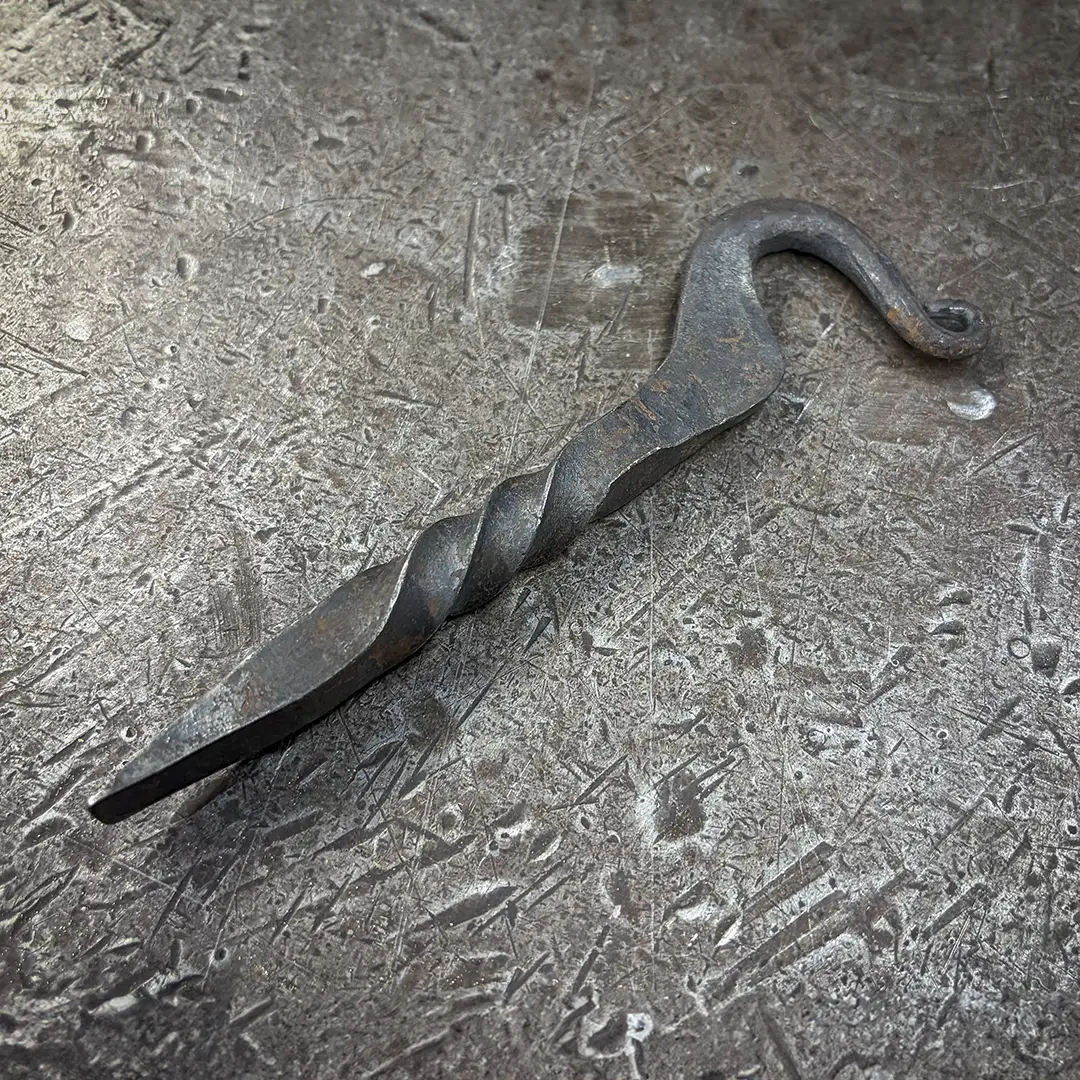
Step three: Form the hook scroll
Place the piece at the edge of the anvil. Swing with angled blows to the edge of the bar, turning 90 degrees after every swing, tapering tip to 1/16 inch. Lie your piece flat, strike at the top of the taper, turning 90 degrees after every hit, then rotating 180 degrees every six to eight hits. Work toward the tongs with less and lighter blows until the taper is ⅜ of an inch to 1/16 of an inch over three inches.
Pull your piece from the forge shoulder up and place it on the anvil ½ inch over the edge, lightly striking past the edge until bent into an “L” shape. Rotate the tip upward and strike the tip towards you, forming a scroll. Quench the scroll.

Step four: Make a small scroll the close the point
Place the piece on the anvil horn so that the scroll faces up, perpendicular to the sideline of the horn, with ½ inch hanging off the horn. Strike a small scroll bending the taper down. Feed out another ½ inch, striking scroll again, bending to an “L.”
Rotate 180 degrees and place on the anvil, with the small scroll facing up. Strike the small scroll toward you to close. Place the hook in the forge, backing plate on the forge table.

Step five: Twist the center
When your piece hits full heat, place it in the vise and hook it down with the small scroll at the top of the vise jaws. Tighten the vise. Place twisting wrench jaws perpendicular to the thickness of the backing plate. Pull up on the twisting wrench and twist one turn.
Step six: Finishing
Reheat your piece in the forge. Use a metal wire brush to scrape off the slag, the scale that forms from repeatedly heating steel. Directly after removing the slag, repeatedly dip your hook in a bucket of oil to protect it. Once completely covered, if necessary, hold your piece next to the forge until it turns a matte black.
Another incredible one of our favorite blacksmithing projects is done! Hang your forged hook on the wall at home!
Continue Exploring Guides In Metal

Power Hammers 101: How To Use a Power Hammer
Learn how to work with power hammers and how they work in this introductory guide to blacksmithing with a power hammer....

Foundries 101: What Is A Foundry? What Foundry Workers Do?
Have you wondered what a foundry does? Learn the difference between ferrous and non-ferrous metals and how to start a foundry career....

Bronze Casting 101: Process of Casting Bronze [+How To Learn]
Learn the different uses for bronze casting in foundry and jewelry making, and how to get started in this beginner's guide to bronze casting....

Lost Wax Casting Guide
Learn the different types of lost wax casting, from metals to glass, and how to get started in this beginner's guide to lost wax casting....

16 Blacksmithing Techniques
Learn how to build your own blacksmithing forge and become a blacksmith with this step-by-step guide....

Beginners Guide to Metal Casting
Learn everything you wanted to know about metal casting from types of molds to different casting methods....
Make Your Own Projects in Blacksmithing
The Crucible has new blacksmithing classes offered weekly.

3-Hour Taster: Blacksmithing – Twisted Hook
3-Hour Tasters are a great way to explore a new art form without the deeper commitment of a full course. After a basic introduction to forging steel and using blacksmithing tools,...

Blacksmithing I
Learn the basics of blacksmithing! This class teaches the fundamental skills needed to forge steel and understand blacksmithing tools. We will introduce tapering, upsetting,...

Blacksmithing II
Deepen your knowledge in this sequel to Blacksmithing I. This class is designed to develop your basic skills along with techniques including scroll-making, collaring, basic...

Power Hammer I
We will focus on power hammer techniques as we forge a set of basic hammer tools, side sets, and a round-back flatter. By the time these new tools are heat-treated, students will...

Blacksmithing Lab
Lab sessions are a great benefit, exclusively for Crucible members! Practice the skills you learn in class and explore new possibilities with your craft. No instruction is provided...

Youth Blacksmithing I
Learn to bend and shape steel in The Crucible?s smithy as you practice traditional blacksmithing techniques, such as drawing, bending, twisting, punching, slitting, and drifting...
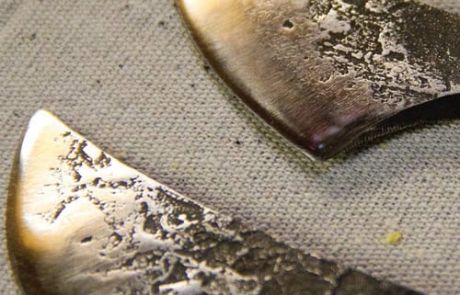
Bladesmithing
This specialized course focuses on the forging techniques needed to produce sharp-edged tools of high-carbon steel. We will cover blade design, control of steel grain structure,...
Youth Blacksmithing Immersion
Explore techniques taught in our entry and continuing level Youth Blacksmithing class in a single course. In this immersive, weeklong course, students will become young artisans....
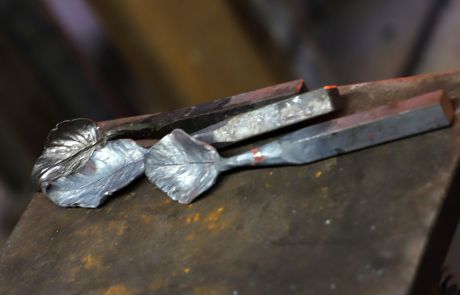
Forms from Nature
Use traditional blacksmithing techniques to create organic forms for use on functional objects or sculptures. Learn to make tools to create your own designs and how to improvise...

Techniques in Ornamental Iron Work
Take your skills to the next level and begin producing work that sells! This class covers traditional decorative ironwork methods and introduces the power hammer. You will explore...
3-Hour Taster: Blacksmithing – Bottle Opener
3-Hour Tasters are a great way to explore a new art form without the deeper commitment of a full course. After a basic introduction to forging steel and using blacksmithing tools,...
Bladesmithing I: Forge a Blacksmith’s Knife
This specialized course focuses on the forging techniques needed to produce the first knife a blacksmith should learn to make, a Blacksmith’s Knife! In this class, we will...