Guide to Blacksmithing Forges
By Kristin Arzt
Blacksmithing Forge 101: How To Make Forges At Home
Blacksmithing forges have been used by metalworkers for millennia. Blacksmiths use a forge to heat and shape metal. The forge has remained similar in design and purpose for thousands of years, and the modern forge as we know it works essentially the same as those of its predecessors. Here, we will explain how each type of forge works, how to build your blacksmithing forge, and exactly what you need to start blacksmithing at home.
What is a blacksmithing forge?
A blacksmithing forge is a type of hearth that a blacksmith uses to heat and shape metals into objects, tools, and more. It is typically a basin that consists of a heat source and an oxygen input to bring metals up to a temperature where they can be easily worked and shaped.

How does a forge work?
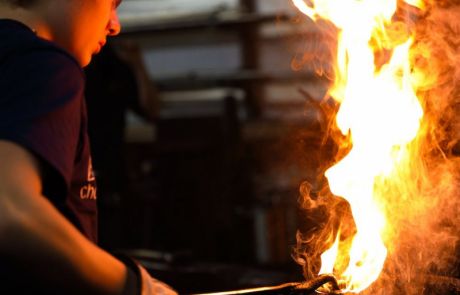
The traditional blacksmithing forge uses a combination of fire, fuel, and moving air. While the forge is in operation, the blacksmith ignites solid fuel inside of the hearth. A source of moving air introduces additional oxygen into the fire. Traditionally, this would have been done with large bellows. Modern forges utilize fans. The oxygen enters the forge through the tuyere, which is a pipe on the forge. The oxygen raises the temperature of the fire and allows the forge to burn hotter. It must get to a temperature where it becomes easier to shape metal, or to the point where hardening no longer occurs. It is common for indoor modern forges to utilize a chimney and vent to filter smoke out of the blacksmith shop. A blacksmith has to continuously balance the fuel and air in a traditional forge while they are working.

What is the difference between a forge, furnace, and foundry?
While sometimes these terms are used interchangeably, they each perform very different functions when heating metals. A foundry melts metals in special furnaces to be cast into molds. A forge is a furnace or hearth where metals are heated prior to hammering them into shape. The act of forging is heating and hammering metal into a shape.
How to make a forge at home
Many blacksmiths and hobbyists build their own forges at home. The following step-by-step guide outlines how to make a solid fuel forge, which is powered by hot charcoal and is ideal for forging small objects. This forge can reach temperatures hot enough for forge welding, is inexpensive to build, and is a great introductory forge to use.
Supplies needed to make your own forge

Step 1: Set up a safe working environment
Always wear safety equipment when working with and around the forge. At a minimum, you should wear safety glasses and natural fiber clothing, like a long sleeve cotton canvas work shirt and pants, to protect your skin. Set up your forge in an outdoor space. It is extremely important to work in a well-ventilated area outdoors when you are building a forge at home. A well-ventilated workspace prevents the buildup of carbon monoxide. If you are working in a garage, open the garage door and install a carbon monoxide detector. If you are building out a professional blacksmith shop indoors, research installing an exhaust hood.
Step 2: Punch a hole
Using a chisel or punch, make a center punch hole in each corner of the steel tray. Then, use your power drill and a 6mm bit to drill all the way through each hole just marked.
Step 3: Add legs
Through each hole, insert an M6 bolt and attach a washer and a nut. This raises your forge off the ground and helps with insulation.
Step 4: Add a hole to connect the air supply
Drill a hole in one side of your metal basin to connect your air supply to your steel pipe. Insert the pipe so that a length of about 6 inches extends from the hole. This is your tuyere where the air source will add oxygen to your forge. Building your air source on the side of your forge ensures your forge is simple and practical to use. If the tuyere was in the bottom, it would fill with ash. It is also to your advantage to have localized heat on one side of the forge and cool charcoal on the other. As you work in the forge, you can push your coal along to the cooler side as it cools down, and have a heat reserve on the side of your tuyere.
Step 5: Add your air supply
Attach an air source to the pipe to keep oxygen flowing. Air compressors, hand crank blowers, or bellows all work well. Some home blacksmiths even use hair dryers, but the limited settings can make it difficult to control the amount of oxygen being fed into your forge. If the width of your chosen air supply differs from the tuyere, you may have to make an adapter to fit your pipe to the correct width.
Step 6: Insulate your forge
Use a 50/50 combination of Plaster of Paris and sand to insulate the base of your tray with a refractory coating. Mix the two ingredients together dry and add a small amount of water until it is a clay-like consistency. You are aiming for a 1cm coating all around the inside of the tray. Let it dry for a few hours.
Step 7: Fuel your forge
This is a charcoal powered forge and is very easy to light. Simply light it as you would a charcoal grill and turn on your air supply.

Common types of forges
There are three types of forges to choose from: solid fuel, gas, and electric induction. The forge above is one of the least expensive and simplest forges, but experienced fabricators can build forges that are more energy-efficient, larger, and/or more powerful. The type of forge you choose to work in will depend on your workspace, budget, and projects. Every forge must have some form of hearth in which the blacksmith heats the metal to be forged.
Gas forges
The main advantage of a gas-powered forge is the ease of use, particularly for a beginning blacksmith since the fire produced is clean, consistent, and easily controlled. Some disadvantages to using a gas forge is that it cannot be easily reformed for different sized projects, and it is difficult to heat a small part of a project. A gas forge is easy to construct and materials are readily available. You can build one with a propane blowtorch and a firebrick structure.

Induction forges
Induction forges use an induction coil to heat metal, rather than being powered by solid fuel or gas. The advantage of using an induction forge for blacksmithing is that it is an energy-efficient and easily controlled heating process compared to most other means of metal melting. They can be more expensive to set up, depending on your access to power at home. Power supplies can vary in frequency from 50 Hz to 200 kHz, exceeding typical household electrical power, and potentially requiring the blacksmith to set up a new circuit breaker and/or transformer to accommodate. This type of forge can work well for smaller projects and for blacksmiths with the proper electrical setup at home.

Solid fuel forges
A coal forge will work well if you have a larger shop and do not plan to move your forge after it is set up. The coal forge has a larger and more open hearth pan giving you more room and stability for larger or more oddly shaped pieces. Because a coal forge isn’t enclosed like most gas forges, it can be easier to find the right position to heat your metal. Coal is a preferable heat source because it burns slowly and efficiently, while charcoal burns hotter and more quickly. Some blacksmiths prefer to make their own coal from wood by creating a hot campfire and dousing it with water. Once this dries out completely, you are left with perfect charcoal for the forge.

Blacksmithing forge FAQs
What type of forge do I need?
Determining the type of blacksmithing forge you need depends on the projects you would like to create and your capacity to build a forge at home. Induction forges are best for smaller projects and those with a large electrical capacity. Gas forges are ideal for novice blacksmiths interested in working on smaller projects and on a portable level. Lastly, solid-fuel or coal forges work well for large projects and inexpensive setups. You can build your own simple solid-fuel forge by following the steps we laid out in the seven steps above.
Can I build a forge at home?
Yes, you can build a blacksmithing forge at home! Solid fuel forges are inexpensive to set up and can use anything from a soup can to a BBQ grill as a hearth. Propane fueled forges are a great option for novice blacksmiths that are just getting started and can be portable.
How much do forges cost?
You can build your own hobby forge in your backyard for as little as $20 in consumables, following the do-it-yourself model we outlined above. If you are interested in setting up a more permanent shop, a brand new gas forge ranges from $500 to $800 and a new solid fuel forge will range from $800 to $1600. Centaur Forge is a great resource for forges and blacksmithing tools.
How do you light a blacksmith forge?
Depending on the type of forge you commit to, lighting it will be different for each forge. A coal forge is lit similarly to a barbeque grill. Gas forges require a lighting mechanism. Depending on what you have access to, you can use a welding flint lighter or a propane plumbing torch.
Continue Exploring Guides In Metal

Power Hammers 101: How To Use a Power Hammer
Learn how to work with power hammers and how they work in this introductory guide to blacksmithing with a power hammer....

Foundries 101: What Is A Foundry? What Foundry Workers Do?
Have you wondered what a foundry does? Learn the difference between ferrous and non-ferrous metals and how to start a foundry career....

Bronze Casting 101: Process of Casting Bronze [+How To Learn]
Learn the different uses for bronze casting in foundry and jewelry making, and how to get started in this beginner's guide to bronze casting....

Lost Wax Casting Guide
Learn the different types of lost wax casting, from metals to glass, and how to get started in this beginner's guide to lost wax casting....

16 Blacksmithing Techniques
Learn how to build your own blacksmithing forge and become a blacksmith with this step-by-step guide....

Beginners Guide to Metal Casting
Learn everything you wanted to know about metal casting from types of molds to different casting methods....

This Guide Has The Expert Stamp of Approval
Jeff Pringle, Blacksmithing Faculty, Bladesmithing
Jeff Pringle makes knives from gathering iron ore himself, to smelting the iron, to forging the blade. Through following this process from start to finish, Jeff aims to reconnect to the processes of past bladesmiths, whose traditions go back thousands of years.
You Can Learn To Forge Metal
The Crucible has new blacksmithing classes offered weekly.

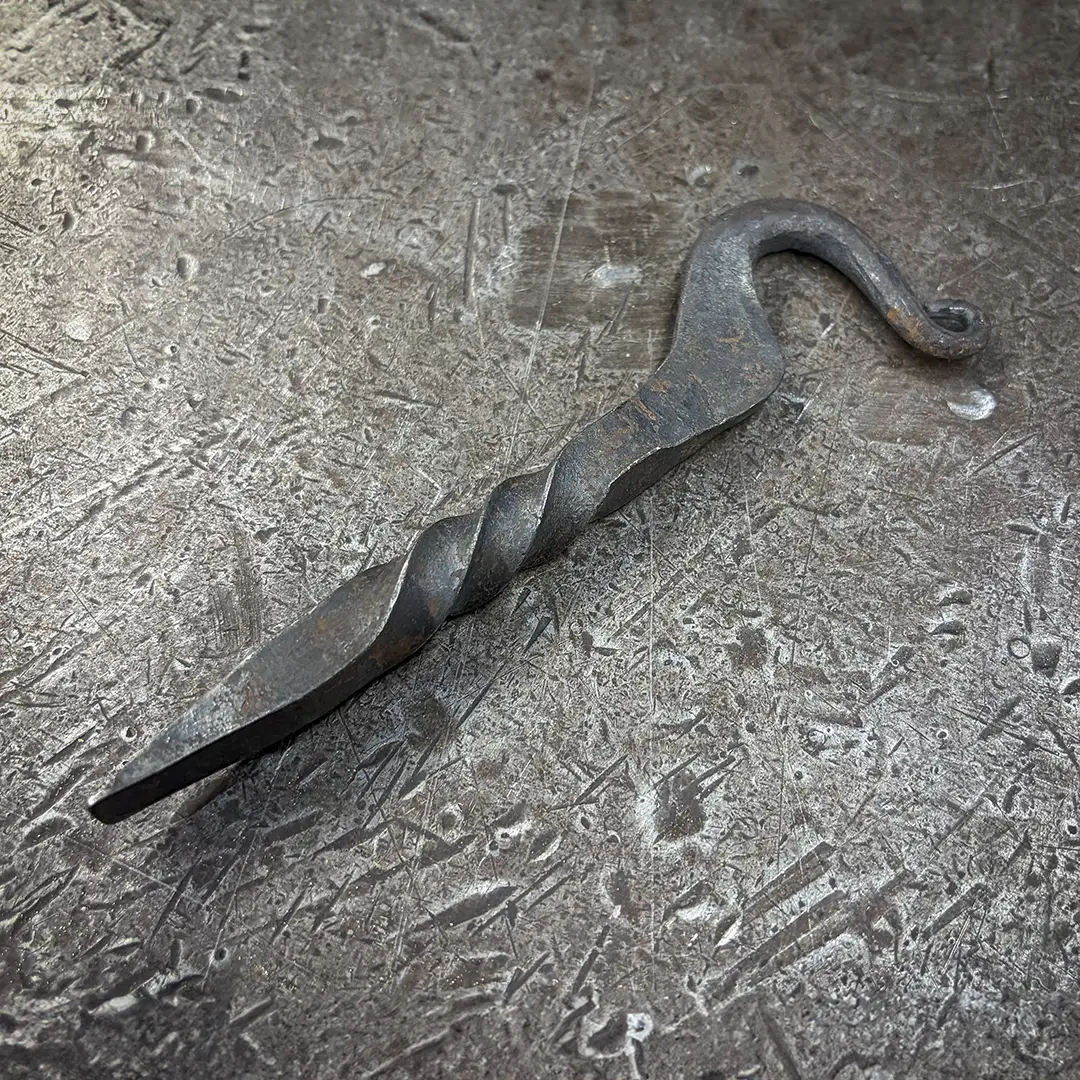
3-Hour Taster: Blacksmithing – Twisted Hook
3-Hour Tasters are a great way to explore a new art form without the deeper commitment of a full course. After a basic introduction to forging steel and using blacksmithing tools,...

Blacksmithing I
Learn the basics of blacksmithing! This class teaches the fundamental skills needed to forge steel and understand blacksmithing tools. We will introduce tapering, upsetting,...

Blacksmithing II
Deepen your knowledge in this sequel to Blacksmithing I. This class is designed to develop your basic skills along with techniques including scroll-making, collaring, basic...

Power Hammer I
We will focus on power hammer techniques as we forge a set of basic hammer tools, side sets, and a round-back flatter. By the time these new tools are heat-treated, students will...

Blacksmithing Lab
Lab sessions are a great benefit, exclusively for Crucible members! Practice the skills you learn in class and explore new possibilities with your craft. No instruction is provided...

Youth Blacksmithing I
Learn to bend and shape steel in The Crucible?s smithy as you practice traditional blacksmithing techniques, such as drawing, bending, twisting, punching, slitting, and drifting...
Bladesmithing
This specialized course focuses on the forging techniques needed to produce sharp-edged tools of high-carbon steel. We will cover blade design, control of steel grain structure,...
Youth Blacksmithing Immersion
Explore techniques taught in our entry and continuing level Youth Blacksmithing class in a single course. In this immersive, weeklong course, students will become young artisans....
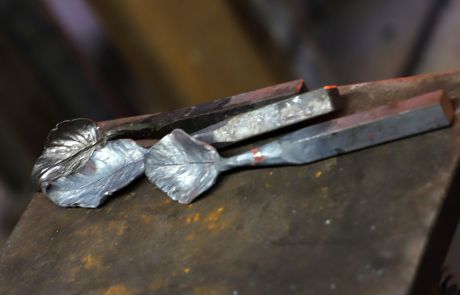
Forms from Nature
Use traditional blacksmithing techniques to create organic forms for use on functional objects or sculptures. Learn to make tools to create your own designs and how to improvise...

Techniques in Ornamental Iron Work
Take your skills to the next level and begin producing work that sells! This class covers traditional decorative ironwork methods and introduces the power hammer. You will explore...
3-Hour Taster: Blacksmithing – Bottle Opener
3-Hour Tasters are a great way to explore a new art form without the deeper commitment of a full course. After a basic introduction to forging steel and using blacksmithing tools,...
Bladesmithing I: Forge a Blacksmith’s Knife
This specialized course focuses on the forging techniques needed to produce the first knife a blacksmith should learn to make, a Blacksmith’s Knife! In this class, we will...