9 Steps to Forging a Knife: Everything You Need to Know
By Kristin Arzt
How to Forge a Knife: Guide to Forging Knives
Overview of forging knives
Before we dive into how to forge a knife, let’s cover the history of bladesmithing. Knife forging dates back millions of years. The oldest known knives were made by humans 2.5 million years ago when blades were made of rock, bone, and flint. These materials were brittle and blades often fractured. So over 6,000 years ago, humans turned to stronger materials, including copper and later iron.
In the Roman Empire, iron was the most common metal for bladesmiths because of its strength and wide availability. Today, modern bladesmiths use steel, forging it themselves or working with a pre-made flat bar of steel to create their knife. Traditional bladesmithing declined with improvements in steel production during the Industrial Revolution.
But the art of blacksmithing and bladesmithing, in particular, has enjoyed a resurgence in recent years. Industrial art schools like The Crucible work to increase access to blacksmithing forges and training programs and shows like Forged in Fire bring additional interest and understanding of the art form. Modern equipment, including power hammers, gas forges, and electric grinders, has also changed the way we forge blades.

Tools and materials needed for knife forging
Safety first!
Be sure to smith safely! Always wear safety goggles and natural fiber clothing. Here are a few safety tools you can gather before you get started:

How to forge a knife in 9 steps
Our main Bladesmithing instructor, Jeff Pringle, has worked with The Crucible team to document the nine steps every student must take when forging a knife to ensure a strong, sharp blade. This is a step-by-step guide to forging a knife, for a bladesmithing overview for a beginning student, review our Beginners Guide to Becoming a Bladesmith.
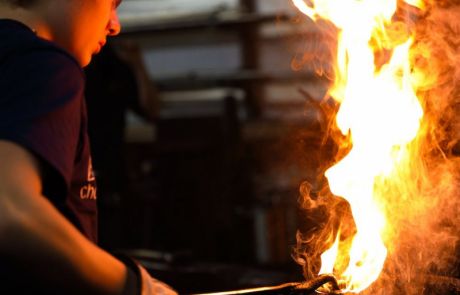
Step 1: Heat until yellow
Using your tongs, grasp the steel and heat it in a forge to the point where the color turns yellow (around 2,100 to 2,200 degrees Fahrenheit).
Step 2: Determine the Mass Distribution
Remove your steel from the forge with your tongs. Set the stock flat on your anvil and hammer the corner into the shape of a knife point, focusing on tapering both sides of the steel.
Step 3: Flatten the Blade
Hammer out the flat edge of your steel to shape the bevels. Beveling creates the edge on either side of the cutting edge on your knife. Flip your blade on the anvil and hammer the opposite side. Continue until both sides are even. You can also create your bevels on a belt sander for a more modern approach.
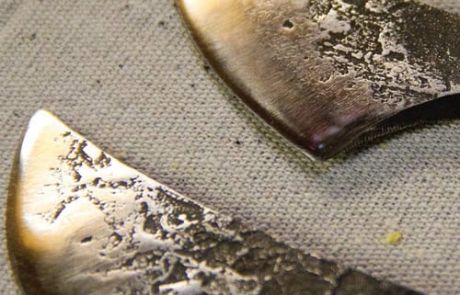
Step 4: Heat and cool
Once you have the shape of your knife established, normalize it by bringing it up to non-magnetic temperature (about 1420 degrees Fahrenheit for simple carbon steel). Let it cool off in the air, bringing the temperature of the steel down to 400 degrees Fahrenheit between heating. Once all the red color has left the steel, you can place it back in the forge. Repeat this process three times.
Step 5: Sanding
Sand the blade to smooth out the edges.
Step 6: Strengthen and Sharpen the Knife
Reheat the steel and dip it in oil until it reaches room temperature. This is known as quenching. It hardens the steel. Make sure you transfer the blade from the fire to the quenching as quickly as possible. If you are too slow it won’t harden.
Step 7: Reheat
Slowly reheat your quenched blade to a lower temperature to relax the brittleness and stress induced by the quenching process.
Step 8: Create the handle
Add a handle to your knife. There are many ways to add a handle to your knife, the most common being a wooden handle secured with glue and pinning.
Step 9: Sharpen
With a fine file and whetstone carefully sharpen your blade.

Learn knife forging from the experts
The Crucible’s Blacksmithing Department offers in-person Bladesmithing classes in its Oakland, California smithy. These specialized courses focus on the forging techniques needed to produce sharp-edged tools of high-carbon steel and are led by nationally-renowned bladesmiths. Learn to design your own blade, control the steel grain structure, how to harden and temper your blade, and construct a handle. Before you take Bladesmithing, The Crucible requires you to take Blacksmithing II, or possess the equivalent knowledge learned in this class.
Continue Exploring Guides In Metal

Power Hammers 101: How To Use a Power Hammer
Learn how to work with power hammers and how they work in this introductory guide to blacksmithing with a power hammer....

Foundries 101: What Is A Foundry? What Foundry Workers Do?
Have you wondered what a foundry does? Learn the difference between ferrous and non-ferrous metals and how to start a foundry career....

Bronze Casting 101: Process of Casting Bronze [+How To Learn]
Learn the different uses for bronze casting in foundry and jewelry making, and how to get started in this beginner's guide to bronze casting....

Lost Wax Casting Guide
Learn the different types of lost wax casting, from metals to glass, and how to get started in this beginner's guide to lost wax casting....

16 Blacksmithing Techniques
Learn how to build your own blacksmithing forge and become a blacksmith with this step-by-step guide....

Beginners Guide to Metal Casting
Learn everything you wanted to know about metal casting from types of molds to different casting methods....

This Guide Has The Expert Stamp of Approval
Jeff Pringle, Blacksmithing Faculty, Bladesmithing
Jeff Pringle makes knives from gathering iron ore himself, to smelting the iron, to forging the blade. Through following this process from start to finish, Jeff aims to reconnect to the processes of past bladesmiths, whose traditions go back thousands of years.
You Can Learn To Forge Metal
The Crucible has new blacksmithing classes offered weekly.

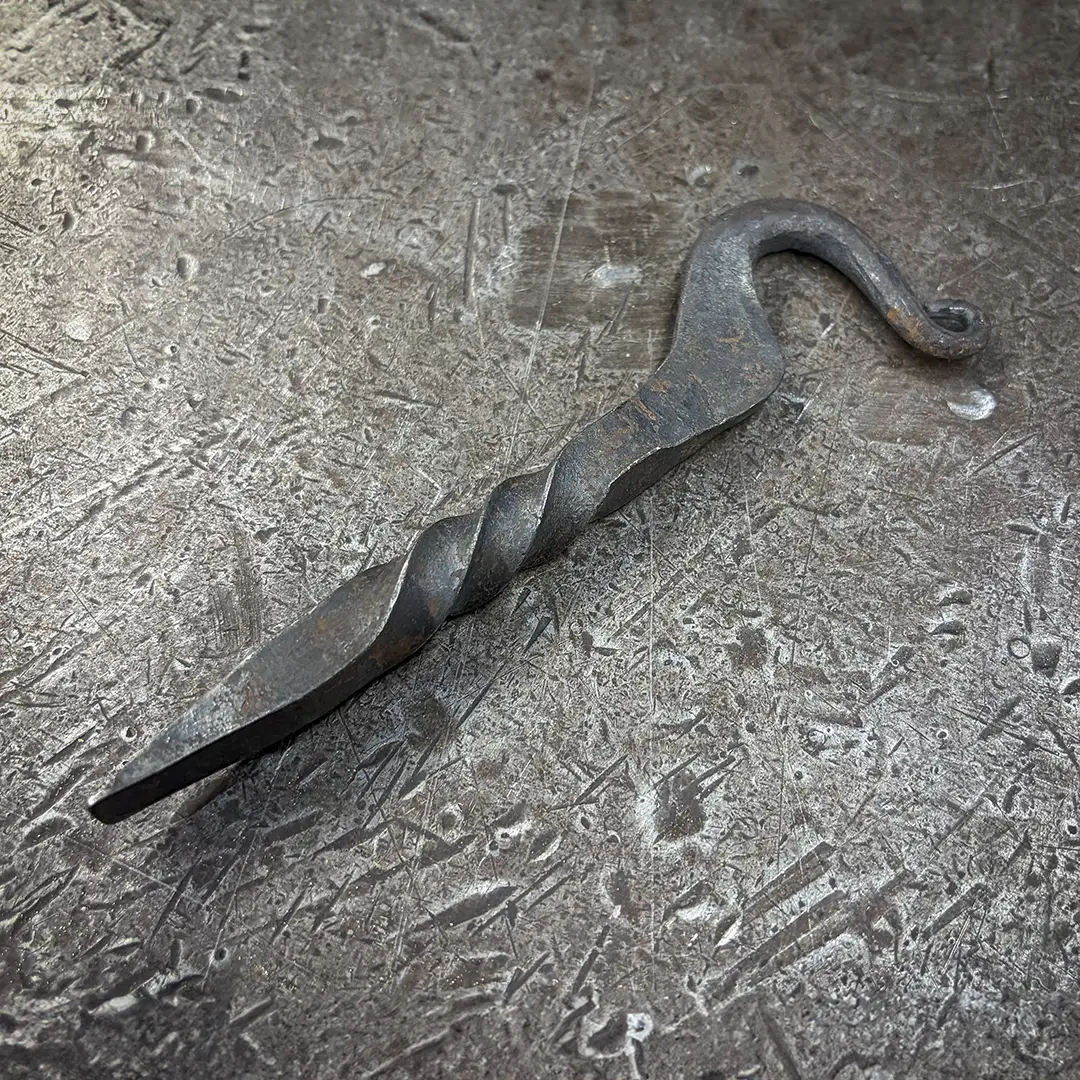
3-Hour Taster: Blacksmithing – Twisted Hook
3-Hour Tasters are a great way to explore a new art form without the deeper commitment of a full course. After a basic introduction to forging steel and using blacksmithing tools,...

Blacksmithing I
Learn the basics of blacksmithing! This class teaches the fundamental skills needed to forge steel and understand blacksmithing tools. We will introduce tapering, upsetting,...

Blacksmithing II
Deepen your knowledge in this sequel to Blacksmithing I. This class is designed to develop your basic skills along with techniques including scroll-making, collaring, basic...

Power Hammer I
We will focus on power hammer techniques as we forge a set of basic hammer tools, side sets, and a round-back flatter. By the time these new tools are heat-treated, students will...

Blacksmithing Lab
Lab sessions are a great benefit, exclusively for Crucible members! Practice the skills you learn in class and explore new possibilities with your craft. No instruction is provided...

Youth Blacksmithing I
Learn to bend and shape steel in The Crucible?s smithy as you practice traditional blacksmithing techniques, such as drawing, bending, twisting, punching, slitting, and drifting...
Bladesmithing
This specialized course focuses on the forging techniques needed to produce sharp-edged tools of high-carbon steel. We will cover blade design, control of steel grain structure,...
Youth Blacksmithing Immersion
Explore techniques taught in our entry and continuing level Youth Blacksmithing class in a single course. In this immersive, weeklong course, students will become young artisans....
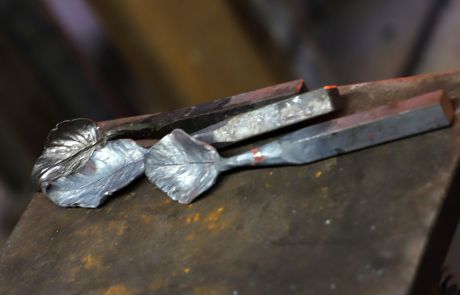
Forms from Nature
Use traditional blacksmithing techniques to create organic forms for use on functional objects or sculptures. Learn to make tools to create your own designs and how to improvise...

Techniques in Ornamental Iron Work
Take your skills to the next level and begin producing work that sells! This class covers traditional decorative ironwork methods and introduces the power hammer. You will explore...
3-Hour Taster: Blacksmithing – Bottle Opener
3-Hour Tasters are a great way to explore a new art form without the deeper commitment of a full course. After a basic introduction to forging steel and using blacksmithing tools,...
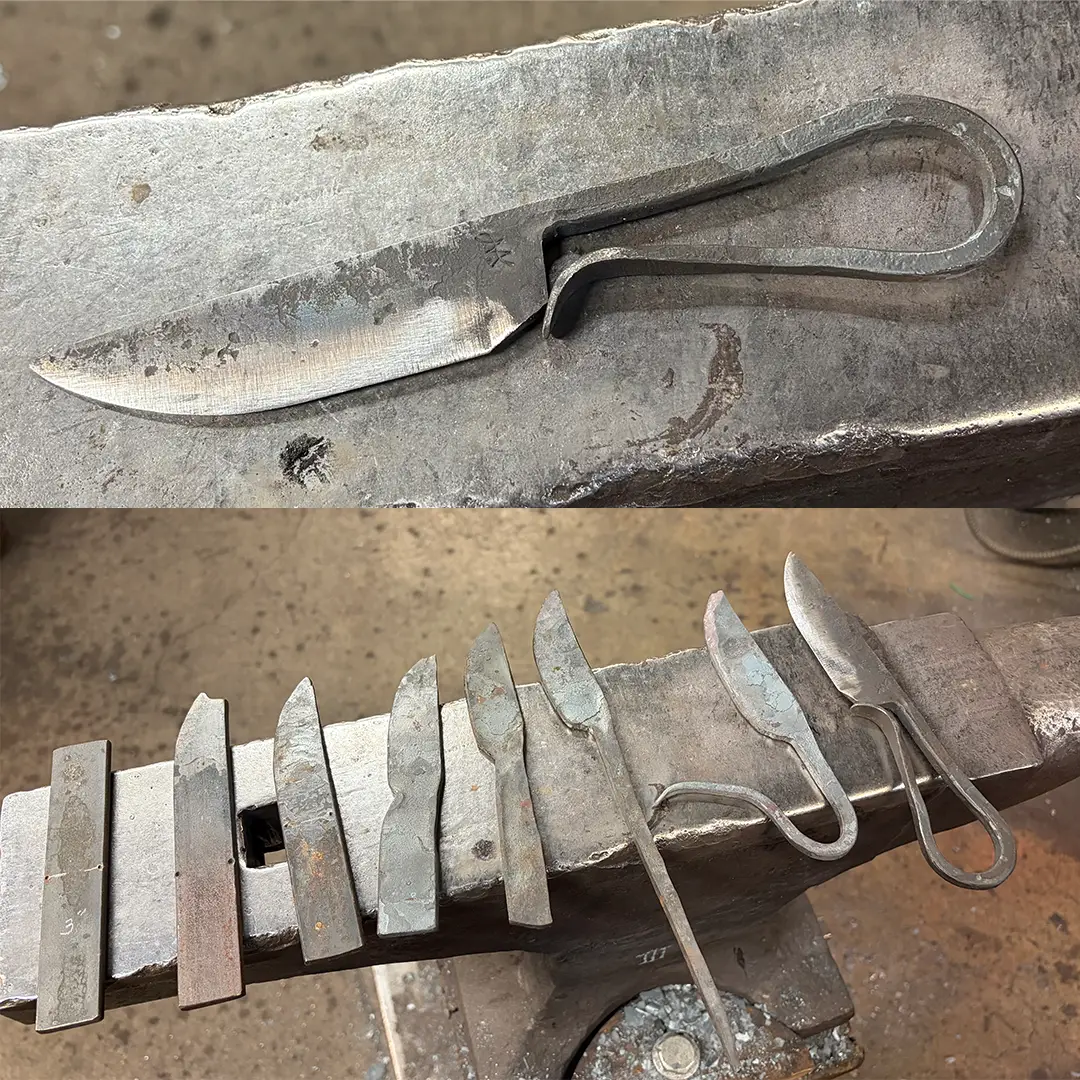
Bladesmithing I: Forge a Blacksmith’s Knife
This specialized course focuses on the forging techniques needed to produce the first knife a blacksmith should learn to make, a Blacksmith’s Knife! In this class, we will...