MetalworkingMetal
Lost Wax Casting Guide
By Kristin Arzt
Lost wax casting, also known as “investment casting,” is the process by which a single metal object is cast from a wax model. It is a highly versatile process that achieves exceptionally detailed results. This guide will cover how to start lost wax casting and what you can create with the process.
What is lost wax casting?
Lost wax casting builds a mold around a sacrificial wax model. After the mold investment is set, the wax is melted out and forms a cavity where the metal or glass flows in. Using this method of casting captures fine details in both metal and glass. This ancient method has been used since 3000 B.C. to visually capture the stories of ancient cultures and religions throughout history.
What is the lost wax process used for?
Lost wax casting is a 6,000-year-old process still used in both manufacturing and fine art. The precision and accuracy of the process have made it an ideal method for producing objects with thin walls, intricate details, and close tolerances. The process is used to create parts for transportation, agricultural, and medical industries, to name just a few. It can be used to create objects from simple to complex in various metals by casting an original wax model or pattern. The wax model makes an expendable mold that can only be used once in casting. This guide focuses on the lost wax casting process with metallic alloys. You can also use lost wax casting techniques to create cast glass objects. To learn more, head to our glass casting guide.

The lost wax casting process in 8 steps
The basic lost wax casting process involves creating a pattern and a mold, then pouring molten metal into the mold. You will then extract the solid metal casting and finish your piece. This process is customizable for different types of metal casting, along with shapes, sizes, and more. The description below is based on smaller-scale casting processes, often used for jewelry. While essentially the same, in larger castings the mold material is made of Ceramic Shell (colloidal silica and various grades of silica), rather than plaster.
Tools and Materials

Create a model in wax
Create your desired design in wax before building a mold around it. This wax model can only be used once. After that, shape it with texturing tools, a soldering iron, and a heat gun. Many experienced wax sculptors swear by repurposing dental tools to sculpt and carve unique designs in wax effectively. Hollow out your wax model if possible.
When shaping your pattern, make sure you account for any anticipated shrinkage when the metal cools. Patterns may also be gated with sprues to allow the molten metal to flow into the mold. This is especially important if your design contains small intricate elements that may not fill with metal during the casting process.
Make your mold
You can make a mold using a combination of plaster and silica. Use a gram scale to measure each ingredient and mix equal parts by weight of plaster, silica, and water until the investment has the consistency of heavy cream. Plaster gives the mold support and silica has a high refractory, so it can withstand a lot of heat.
❗ When working with dry materials, make sure that your work area is well ventilated, and wear a respirator when working with dry investment.
Remove the wax
The easiest way to melt the wax out of a small mold is in a microwave. First, remove any metal clamps you might have added to your mold, then prop it up on clay supports over a small container underneath to collect the wax. Heat in short bursts in the microwave until all of the wax has dripped into the small container. You can also burn out the wax in a kiln.
Choose the metallic alloy
All metal castings are produced from either ferrous or non-ferrous alloys. Alloys are a mixture of elements that provide the best mechanical properties for the final cast’s use. Ferrous alloys include steel, malleable iron, and gray iron. Non-ferrous alloys most commonly used in casting are aluminum, bronze, and copper. If you are working with precious metals in a jewelry studio, you may work with silver, copper, gold, and platinum. Less common, but especially spectacular, are metal castings with iron, which casts molten iron into a ceramic shell or resin-bonded sand mold.

Melt the alloy
Melting processes vary between alloys because each alloy will have a different melting temperature. Essentially, melting consists of placing the solid alloy in a crucible and heating it over an open flame for smaller projects or inside of a furnace for larger amounts.
Pour into the mold
Pour the molten metal into the mold cavity. If it is a small casting, you may simply pour from the crucible where the metal was heated directly into the mold. However, a larger casting may require a small team to support heating the metal inside a furnace and transferring the metal into a larger crucible or ladle before being poured into the mold.
❗ Make sure to follow all recommended safety guidance when pouring molten metal. Wear protective clothing, including natural fiber clothing, long pants and sleeves, insulated gloves, and safety goggles. Work in a well-ventilated space to avoid any risks from dangerous fumes. Ensure you have a chemical fire extinguisher nearby and keep your walkway between the furnace and the mold clear. Allow the mold to solidify before moving on to the next step.
Release the cast from the mold
When the metal has cooled and solidified, you can remove it from the mold. You will want to quench the plaster in water after the metal has solidified. The water will help break away the mold. If you cast it into a ceramic shell, you can break the mold and chip it away using the necessary equipment.
Finish your piece
File and polish your solid metal cast! Finishing techniques include scrubbing away excess mold material in water, breaking off the casting gates with clippers for small objects, or even an angle grinder for large pieces. You can also choose to polish or patina your metalwork to give it color and dimension.

How to learn lost wax casting
At The Crucible, you can learn to cast metals for small or large projects in different types of metallic alloys. The Crucible offers a wide variety of classes teaching lost wax casting and metalworking techniques. So whether you want to learn the fundamentals of casting or something more advanced, The Crucible has you covered.
In our Jewelry Department, you can cast small-scale silver and bronze objects from wax and organic objects. Our Foundry Department guides you in casting larger projects in bronze and aluminum using ceramic shell molds. Lost wax casting doesn’t stop at casting metals—you can even learn to cast glass into molds in our Glass Casting and Coldworking Department.

Lost wax casting classes at The Crucible
Casting Wax to Silver
Learn the ancient process of lost wax casting sculptural jewelry. Experimenting with different types of wax, you will carve, cast, and finish at least one small fetish, pendant, or ring in silver or bronze. Students are encouraged to bring in personal sketches and ideas.
Foundry I: Ceramic Shell Process
Ceramic shell is a mold material used in the lost wax casting method. Learn basic wax-working techniques and explore basic metal finishing in this fascinating course. You will create a wax sculpture and build ceramic shell molds, transforming your original wax piece into bronze or aluminum.
Foundry II: Ceramic Shell Process
This class is for people with metal casting experience who have completed waxes to cast. We can also accommodate 3-D printed PLA (best unpigmented). Students will prepare their patterns, gate them, build the ceramic shell mold, cast in either bronze or aluminum, destroy the mold, and remove the gates.
Bell Casting
Bell Casting introduces participants to bell design and the lost wax foundry technique. In this class, you can design, cast, and finish a bell approximately six inches in diameter. This entry-level class provides a foundation for further exploration in this versatile foundry approach.
Iron Casting
In Iron Casting, you will explore mold construction and preparation while building a sand mold with resin-bonded sand to cast your own iron sculpture. Learn the steps required to prepare the cupola for an iron pour. At the spectacular iron pour event, students prepare iron and coke charges, operate the cupola, and pour molten iron into their new mold.
Design and Make Your Own Waffle Iron
In our Foundry, you can make your own stovetop waffle iron with a waffle pattern of your own design. We will make sand molds and use a cupola furnace to melt the iron. At the spectacular iron pour event, students prepare iron and coke charges, operate the cupola, and pour molten iron into their new mold.
Kiln Casting Glass Sculpture I
In our Glass Casting & Coldworking Department, you can create a glass sculpture using the ancient technique of lost wax. In this class, you will learn wax sculpting techniques to create wax positives that are invested in a refractory material to create a mold. The mold is de-waxed to create a void that is filled with glass melted in a kiln. When cooled the refractory is divested and the wax positive is now glass.

Lost wax casting FAQs
Can I lost wax cast at home?
It is best to start lost wax casting in an established casting studio with a professional instructor. Lost wax casting can involve more advanced equipment that can be costly to set up. The safest and least expensive way to start lost wax casting is in a public class. Once you have experience and a strong understanding of the process and tools involved, you may explore setting up a lost wax casting studio at home.
What metals can you use for lost wax casting?
Lost-wax casting is a highly versatile technique and can be used to cast objects in gold, silver, brass, copper, bronze, and aluminum.
What are the differences between lost wax casting and die casting?
The most significant difference between the die and lost wax casting process is the mold material. Die casting uses a metal mold, which is a nonexpendable mold. Lost wax casting uses a mold made out of plaster or ceramic shell, an expendable mold. In the die casting process, molten metal is forced into a mold cavity with high pressure.
What kind of wax is used for lost wax casting?
Microcrystalline wax is best for modeling because it is pliable and slightly sticky. In addition, it’s medium-soft consistency makes it easy to work with. Paraffin wax can also be used for lost wax casting, but it is not ideal for modeling. Paraffin wax is best used as an additive to harden an already existing wax model. Different kinds of specialty wax can also be used. Each type of specialty wax has a specific purpose, such as carving, modeling, or patching, and requires knowledge of their different melting points.
Continue Exploring Guides In Metal

Power Hammers 101: How To Use a Power Hammer
Learn how to work with power hammers and how they work in this introductory guide to blacksmithing with a power hammer....

Foundries 101: What Is A Foundry? What Foundry Workers Do?
Have you wondered what a foundry does? Learn the difference between ferrous and non-ferrous metals and how to start a foundry career....

Bronze Casting 101: Process of Casting Bronze [+How To Learn]
Learn the different uses for bronze casting in foundry and jewelry making, and how to get started in this beginner's guide to bronze casting....
Lost Wax Casting Guide
Learn the different types of lost wax casting, from metals to glass, and how to get started in this beginner's guide to lost wax casting....

16 Blacksmithing Techniques
Learn how to build your own blacksmithing forge and become a blacksmith with this step-by-step guide....

Beginners Guide to Metal Casting
Learn everything you wanted to know about metal casting from types of molds to different casting methods....
You Can Learn Lost Wax Casting
The Crucible has new lost wax casting classes offered weekly.
3-Hour Taster: Jewelry
3-Hour Tasters are a great way for you to explore a new art form without the commitment of a full course. After a basic introduction to metalsmithing and jewelry skills, you?ll use...

Jewelry and Metals I
Learn the basics of jewelry making. We will focus on sawing, filing, sanding, soldering, texturing, annealing, stamping, polishing, and design. Students will learn the properties...

Exploration in Chainmaking
This class covers the classical skills needed to make woven and Etruscan chains. You will learn to manipulate wire through the selected use of hand tools, making jump rings,...

Casting Wax to Silver
Learn the ancient process of lost wax casting sculptural jewelry. Experimenting with different types of wax, you will carve, cast, and finish at least one small fetish, pendant, or...

Jewelry Lab
Taking a lab is a great way to practice and perfect the skills you learn in class. In labs, you can work on class assignments or your own projects. Lab time is supervised, but does...
Sand Casting Taster
Try your hand at the ancient technique of sand casting. In this taster class, students will pour molten bronze into an impression created in red sand to make unique, organic, and...

Elegant Stacking Rings
Learn basic soldering and metalworking techniques to make a set of stackable rings from sterling silver, copper, and brass. You will leave with several stylish rings for yourself...

Jewelry and Metals II
Further develop your basic metalsmithing skills. We will teach disk cutting and doming, bezel setting, three types of rivets, and further design techniques. In addition to...

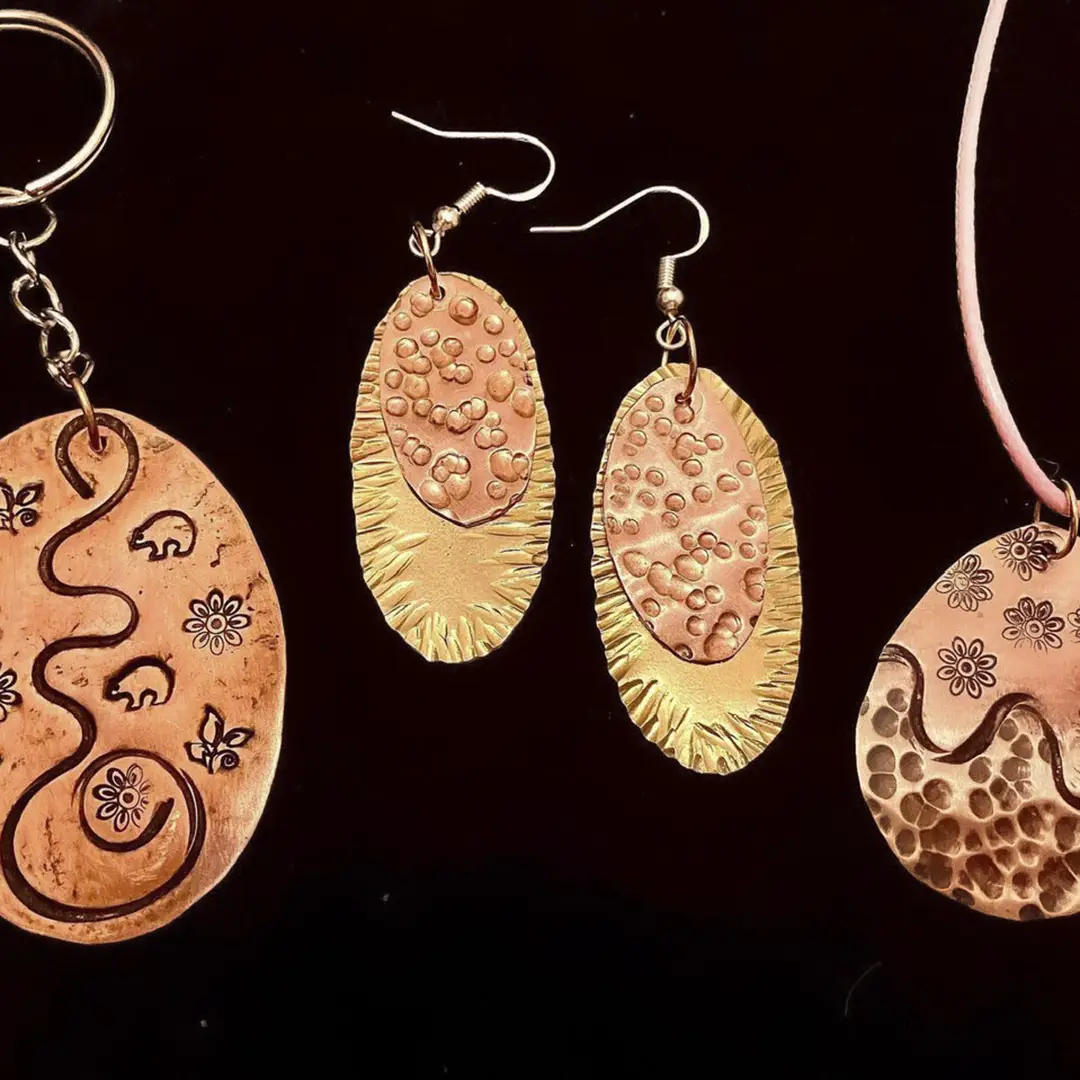
Youth Jewelry and Metals I
Make a fashion statement! Using copper, silver, and other nonferrous metals, you will learn jewelry and metal art skills to create trendy jewelry of your own design. In this...

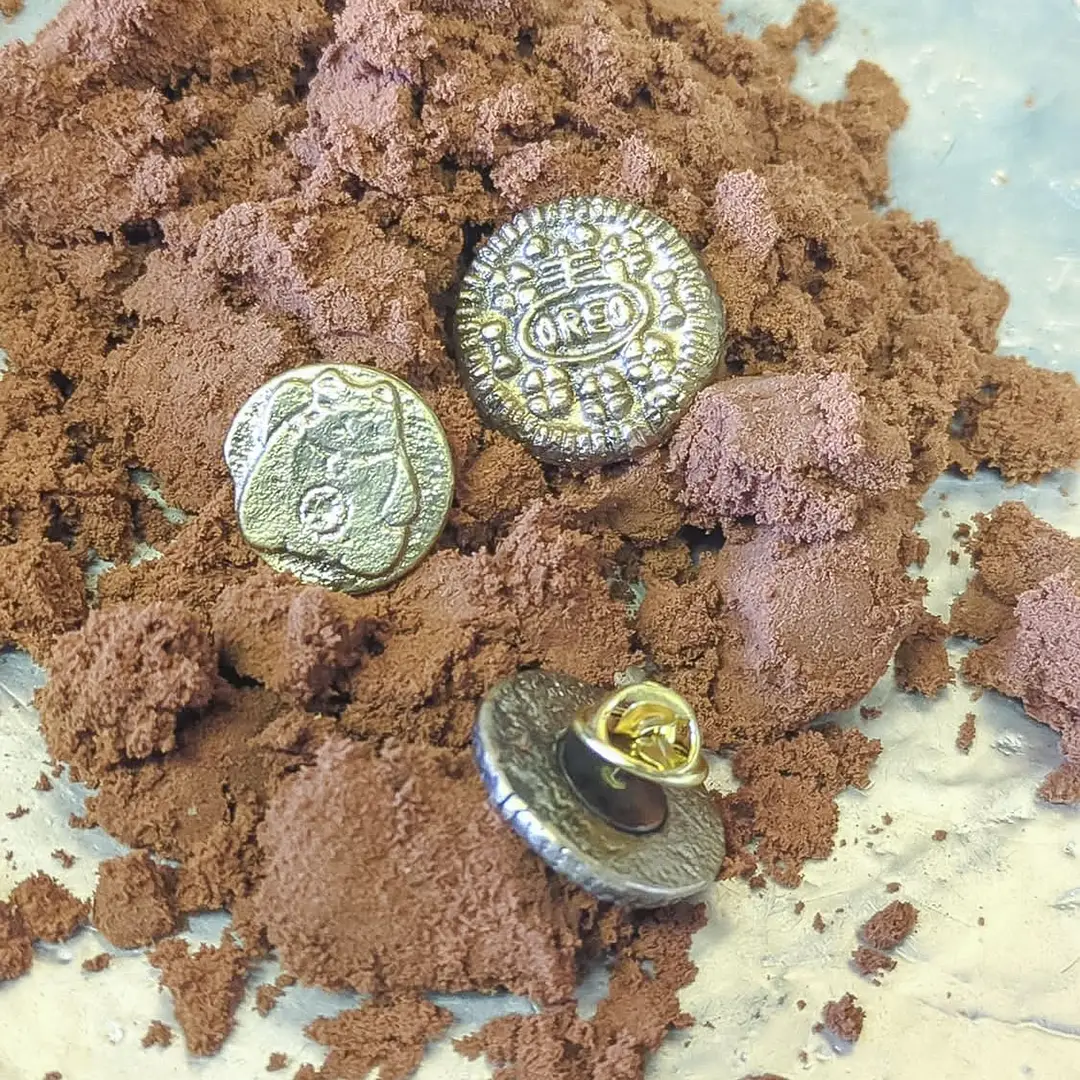
Metal Clay Rings
Create and design multiple rings from copper and silver metal clay, practicing a variety of rolling, texture, applique, and carving techniques. Kiln fire each piece, then finish...
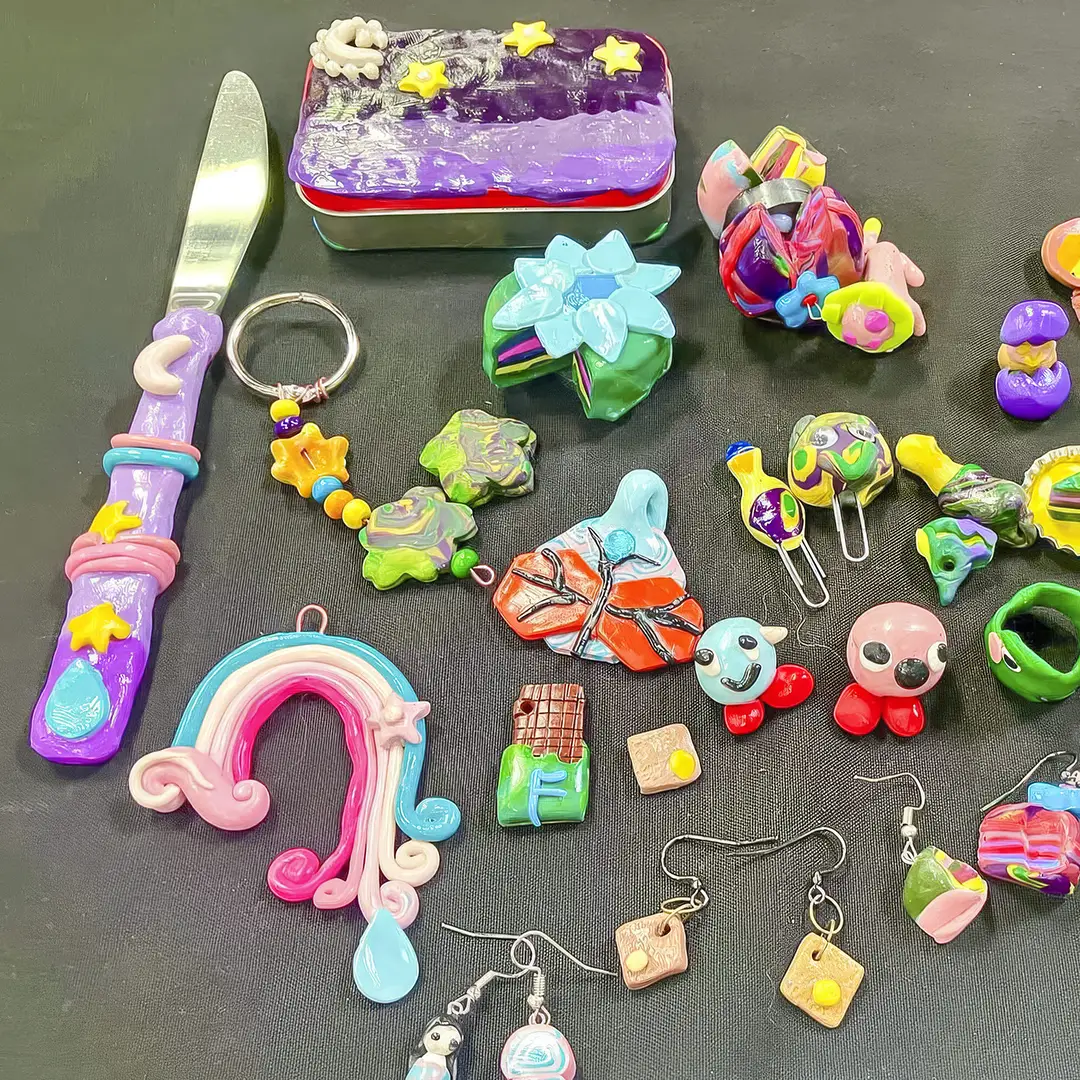
Youth Chibi: Miniature Figurines
Learn to create colorful polymer clay jewelry, including rings, pendants, charms, pins, bracelets, and miniature sculptures inspired by chibi—a Japanese art style featuring cute,...

Youth Jewelry and Metals II
Further develop your basic metalsmithing skills. We will teach disk cutting and doming, bezel setting, three types of rivets, and further design techniques. In addition to...