CeramicsEarth
Guide to Handbuilding Pottery
By Kristin Arzt
Handbuilding Pottery 101: Techniques & Project Ideas
Guide to Handbuilding Pottery
Clay is a material rich in history and possibilities for art making, and handbuilding pottery is the oldest use of the medium. The Crucible’s Ceramics Department offers a unique place to learn the different handbuilding pottery techniques of pinching, coiling, and slab rolling. Once you have experience with a few basic techniques, you can make your own functional tableware, vessels, sculpture, installations, and mixed media—the possibilities in ceramics are endless.
What is handbuilding?
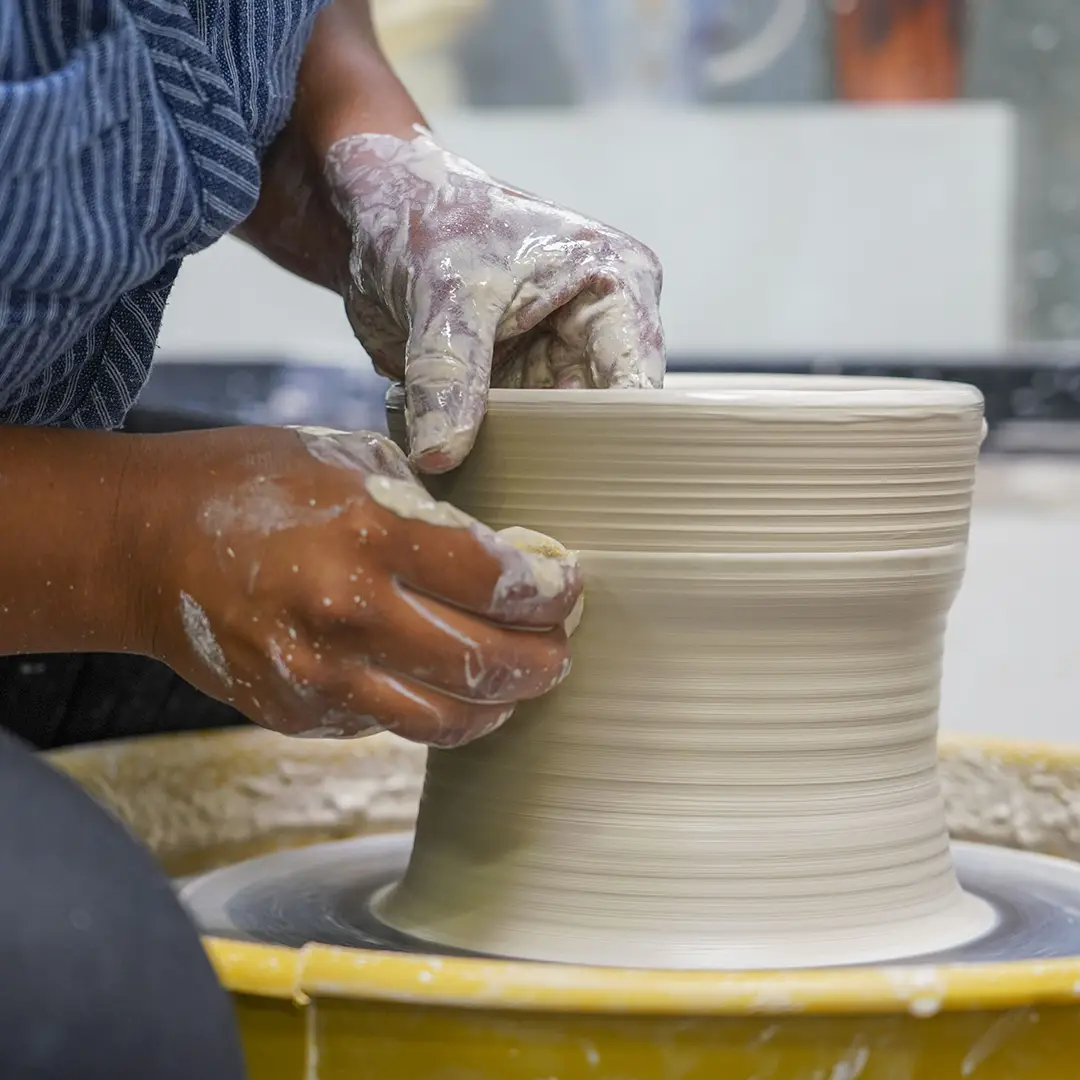
Handbuilding is a ceramics technique that allows you to create forms with clay and your hands, without using a throwing wheel. Before ceramicists invented the wheel, handbuilding was the only way they could create functional and artistic ceramic forms. The oldest known ceramic artifact was handbuilt and is dated as early as 28,000 BCE. All you need to get started are your clay, your hands, and a few simple tools.

Handbuilding methods and techniques
While handbuilding is as simple as using your hands to form an object out of clay, it encompasses three main techniques and forming methods. Once you have mastered pinching, coiling, and slab building, you can make just about anything out of clay.
Pinching Pots
Pinch pots are a great first handbuilding technique to learn when you first begin to work with clay. Simply begin with a single ball of clay and shape it into a small pot using only your hands by pressing your thumb into the center of the ball. Hold and spin the ball in one hand while you press the walls out with your thumb. Pinch pots are a direct method for beginning to work with clay and getting familiar with the medium.

Coiled pots
Coiled pots are created by rolling out long individual coils of clay and joining them together to create a larger piece. Coiled pots can take on any number of forms, and the size can range from small to large. You can also combine the pinch pot method with the coil pot technique by making a shallow dish with the pinch pot method to use as your coiled pots’ base. Continue to build up your piece and keep adding coils until you are satisfied with the form and size.
Slab pots
A slab pot is formed by joining flat slabs of clay together after they have been processed through a slab roller. Slab rollers, which are basically industrial-sized rolling pins, are a great tool that allows for quick and efficient production of clay slabs used.
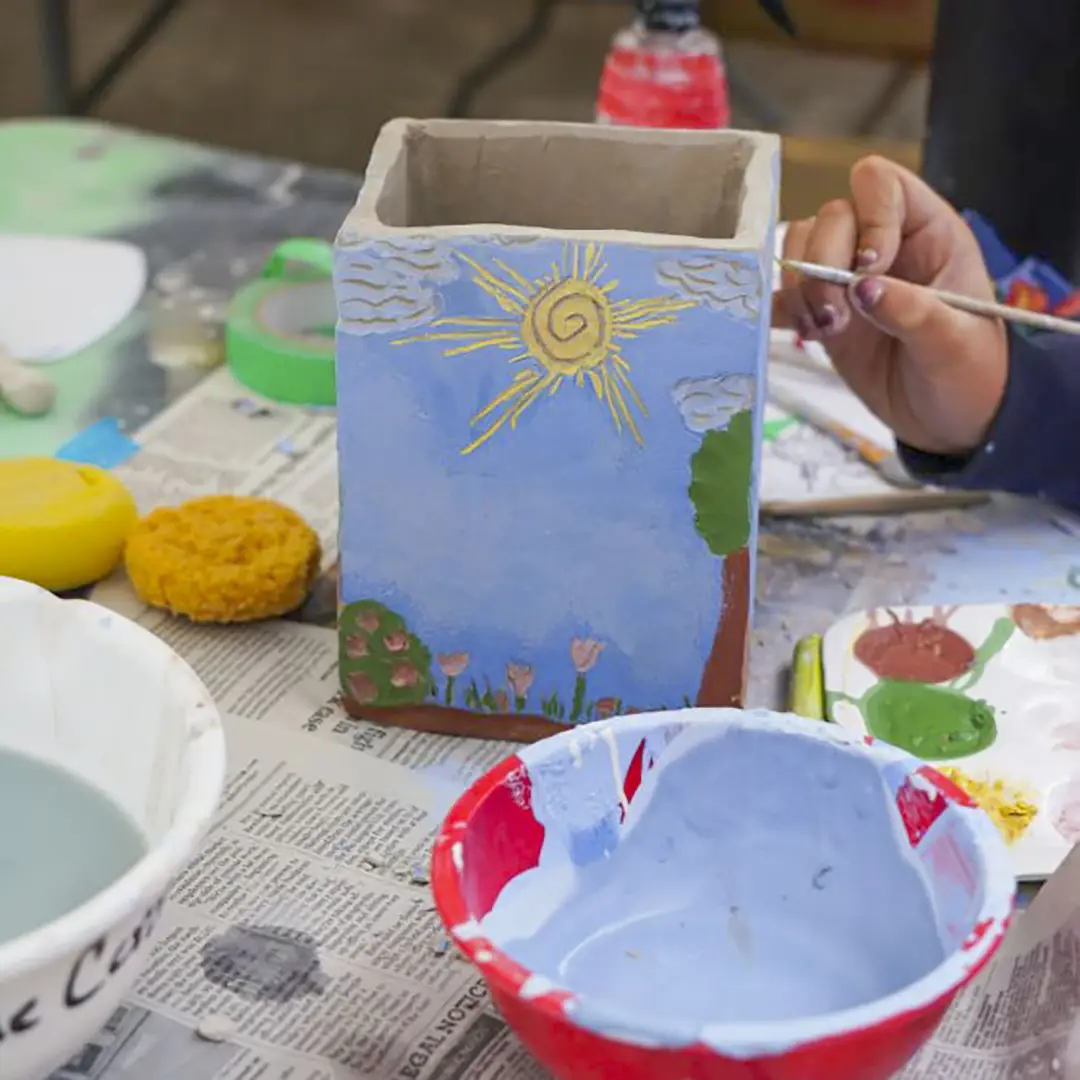
First, place your clay on the cloth of your slab roller and spin the wheel to move your clay through. Then, use a pointed tool to trim the slab to your desired size. You may make paper templates to follow to map out your project and cut the slab accordingly. You can also use a slump mold to create uniform shapes for things like plates and bowls. In this case, you would roll out your slab and drape it over or inside your form. Finally, you will join the two slabs together using a process called “score and slip.” Scoring your clay is essentially scratching marks on the two sides that will be joined together. After scoring, you will brush slip on each side as if you are gluing the sides together.

What materials and tools do you need for handbuilding?
You only need a few materials and tools to get started handbuilding pottery. There are a few essential items, like clay and a kiln, along with many optional tools that can add texture and depth to your pieces.


Handbuilding project ideas
Once you have a few simple handbuilding techniques under your belt, you can make your own functional tableware, vessels, sculptures, and more.
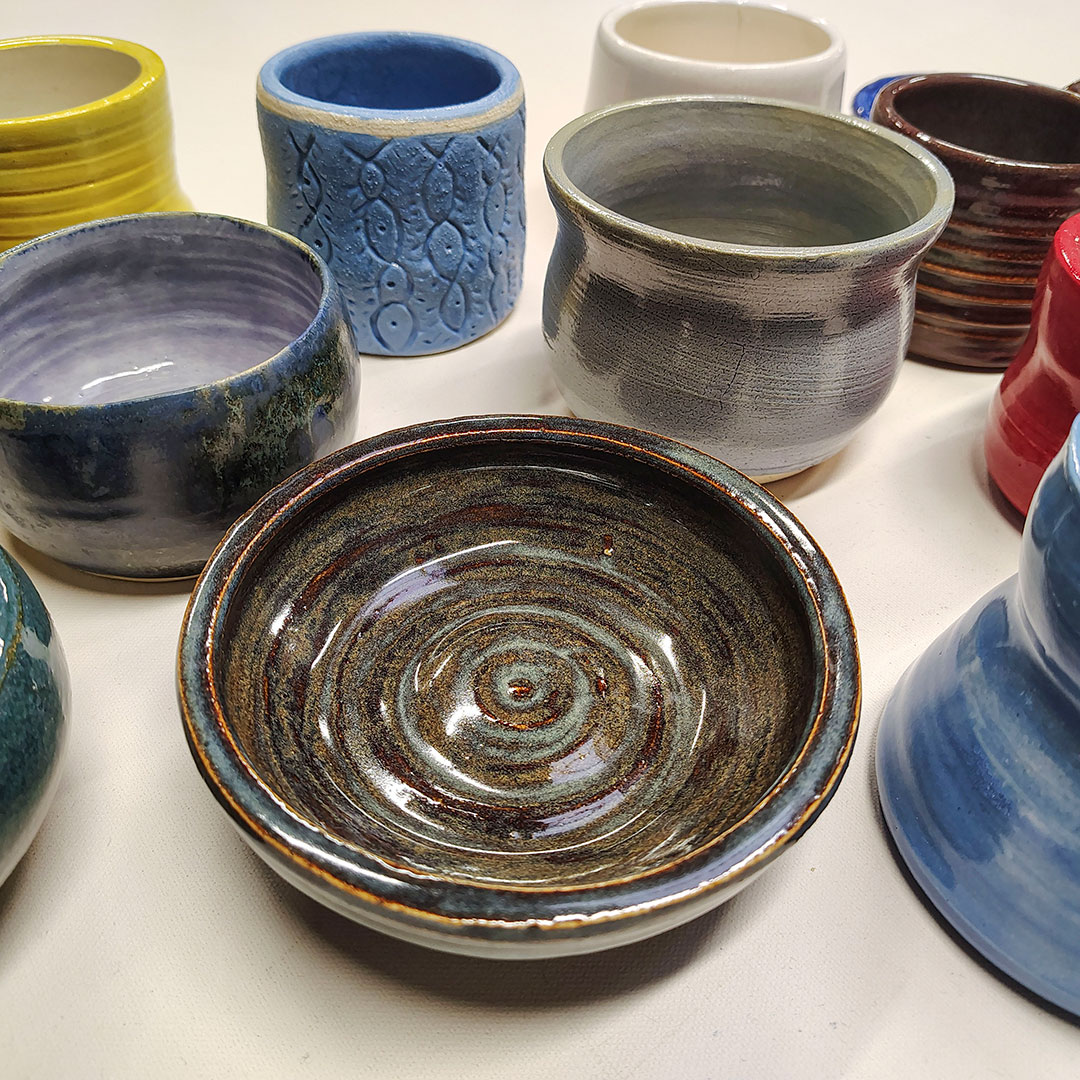
Pinch pot bowls
Pinch pots are a great project for beginners to handbuilding pottery. Perfecting this technique is a great way to start developing your ceramics skills and familiarity with clay. You can make a set of small pinch pots to hold salt and pepper at the dinner table, or slightly larger bowls to hold sauces and other garnishes.

Coiled planter
Coiling is a great technique for creating larger-scale projects as the next step up from pinch pots. Planters are a popular project in our Large Ceramic Forms class. When you are planning out your design, keep in mind that it is easier to coil a narrow pot than a wide one, as wider pots tend to get off-center and are prone to collapse.
Coffee mug and pour over
Make mornings special with a unique, handbuilt coffee mug and pour over set! Using a slab roller and paper cut templates, you can easily use your handbuilding skills to make a matching mug and pour over. You can use your new mug for much more than coffee, and ceramic pour overs are a great alternative to plastic.

How to learn handbuilding
In The Crucible’s Ceramics Department, students make sculptural and functional forms in clay, covering traditional hand-building and surface treatment techniques. You can get started in introductory classes like Ceramics I to dive deep into handbuilding, or try a 3-Hour Taster to explore a new art form without the deeper commitment of a full course. After you have the foundations of handbuilding down, we offer a variety of advanced handbuilding classes. In Large Ceramic Forms, you can pinch and coil a large planter or sculpture. In our Raku classes, students utilize a unique firing technique where ceramic pieces are taken out of the kiln glowing hot and placed in an oxygen-reduced atmosphere, giving sparkling colors to your glazeware.

Handbuilding FAQs
What is the best clay for handbuilding?
Earthenware clay is the best clay for handbuilding pottery because of its strength and plasticity. Other clays, like porcelain, are not recommended for beginning handbuilding because they are stiff and not as easy to form. You can also use grogged clay, which contains a high amount of alumina and silica, reducing the shrinkage and protecting your piece from cracking when firing. The grog also provides strength if you are building larger pieces.
What is handbuilding with clay?
Handbuilding with clay allows you to create ceramic forms without using a throwing wheel.
How do you prepare clay for handbuilding?
Before starting to build your project out of clay, you need to knead it, a process also known as wedging. Kneading clay makes it easier to work and maintains a consistent moisture. It also eliminates air bubbles that may have been trapped when the clay was mixed or recycled.
What are the three methods of handbuilding?
The three methods of handbuilding are pinching, coiling and slab building. Once you have experience with these three methods, you can make just about any object out of clay. It helps to start with pinching, and build upon the technique with coiling, before moving onto to slab construction.
Can you do handbuilding without a kiln?
Whether or not you can do handbuilding without a kiln depends on the type of clay you use. If you are working with a self-hardening clay, you can let it dry overnight instead of firing it. There are also kid-friendly polymer clays that you can bake in the oven. The downside of these types of clay is that uses of your ceramic piece will be limited. You will not be able to eat or drink out of this type of ceramic piece.
If you are handbuilding with earthenware clay, use a kiln to fire it. Ovens do not get hot enough to fire earthenware ceramics, and if you're not careful, baking the clay can cause it to crack. Depending on your project and clay type, a kiln can take about 8 hours to heat up to about 2000 degrees Fahrenheit, and an additional 12 hours to cool down.
Continue Exploring Guides In Earth

Guide to Ceramic Wheel Throwing
Learn exactly what tools and supplies you need to start wheel throwing pottery. Get the inside scoop from our Ceramics Department....

How To Make Pottery At Home: Materials, Equipment, & Steps
There are many different types of pottery and ways to learn ceramics. Here, we outline different types of clay and how to learn ceramics....

How To Glaze Pottery: Guide To Ceramics Glazing | The Crucible
This step-by-step guide covers how to glaze ceramics in a traditional and DIY kiln, along with different types of glazes and their uses....

Guide to Ceramics: Types, Materials, & How-To Learn
There are many different types of pottery and ways to learn ceramics. Here, we outline different types of clay and how to learn ceramics....

Guide to Handbuilding Pottery
Learn exactly what tools and supplies you need to start handbuilding pottery. Get the inside scoop from our Ceramics Department....
You Can Learn To Handbuild Pottery
The Crucible has new ceramics classes offered weekly.

Ceramic Ornaments
Glaze your own ornaments to give to your loved ones! You will select three pre-fired ornaments to paint and glaze, learning about glazing techniques and color application. After...

3-Hour Taster: Ceramic Mug
3-Hour Tasters are a great way to explore a new art form without the deeper commitment of a full course. Make a one-of-a-kind ceramic mug to enjoy your favorite warm beverage....

3-Hour Taster: Ceramic Planter
3-Hour Tasters are a great way to explore a new art form without the deeper commitment of a full course. Adding some greenery to your decor? Create your own ceramic planter and...

Hand Build and Raku Fire
Learn basic handbuilding techniques and play with a variety of raku decorating techniques. Raku firings, where ceramic pieces are taken out of the kiln glowing hot and placed in an...

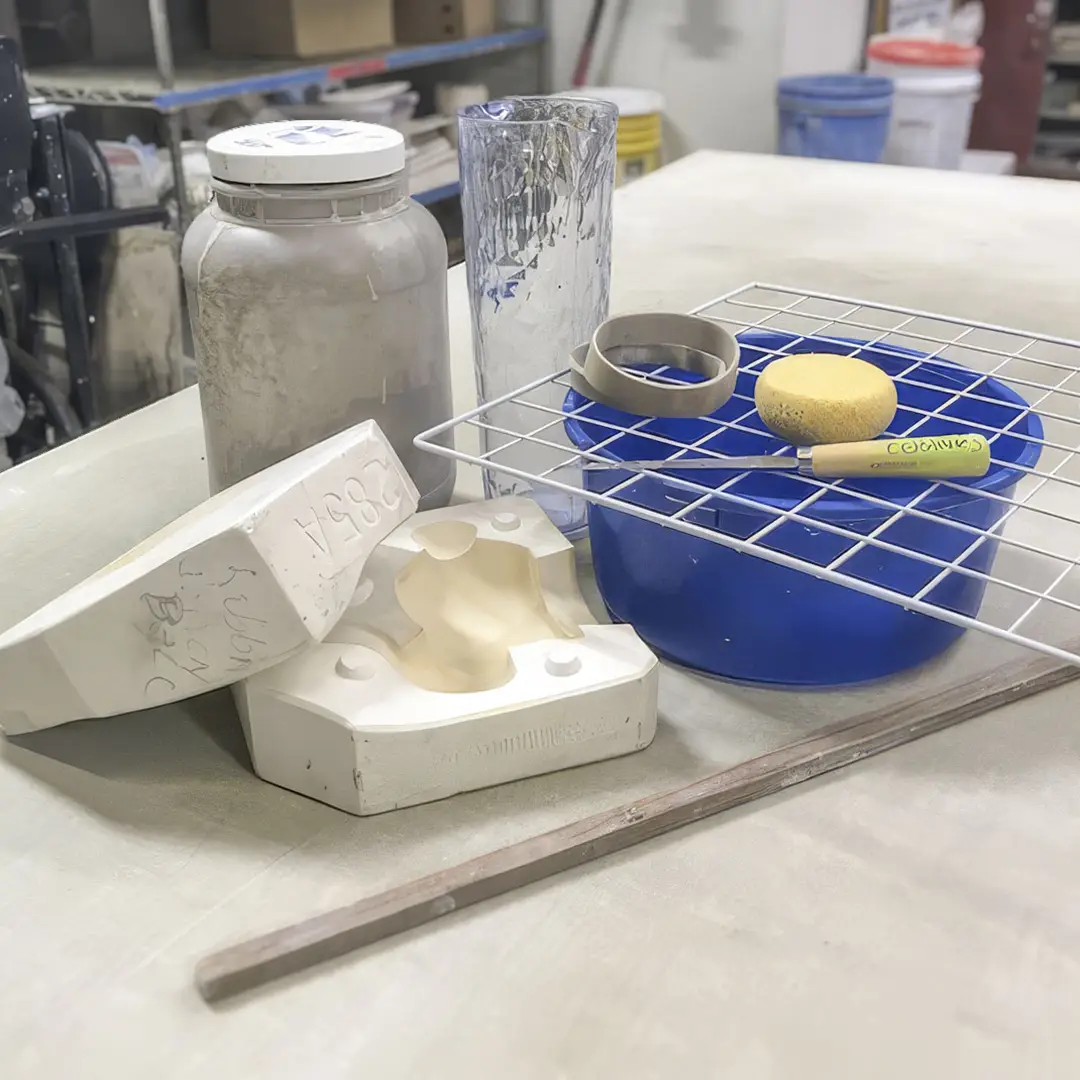
Slip Casting with Plaster Molds
Learn the process of slip casting ceramics utilizing plaster molds. Cast multiple objects using clay slip, then kiln-fire and glaze your creations. Develop your slip casting skills...

Ceramics Lab
Lab sessions are a great benefit, exclusively for Crucible members! Practice the skills you learn in class and explore new possibilities with your craft. No instruction is provided...

Ceramics I
Try your hands at making sculptural and functional forms in clay. This introductory class covers traditional hand-building and surface treatment techniques while pushing the...

Ceramics II
Ceramics II is designed for students who have successfully completed Ceramics I and are looking to further advance their knowledge and creativity in working with clay. Students...

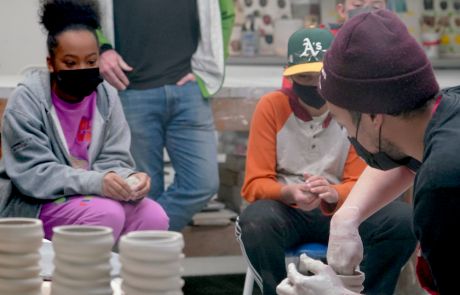
Youth Ceramics I
Try your hand at making sculptural and functional forms in clay and create a one-of-a-kind ceramic sculpture or functional vessel. Youth will practice traditional hand-building and...
Youth Ceramics II
Youth Ceramics II is designed for students who have successfully completed Youth Ceramics I and are looking to further advance their knowledge and creativity in working with clay....

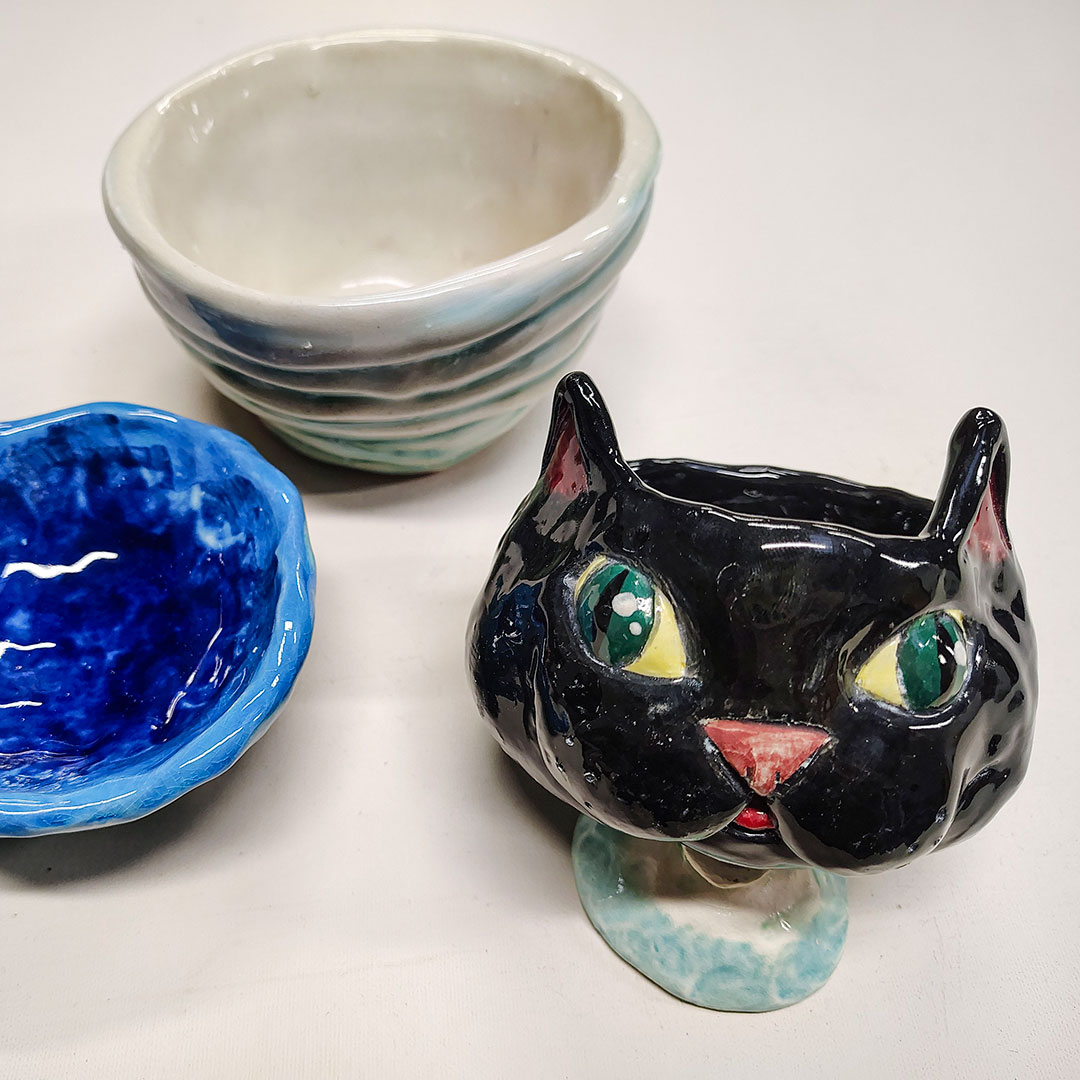
Youth Clay Critters
Explore clay as a sculptural material to create critters from your own imagination! Learn hand-building techniques, such as slabs, coils, and pinching. We will cover several...

Youth Clay Critters Weekend
Explore clay as a sculptural material to create critters of your own imagination! Learn hand-building techniques, such as slabs, coils, and pinching. We will cover several...

Ceramic Bowls
Make your own soup-er bowls using clay! In this class we explore three different ways of handbuilding your own beautiful bowls. Students will make vessels using hand building...

Large Ceramic Forms
Explore techniques for making larger ceramic forms that can survive the kiln! Make a ceramic sculpture or planter, while practicing handbuilding techniques like coiling and...
Making Plaster Molds for Slip Casting
Create ceramic multiples! Whether you are interested in making multiple vessels or sculptures, this class covers the basic moldmaking techniques. We will make molds from existing...

Teapot and Cups
Create your very own teapot and set of tea cups! During this two-session class, learn the techniques for making a slab built teapot and a pair of hand built tea cups perfect for a...


Raku Fire Bisque Pots
Have an unglazed fired pot leftover from a pottery class? Transform it into a beautiful completed piece through the magical process of raku! In this class students will bring an...
Throwing in Sections
In this intermediate to advanced class we will explore throwing large forms in parts on the wheel using measurements and heat to assemble a large pot! Students will then return the...

Horsehair and Sugar Raku
In this class, students will hand-build forms to be fired for horsehair and/or sugar raku! During the second week, you’ll refine, smooth, and dry your pots before applying...

3-Hour Taster: Ceramic Ashtray Forms
Looking for that perfect ART FUNctional piece. Come create that unique ashtray using handbuilding techniques. Decorate your small to medium sized creation with underglaze decals...

3-Hour Taster: Ceramic Shot Glass
Create and color your perfect set of shot glasses for celebrating. Design your tiny vessels using slab & handbuilding techniques, you?ll then use underglaze colors to make them...
3-Hour Taster: Wheel Throwing
3-Hour Tasters are a great way to explore a new art form without the deeper commitment of a full course. Want to give it a go on the wheel? Come put your hands to spinning clay and...
Wheel Centering Focus
Want to achieve consistent results centering on the potter’s wheel or try to center larger amounts of clay? This class is for you! Students will learn techniques that will...
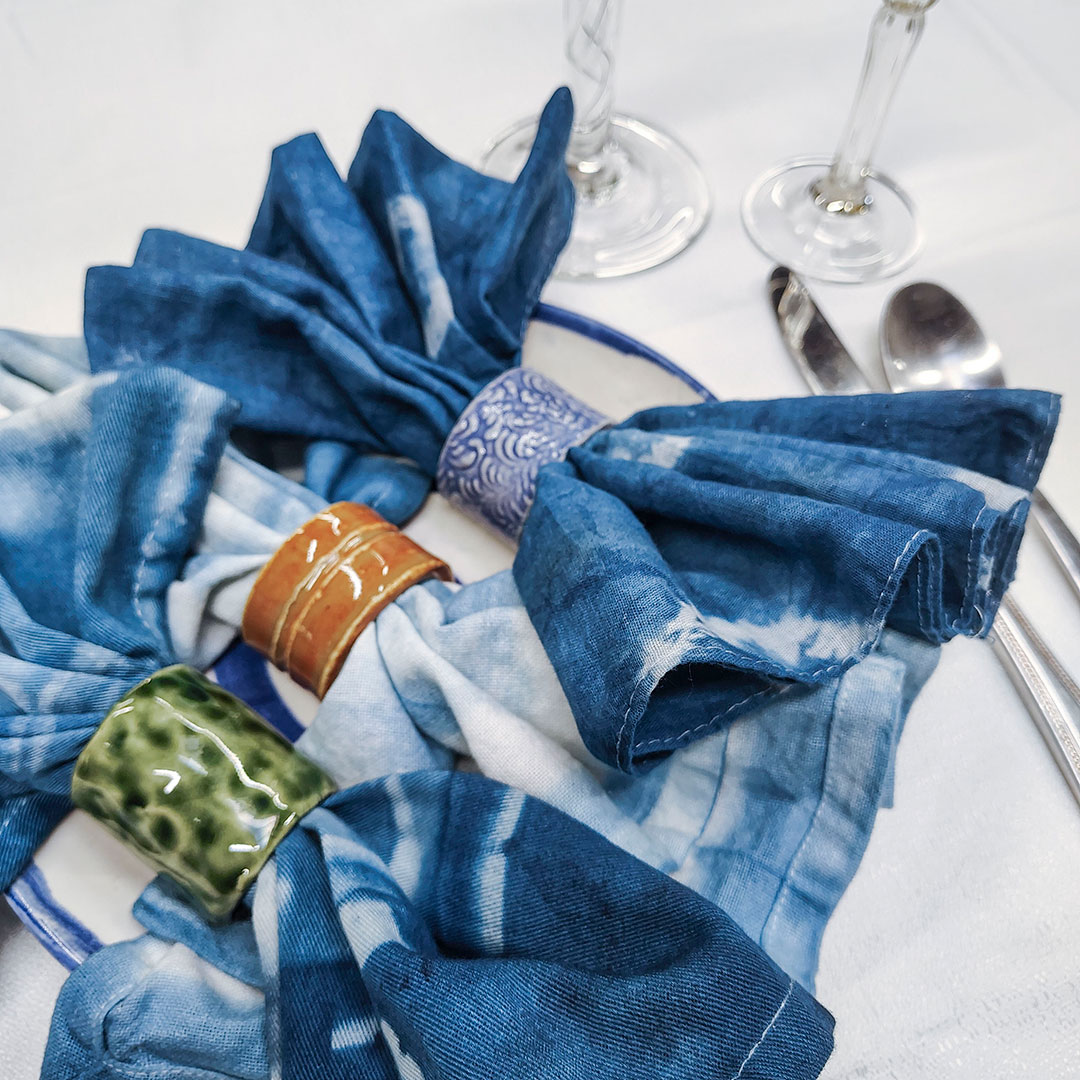
3-Hour Taster: Napkin Rings
3-Hour Tasters are a great way to explore a new art form without the deeper commitment of a full course. Make a one-of-a-kind ceramic napkin ring set to adorn your finest dinner...
Fundamentals of Hand Building
In this course students will learn basic ceramic hand building techniques to create functional and sculptural pottery. Using our hands as our primary tools we will learn pinching,...
Fundamentals of Wheel Throwing
In this class students will learn foundational basic throwing techniques needed to throw on the potter?s wheel. They will learn how to center and cone, pull a cylinder, and finish...