Blacksmithing Projects: Forged Fork in 6 Steps
A forged fork is a great project to get started with blacksmithing and make a practical utensil for your kitchen while you’re at it. This is one of our favorite beginner blacksmithing projects–so much so that students learn how to forge their own cutlery set in The Crucible’s Blacksmithing I. Before you pick up the hammer, see the steps below to get started forging your own fork from iron.

Beginner’s Guide To Blacksmithing A Forged Fork
Tools required:

Step one: Taper the fork handle
Start with a bar of ¼ inch by ½ inch, and about 4 to 6 inches long. Mark one end of your steel with a center punch in two places: on the very edge and two inches from the edge.
Use flat stock tongs to put the end without the center punch in the forge. Hold it at the taper angle and swing with angled blows until the tip is 3/16 of one inch. Taper to one inch from the center punch, maintaining ¼ inch thickness.

Step two: Shape the neck
Place the edge on the anvil horn to match the hammer radius, midway between the wide end of taper and center punch. Forge the neck to about ½ inch on one side. Flatten neck back to ¼ inch thick.
Place the neck on the horn and forge to less than ½ inch on the wide side. Shape and flatten to ¼ inch thick. Chamfer all four edges. Use the anvil face to taper and the anvil horn for the neck. Flatten all faces with a flat-faced hammer.

Step three: Hot cut the prongs
Secure your piece, center punch face-up, on the faceplate close to the edge of the horn. Line up the flat-edged hot cut with the center punch marks. Hit the hot cut to mark it. Check the placement. Realign if necessary and strike hard. Reset and strike until cut through. Flip the piece and cut it at the union.
Step four: Taper the prongs
Place all of the hot cut material off the face of the anvil. Strike one of the prongs until it is bent at 90 degrees. Rotate it 180 degrees and bend it back to ½ inch from the face. Square then taper the edges from ⅛ to 3/16 of one inch.
Mark the finished length from the edge of the anvil next to the hardy. Work the edges to an octagon, then round. Mark the finished length. Reheat the piece in the forge. Bend the fork prong out of the way to move the flat piece out to taper. Taper from ⅜ to 1/16 of one inch over the distance marked first on the anvil. Reheat in the forge. Work the edges into an octagon, then round to the second length marked on the anvil. Reheat.

Step five: Shape the prongs
Open the prongs to a “Y” shape with both prongs the same angle from the centerline, about 30 degrees. Place the “Y” shape upside-down over the anvil horn and strike the handle end to shape the union. Reheat.
Bend the small curve over the horn away from the centerline. Bend a large curve toward the centerline, so the tips are parallel, about ½ of one inch from the centerline. Place the prongs over the edge of the anvil. Bend down about 15 degrees. Rotate 180 degrees and bend the neck to suit. Now it’s starting to look like a forged fork!

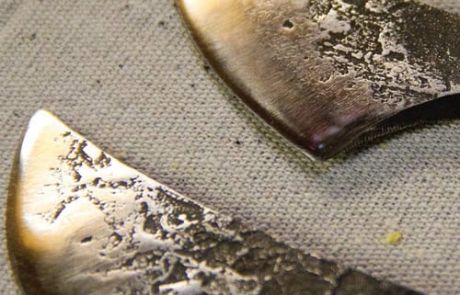
Step six: Finishing
Reheat your forged fork in the forge. Use a metal wire brush to scrape off the slag, the scale that forms from repeatedly heating steel. Directly after removing the slag, repeatedly dip your fork in a bucket of oil to protect it. Once completely covered, if necessary, hold it next to the forge until it turns a matte black.
You now have a completely unique forged fork! Use your new fork on your next project in the kitchen.
Continue Exploring Guides In Metal

Power Hammers 101: How To Use a Power Hammer
Learn how to work with power hammers and how they work in this introductory guide to blacksmithing with a power hammer....

Foundries 101: What Is A Foundry? What Foundry Workers Do?
Have you wondered what a foundry does? Learn the difference between ferrous and non-ferrous metals and how to start a foundry career....

Bronze Casting 101: Process of Casting Bronze [+How To Learn]
Learn the different uses for bronze casting in foundry and jewelry making, and how to get started in this beginner's guide to bronze casting....

Lost Wax Casting Guide
Learn the different types of lost wax casting, from metals to glass, and how to get started in this beginner's guide to lost wax casting....

16 Blacksmithing Techniques
Learn how to build your own blacksmithing forge and become a blacksmith with this step-by-step guide....

Beginners Guide to Metal Casting
Learn everything you wanted to know about metal casting from types of molds to different casting methods....
Make Your Own Forged Fork in Blacksmithing
The Crucible has new blacksmithing classes offered weekly.

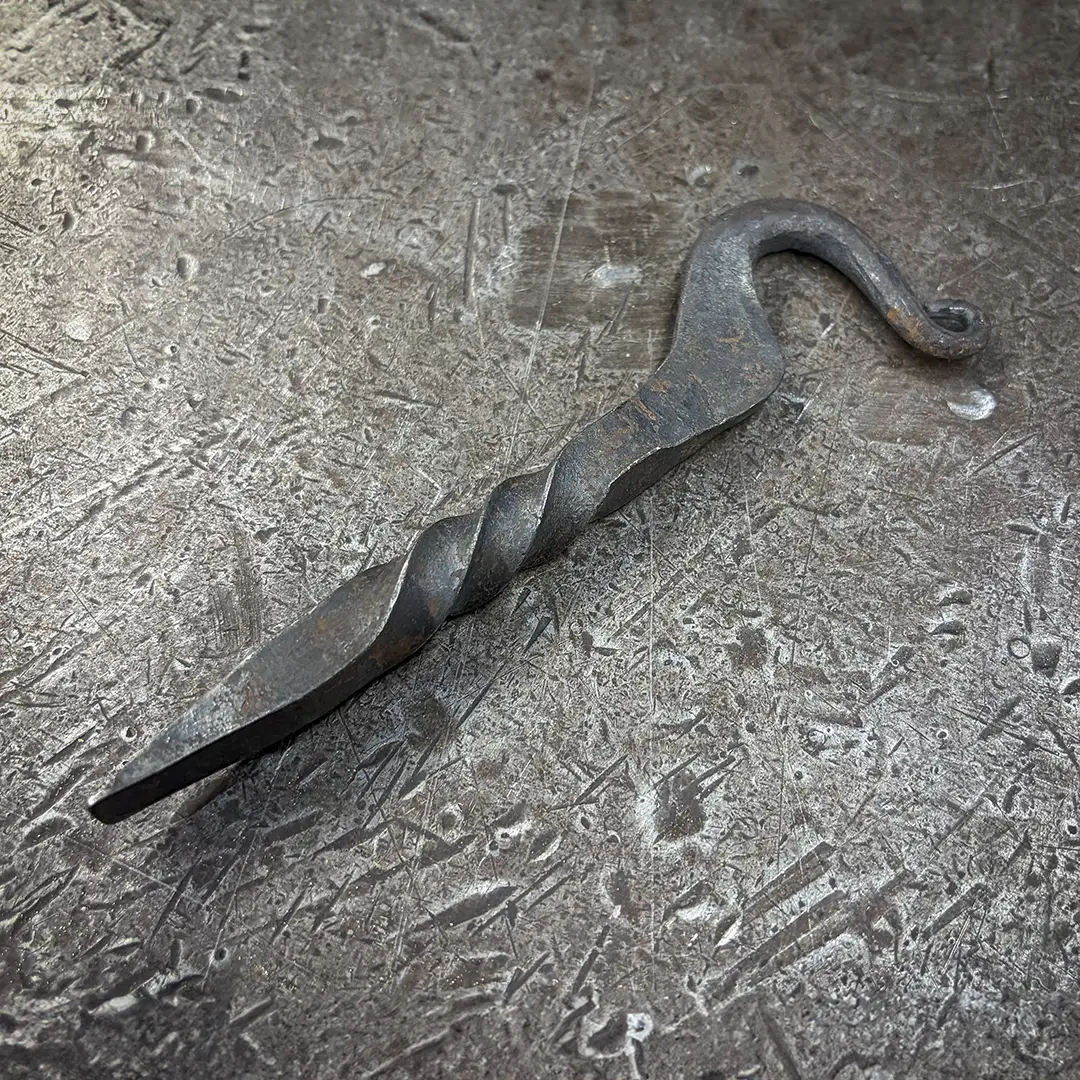
3-Hour Taster: Blacksmithing – Twisted Hook
3-Hour Tasters are a great way to explore a new art form without the deeper commitment of a full course. After a basic introduction to forging steel and using blacksmithing tools,...

Blacksmithing I
Learn the basics of blacksmithing! This class teaches the fundamental skills needed to forge steel and understand blacksmithing tools. We will introduce tapering, upsetting,...

Blacksmithing II
Deepen your knowledge in this sequel to Blacksmithing I. This class is designed to develop your basic skills along with techniques including scroll-making, collaring, basic...

Power Hammer I
We will focus on power hammer techniques as we forge a set of basic hammer tools, side sets, and a round-back flatter. By the time these new tools are heat-treated, students will...

Blacksmithing Lab
Lab sessions are a great benefit, exclusively for Crucible members! Practice the skills you learn in class and explore new possibilities with your craft. No instruction is provided...

Youth Blacksmithing I
Learn to bend and shape steel in The Crucible?s smithy as you practice traditional blacksmithing techniques, such as drawing, bending, twisting, punching, slitting, and drifting...
Bladesmithing
This specialized course focuses on the forging techniques needed to produce sharp-edged tools of high-carbon steel. We will cover blade design, control of steel grain structure,...
Youth Blacksmithing Immersion
Explore techniques taught in our entry and continuing level Youth Blacksmithing class in a single course. In this immersive, weeklong course, students will become young artisans....
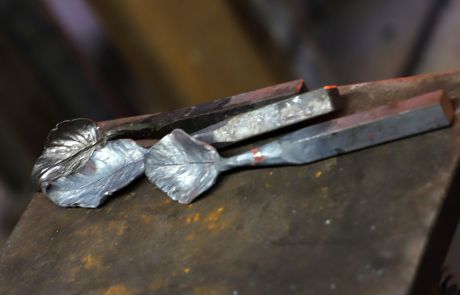
Forms from Nature
Use traditional blacksmithing techniques to create organic forms for use on functional objects or sculptures. Learn to make tools to create your own designs and how to improvise...

Techniques in Ornamental Iron Work
Take your skills to the next level and begin producing work that sells! This class covers traditional decorative ironwork methods and introduces the power hammer. You will explore...
3-Hour Taster: Blacksmithing – Bottle Opener
3-Hour Tasters are a great way to explore a new art form without the deeper commitment of a full course. After a basic introduction to forging steel and using blacksmithing tools,...
Bladesmithing I: Forge a Blacksmith’s Knife
This specialized course focuses on the forging techniques needed to produce the first knife a blacksmith should learn to make, a Blacksmith’s Knife! In this class, we will...